如何在 CentOS 上设置 Zimbra 邮件服务器
在本教程中,我们将研究在 CentOS Linux 环境中安装 Zimbra 邮件服务器的过程。说到开源邮件服务器,Zimbra 是我个人最喜欢的,因为它具有许多有用的功能,例如内置日历支持、电子邮件过滤规则、用户和管理员的现代化界面、垃圾邮件和恶意软件扫描程序等。除了服务器端组件之外,Zimbra 还拥有功能齐全的基于 Web 的电子邮件客户端,用户可以通过该客户端在协作模式下访问电子邮件、组日历和文档共享。
Zimbra 有两种版本:开源版本和商业版本。后者附带付费支持计划和用于 Outlook 日历/联系人同步的附加专有组件。但即使是开源版本也提供了企业可能需要的几乎所有功能。
正如我们将在本教程中看到的,安装 Zimbra 的过程非常简单。我们将使用 CentOS 7(更具体地说是 AWS CentOS 7 映像)作为安装 Zimbra 服务器的目标平台。
Zimbra 安装的系统要求
官网推荐Zimbra开源版的硬件规格如下。
Intel/AMD 2.0 GHz 64 位 CPU
单台服务器安装至少需要 8GB RAM
10 GB 磁盘空间用于软件和日志,以及额外的磁盘空间用于邮件存储和临时文件
准备 DNS 记录
在我们开始对邮件服务器本身进行任何操作之前,邮件服务器的 DNS 记录必须就位。这是因为 Zimbra 安装程序将检查您的域的 DNS 记录,如果 DNS 不可解析,则会中止。
至少,您需要邮件服务器的 MX 和 A 记录。例如:
example.com.         IN    MX   10 mail.example.com.
mail.example.com.    IN    A    IP-Address-of-your-server
配置 SELinux 和防火墙
在开始安装之前,我已经禁用了 SELinux。针对 Zimbra 调整 SELinux 超出了本文的范围。
Zimbra 需要在防火墙中打开许多端口。我使用了以下一组 iptables 规则,因为 AWS CentOS 7 映像是使用 iptables 预构建的,但您可以随意使用 firewalld(原生 CentOS 7 的默认防火墙配置工具)来打开所有必要的 Zimbra 端口。请务必仔细检查您的防火墙规则是否符合您的组织策略。
iptables -F
iptables -P INPUT DROP
iptables -P OUTPUT ACCEPT

iptables -A INPUT -i lo -j ACCEPT
iptables -A INPUT -s IP-Address-of-your-server/32 -j ACCEPT
iptables -A INPUT -m state --state ESTABLISHED,RELATED -j ACCEPT
iptables -A INPUT -p tcp --dport 22 -j ACCEPT
iptables -A INPUT -p icmp -j ACCEPT

## Zimbra rules for external access ##
iptables -A INPUT -p tcp --dport 25  -j ACCEPT
iptables -A INPUT -p tcp --dport 80  -j ACCEPT
iptables -A INPUT -p tcp --dport 110  -j ACCEPT
iptables -A INPUT -p tcp --dport 143 -j ACCEPT
iptables -A INPUT -p tcp --dport 443  -j ACCEPT
iptables -A INPUT -p tcp --dport 465  -j ACCEPT
iptables -A INPUT -p tcp --dport 587  -j ACCEPT
iptables -A INPUT -p tcp --dport 993  -j ACCEPT
iptables -A INPUT -p tcp --dport 995  -j ACCEPT
iptables -A INPUT -p tcp --dport 3443  -j ACCEPT
iptables -A INPUT -p tcp --dport 9071  -j ACCEPT
iptables -A INPUT -p tcp --dport 7071  -j ACCEPT
设置主机名和 NTP
接下来,我们将配置邮件服务器的主机名。
# hostnamectl set-hostname mail.example.com
这将立即将 CentOS 主机名设置为 mail.example.com,并且主机名将在重新启动后保持不变。您可以使用以下命令检查状态。
# hostnamectl status
Static hostname: mail.example.com
如果您使用基于云的虚拟机(例如,来自 Amazon AWS),您还需要更改文件 /etc/cloud/cloud.cfg。
# vim /etc/cloud/cloud.cfg
## Add the following line at the end of the file ##
preserve_hostname: true
我们还需要将服务器的 IP 地址及其完全限定域名 (FQDN) 添加到 /etc/hosts 中。
# vim /etc/hosts
<IP-address-of-your-server> mail.example.com mail
必须在需要安全性和合规性的任何服务器系统(包括 Zimbra 邮件服务器)上安装并启用 NTP 服务。准确的时间戳对于邮件服务器日志的故障排除和测试也很有帮助。我们将按如下方式安装并启用 NTP。
# yum install ntp
# systemctl start ntpd
# systemctl enable ntpd
在 CentOS 上安装 Zimbra
在安装 Zimbra 之前,我们需要进行一些清理并安装所需的依赖项。
首先,请注意,Zimbra 附带了自己定制的 Postfix 版本作为邮件传输代理 (MTA)。因此,如果您的 CentOS 系统预装了 Postfix(CentOS 7 就是这种情况),您需要将其删除。否则,Zimbra 安装程序在尝试将自己版本的 Postfix 绑定到端口 25 时将会失败,该端口已被预安装的 Postfix 占用。
最好的方法是停止默认的 Postfix 服务并将其完全删除,以便端口 25 可以自由使用。
# systemctl stop postfix
# yum erase postfix
另外,如果您的 CentOS 上安装了 sendmail MTA,也请禁用它。
# systemctl stop sendmail
# systemctl disable sendmail
接下来,使用 Yum 安装必要的依赖项:
# yum install wget nmap-ncat libaio unzip perl-core sysstat
现在从其网站下载 Zimbra 的开源版本,并提取 tar 文件。
# wget https://files.zimbra.com/downloads/8.6.0_GA/zcs-8.6.0_GA_1153.RHEL7_64.20141215151110.tgz
# tar zxvf zcs-8.6.0_GA_1153.RHEL7_64.20141215151110.tgz
使用 tar 文件中包含的安装程序脚本 (installer.sh) 开始安装。
# cd zcs-8.6.0_GA_1153.RHEL7_64.20141215151110
# ./install.sh
安装程序脚本将首先检查所有必需的先决条件。如果它抱怨某些必需的软件包不可用,请使用 Yum 来安装它们。然后安装程序将提示您在可用的软件包中进行选择。您可以安装所有可用的软件包或选择您需要的软件包。
Do you agree with the terms of the software license agreement? [N] y

Checking for prerequisites...
     FOUND: NPTL
     FOUND: nmap-ncat-6.40-7
     FOUND: sudo-1.8.6p7-16
     FOUND: libidn-1.28-4
     FOUND: gmp-6.0.0-12
     FOUND: libaio-0.3.109-13
     FOUND: libstdc++-4.8.5-4
     FOUND: unzip-6.0-15
     FOUND: perl-core-5.16.3-286

Checking for suggested prerequisites...
     FOUND: perl-5.16.3
     FOUND: sysstat
     FOUND: sqlite
Prerequisite check complete.

Checking for installable packages

Found zimbra-core
Found zimbra-ldap
Found zimbra-logger
Found zimbra-mta
Found zimbra-dnscache
Found zimbra-snmp
Found zimbra-store
Found zimbra-apache
Found zimbra-spell
Found zimbra-memcached
Found zimbra-proxy
继续域名配置和管理员密码设置。
DNS ERROR resolving MX for mail.example.com
It is suggested that the domain name have an MX record configured in DNS
Change domain name? [Yes] yes
Create domain: [mail.example.com] example.com
    MX: mail.example.com (IP-Address-of-your-server)

    Interface: 127.0.0.1
    Interface: ::1
  Interface:  <IP-Address-of-your-server>

Main menu

   1) Common Configuration:
   2) zimbra-ldap:                             Enabled
   3) zimbra-logger:                           Enabled
   4) zimbra-mta:                              Enabled
   5) zimbra-dnscache:                         Enabled
   6) zimbra-snmp:                             Enabled
   7) zimbra-store:                            Enabled
        +Create Admin User:                    yes
        +Admin user to create:                 [email
******* +Admin Password                        UNSET
最后,Zimbra 将创建自签名 SSL 证书,并根据需要启动服务。
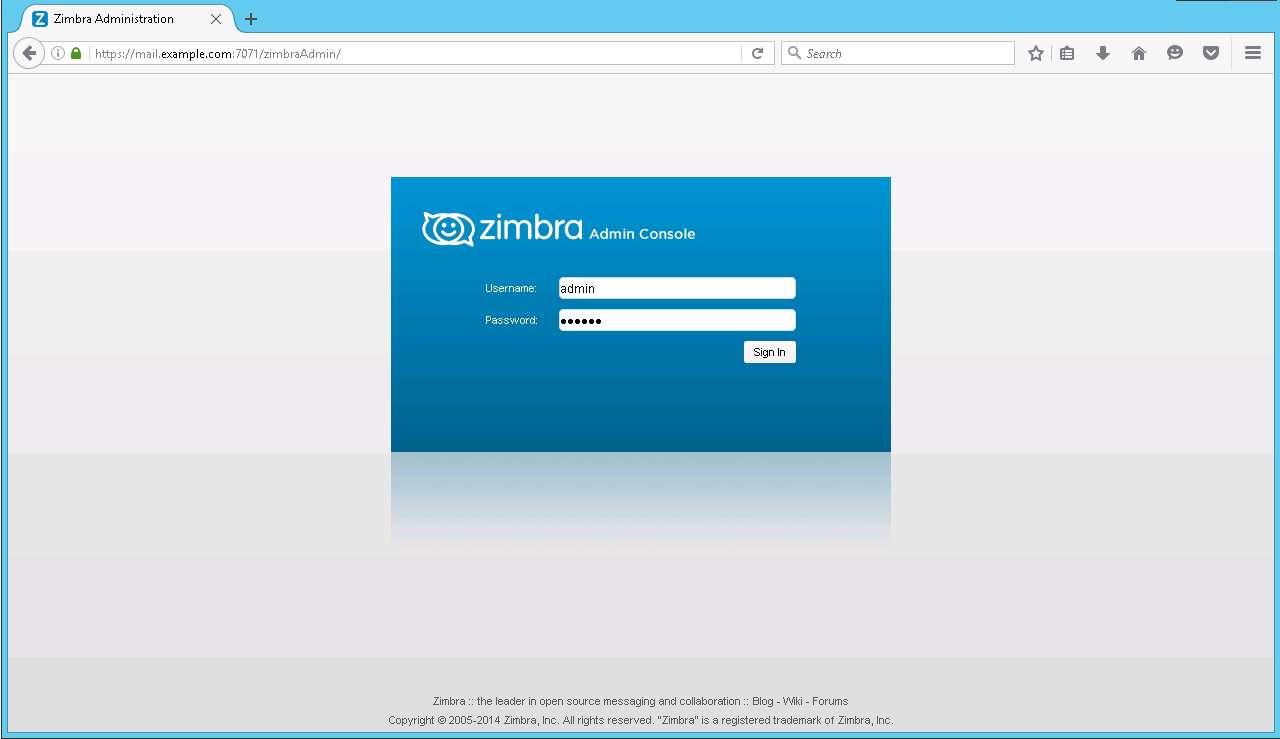
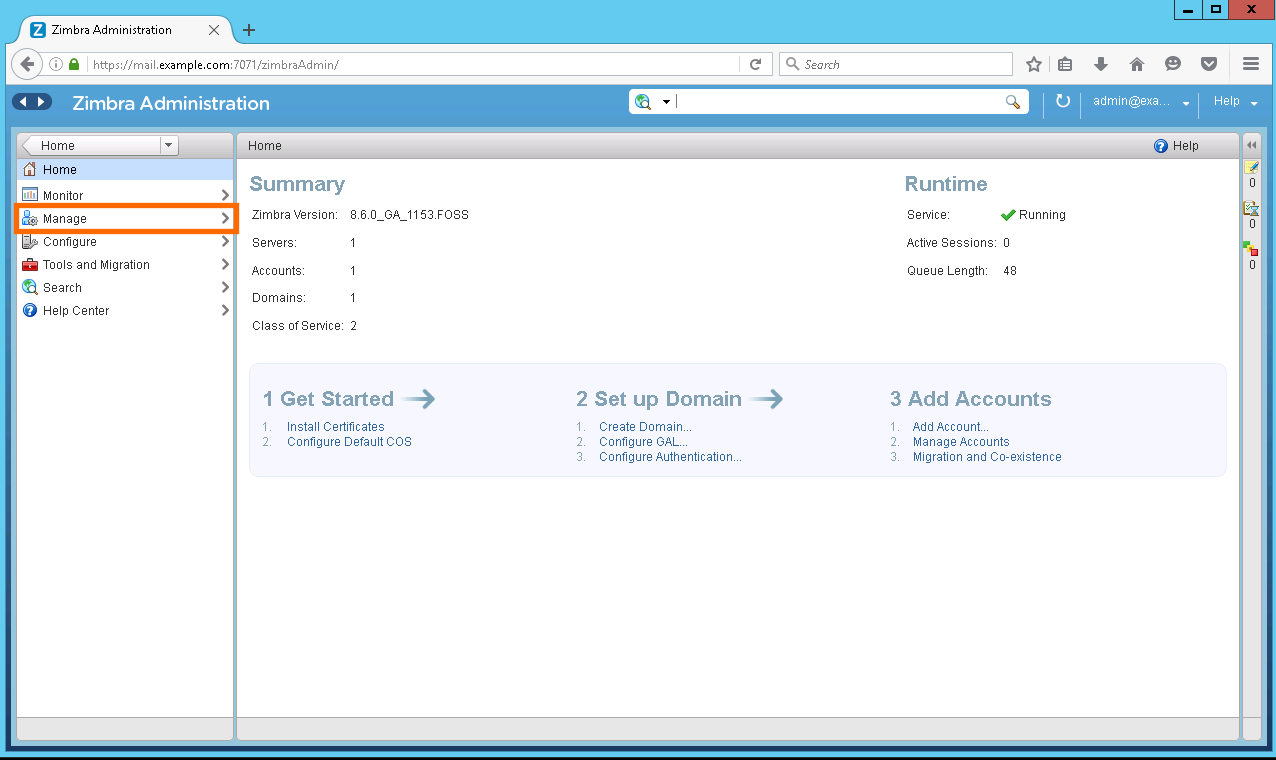
访问 Zimbra 管理控制台
现在 Zimbra 已安装并运行,我们将使用 Web 管理控制台登录。由于服务器配置为使用自签名证书,您可能需要将该证书添加为 Web 浏览器上的例外。
可通过以下地址访问 Zimbra 管理控制台:
网址:
https://mail.example.com:7071用户:
管理员密码:安装时设置的密码
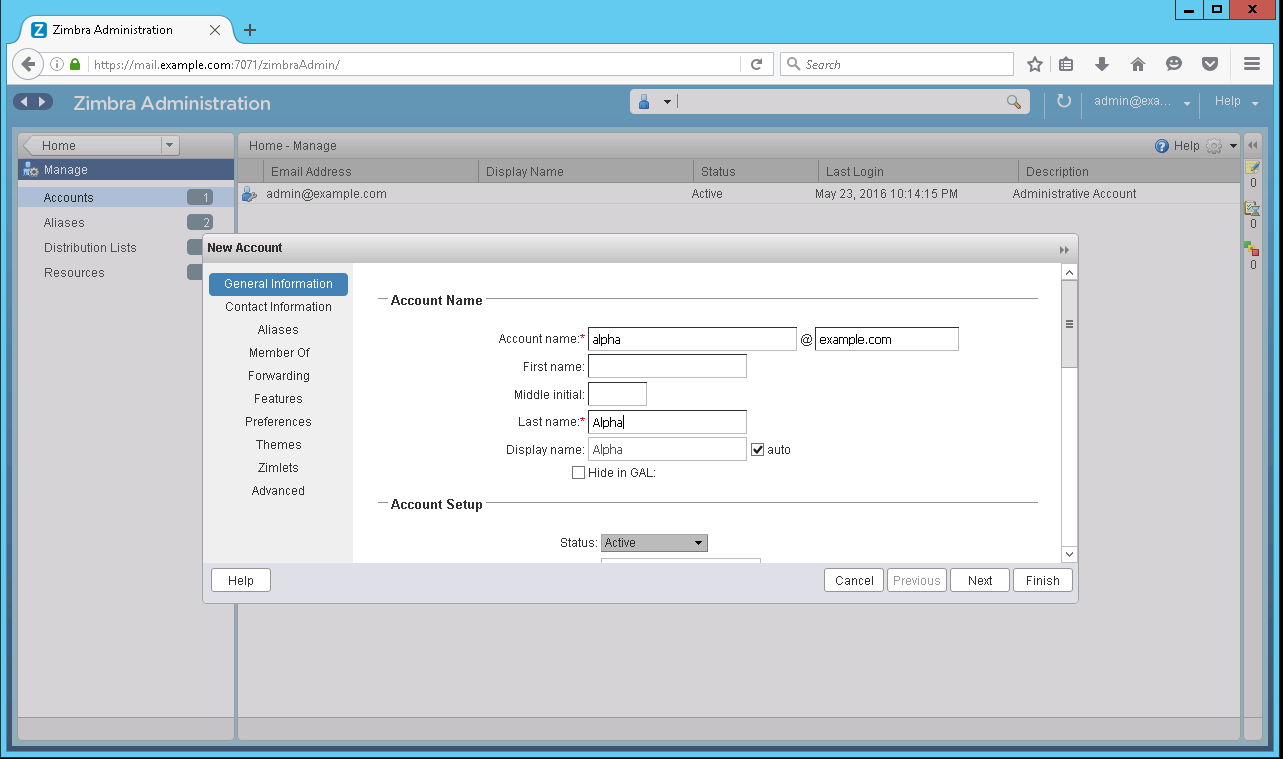
在 Zimbra 服务器上创建测试用户
以管理员身份登录服务器后,创建将使用 Zimbra 服务器发送和接收电子邮件的用户。在本教程中,我们将创建两个用户:[email 和 [email 。可以在控制台的管理部分下创建用户。
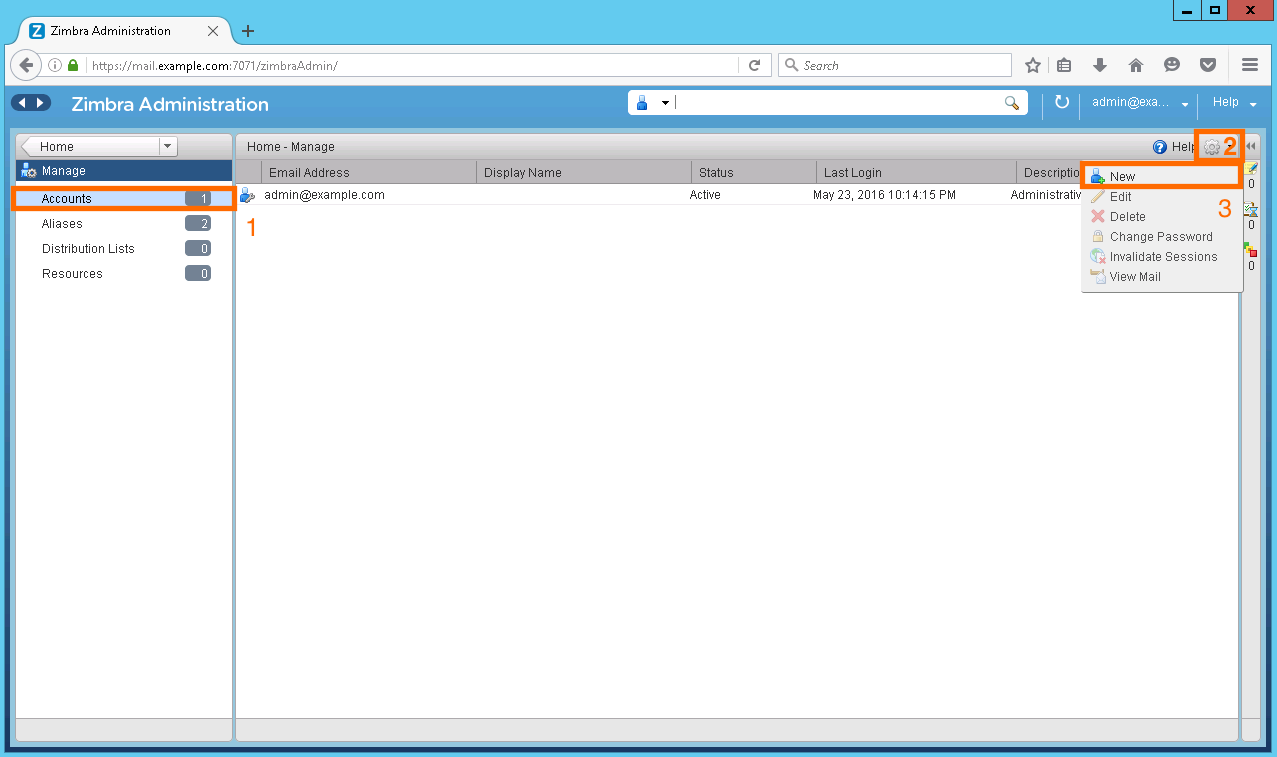
创建新用户后,我们可以作为这些用户之一登录 https://mail.example.com。同样,由于服务器具有自签名证书,您可能需要在浏览器中添加该证书作为例外。
在本教程的其余部分中,我将使用这些用户测试 Zimbra 邮件服务器。
使用 Zimbra 邮件日志进行测试和故障排除
当您测试 Zimbra 邮件服务器或对其进行故障排除时,服务器日志是有用的信息来源。虽然可以从基于 Web 的 Zimbra 管理控制台检查 Zimbra 日志,但服务器的邮件日志文件 (/var/log/maillog) 包含更详细的信息。我是老派,更喜欢直接检查服务器日志文件。下面我将展示如何在各种测试场景中检查服务器日志。
场景 #1:Zimbra 用户向另一个 Zimbra 用户发送电子邮件
在此测试中,我们首先以用户 alpha 身份登录,并尝试向用户 beta 发送测试邮件。发送邮件后,我们可以检查服务器日志以了解幕后发生了什么。以下是此场景中邮件日志的片段。
mail postfix/smtpd[24045]: connect from mail.example.com[IP-Address-of-your-server]
mail postfix/smtpd[24045]: NOQUEUE: filter: RCPT from mail.example.com[IP-Address-of-your-server]: : Sender address triggers FILTER smtp-amavis:[127.0.0.1]:10026; from= to= proto=ESMTP helo=
. . . . .
mail postfix/qmgr[21753]: 2C5A558274AC: from=<[email >, size=2172, nrcpt=1 (queue active)
mail postfix/smtp[24054]: EE394582F095: to=<[email >, relay=127.0.0.1[127.0.0.1]:10032, delay=0.22, delays=0.04/0.01/0.01/0.16, dsn=2.0.0, status=sent (250 2.0.0 from MTA(smtp:[127.0.0.1]:10025): 250 2.0.0 Ok: queued as 2C5A558274AC)
mail postfix/qmgr[21753]: EE394582F095: removed
mail postfix/lmtp[24057]: 2C5A558274AC: to=<[email >, relay=mail.example.com[IP-Address-of-your-server]:7025, delay=0.55, delays=0/0.01/0.09/0.44, dsn=2.1.5, status=sent (250 2.1.5 Delivery OK)
mail postfix/qmgr[21753]: 2C5A558274AC: removed
上述日志表明,用户alpha发送的邮件首先经过垃圾邮件和病毒过滤器的扫描,然后经过处理后发送给用户beta。如果您查看最后一行,它表明 Zimbra 使用 TCP 端口 7025 进行本地邮件传递,即为同一域中的用户传递。
场景 #2:Zimbra 用户向外部邮件服务器发送电子邮件
在下一个场景中,我们将尝试向 Google 发送邮件。请注意,如果域不可全局解析,则此操作将不起作用。尽管如此,我们还是会查看日志以更好地了解后台进程。
May 24 22:07:19 mail postfix/smtpd[1315]: connect from mail.example.com[IP-Address-of-your-server]
May 24 22:07:19 mail postfix/smtpd[1315]: NOQUEUE: filter: RCPT from mail.example.com[IP-Address-of-your-server]: : Sender address triggers FILTER smtp-amavis: [127.0.0.1]:10026; from=<[email > to=<[email > proto=ESMTP helo=<mail.example.com>
. . . . .
May 24 22:07:19 mail postfix/qmgr[21753]: 91FFF58274AB: from=<[email >, size=1984, nrcpt=1 (queue active)
May 24 22:07:19 mail postfix/smtp[1319]: 5B65B58274AC: to=<[email >, relay=127.0.0.1[127.0.0.1]:10032, delay=0.23, delays=0.04/0.01/0.01/0.17, dsn=2.0.0, status=sent (250 2.0.0 from MTA(smtp:[127.0.0.1]:10025): 250 2.0.0 Ok: queued as 91FFF58274AB)
May 24 22:07:19 mail postfix/qmgr[21753]: 5B65B58274AC: removed
May 24 22:07:22 mail postfix/smtp[1327]: 91FFF58274AB: to=<[email >, relay=gmail-smtp-in.l.google.com[74.125.203.27]:25, delay=2.4, delays=0/0.02/1.7/0.75, dsn=2.0.0, status=sent (250 2.0.0 OK 1464127641 y96si6653701ioi.55 - gsmtp)
May 24 22:07:22 mail postfix/qmgr[21753]: 91FFF58274AB: removed
此处,Zimbra 使用标准端口 25 为外部邮件服务器发送出站电子邮件。
场景 #3:Zimbra 用户收到来自外部邮件服务器的电子邮件
在这种情况下,让我们看一下当我们收到传入邮件时会发生什么情况。为此,我设置了另一个 Zimbra 邮件服务器作为 mail.example2.com。以下是我从 [email 向 [email 发送邮件时的日志。
mail postfix/smtpd[22110]: connect from mail.example2.com[IP-Address-of-example2-server]
mail postfix/smtpd[22110]: Anonymous TLS connection established from mail.example2.com[IP-Address-of-example2-server]: TLSv1.2 with cipher AECDH-AES256-SHA (256/256 bits)
. . . . .
mail postfix/smtpd[22110]: NOQUEUE: filter: RCPT from mail.example2.com[IP-Address-of-example2-server]: <[email >: Sender address triggers FILTER smtp-amavis:[127.0.0.1]:10026; from=<[email > to=<[email > proto=ESMTP helo=<mail.example2.com>
mail postfix/smtpd[22110]: disconnect from mail.example2.com[IP-Address-of-example2-server]
mail postfix/qmgr[15878]: B8EBA58274A9: from=<[email >, size=4842, nrcpt=1 (queue active)
mail postfix/lmtp[22118]: B8EBA58274A9: to=<[email >, relay=mail.example.com[52.64.25.164]:7025, delay=0.22, delays=0/0.01/0.08/0.12, dsn=2.1.5, status=sent (250 2.1.5 Delivery OK)
mail postfix/qmgr[15878]: B8EBA58274A9: removed
根据日志,Zimbra 在发送电子邮件时尝试建立 SSL 连接(如果可能)。传入邮件到达我们的服务器后,首先会扫描垃圾邮件和恶意软件,然后发送给用户 alpha。另请注意,Zimbra 使用 TCP 端口 7025 进行本地邮件传送。
正如您所看到的,Zimbra 在底层使用 Postfix 来传递电子邮件。因此,如果您有使用 Postfix 的经验,它将派上用场,因为许多 Postfix 命令也适用于 Zimbra 使用的 Postfix 定制版本。
结论
在本教程中,我们研究了如何在 CentOS 7 服务器上安装和设置 Zimbra。虽然您可以通过单独设置各个组件(例如 Postfix、防病毒和垃圾邮件过滤器、网络邮件客户端)来创建功能丰富的企业级电子邮件服务,并让它们协同工作,但我建议您尝试一下 Zimbra。由于 Zimbra 附带的所有必要组件均已集成到一个软件包中,因此对于系统管理员而言,这可以节省大量时间。
希望这可以帮助。