如何在 Ubuntu 上使用 Nginx 安装 ExpressionEngine CMS
ExpressionEngine 是一个用 PHP 编写的灵活、功能丰富、免费、开源的内容管理系统 (CMS)。借助 ExpressionEngine,您可以构建功能齐全的网站、创建 Web 应用程序或向移动应用程序提供内容。所有这些都不需要复杂的编程技能。本指南将引导您使用 PHP、MySQL 作为数据库、Nginx 作为 Web 服务器在 Ubuntu 18.04 LTS 上完成 ExpressionEngine 安装过程。
要求
ExpressionEngine 需要运行 PHP 和 MySQL 的 Web 服务器。推荐的软件堆栈和版本是:
- PHP 版本 7.0 或更高版本,使用 PHP-FPM 运行并具有以下 PHP 扩展(
gd、fileinfo、intl、mbstring)。 - MySQL 版本 5.6 或更高版本或 Percona 版本 5.6 或更高版本。本教程将使用 MySQL。
- Nginx 或 Apache 等 Web 服务器。本指南将使用 Nginx。
先决条件
- 运行 Ubuntu 18.04 LTS 的操作系统。
- 具有 sudo 权限的非 root 用户。
初始步骤
检查您的 Ubuntu 版本:
lsb_release -ds
Ubuntu 18.04.2 LTS
设置时区:
sudo dpkg-reconfigure tzdata更新您的操作系统软件包(软件)。这是重要的第一步,因为它可以确保您拥有操作系统默认软件包的最新更新和安全修复程序:
sudo apt update && sudo apt upgrade -y安装 Ubuntu 操作系统基本管理所需的一些基本软件包:
sudo apt install -y curl wget vim git unzip socat bash-completion第 1 步 - 安装 PHP 和所需的 PHP 扩展
安装 PHP 以及必要的 PHP 扩展:
sudo apt install -y php7.2 php7.2-cli php7.2-fpm php7.2-common php7.2-mbstring php7.2-gd php7.2-intl php7.2-mysql要显示在模块中编译的 PHP,您可以运行:
php -mctype
卷曲
exif
文件信息
。 。 .
。 。 。
检查 PHP 版本:
php --version# PHP 7.2.19-0ubuntu0.18.04.2 (cli) (built: Aug 12 2019 19:34:28) ( NTS )
Copyright (c) 1997-2018 The PHP Group
Zend Engine v3.2.0, Copyright (c) 1998-2018 Zend Technologies
with Zend OPcache v7.2.19-0ubuntu0.18.04.2, Copyright (c) 1999-2018, by Zend TechnologiesPHP-FPM 服务在 Ubuntu 18.04 系统上重启时会自动启动并启用,因此无需手动启动并启用它。我们可以继续下一步,即数据库安装和设置。
第 2 步 - 安装 MySQL 并为 ExpressionEngine CMS 创建数据库
安装 MySQL 数据库服务器:
sudo apt install -y mysql-server检查 MySQL 版本:
mysql --version
# mysql Ver 14.14 Distrib 5.7.27, for Linux (x86_64) using EditLine wrapper运行mysql_secure安装脚本以提高MySQL安全性并设置MySQL root用户的密码:
sudo mysql_secure_installation回答每个问题:
Would you like to setup VALIDATE PASSWORD plugin? N
New password: your_secure_password
Re-enter new password: your_secure_password
Remove anonymous users? [Y/n] Y
Disallow root login remotely? [Y/n] Y
Remove test database and access to it? [Y/n] Y
Reload privilege tables now? [Y/n] Y
以 root 用户身份连接到 MySQL shell:
sudo mysql -u root -p
Enter password
为 ExpressEngine 创建一个空的 MySQL 数据库和用户并记住凭据:
mysql> CREATE DATABASE dbname;
mysql> GRANT ALL ON dbname.* TO 'username' IDENTIFIED BY 'password';
mysql> FLUSH PRIVILEGES;
退出 MySQL:
mysql> exit将 dbname、username 和 password 替换为您的姓名。
步骤 3 - 安装 acme.sh 客户端并获取 Let's Encrypt 证书(可选)
使用 HTTPS 保护您的网站不是必需的,但这是保护您的网站流量的良好做法。要从 Let's Encrypt 获取 TLS 证书,我们将使用 acme.sh 客户端。 Acme.sh 是一款纯 UNIX shell 软件,用于以零依赖方式从 Let's Encrypt 获取 TLS 证书。
下载并安装 acme.sh:
sudo su - root
git clone https://github.com/Neilpang/acme.sh.git
cd acme.sh
./acme.sh --install --accountemail [email
source ~/.bashrc
cd ~
检查 acme.sh 版本:
acme.sh --version
v2.8.1
为您的域名/主机名获取 RSA 和 ECC/ECDSA 证书:
RSA 2048
acme.sh --issue --standalone -d example.com --keylength 2048
ECDSA
acme.sh --issue --standalone -d example.com --keylength ec-256
如果您想要使用假证书进行测试,可以将 --staging 标志添加到上述命令中。
运行上述命令后,您的证书和密钥将位于:
- 对于 RSA:
/home/username/example.com目录。 - 对于ECC/ECDSA:
/home/username/example.com_ecc目录。
要列出您颁发的证书,您可以运行:
acme.sh --list创建一个目录来存储您的证书。我们将使用 /etc/letsencrypt 目录。
mkdir -p /etc/letsecnrypt/example.comsudo mkdir -p /etc/letsencrypt/example.com_ecc
将证书安装/复制到 /etc/letsencrypt 目录。
RSA
acme.sh --install-cert -d example.com --cert-file /etc/letsencrypt/example.com/cert.pem --key-file /etc/letsencrypt/example.com/private.key --fullchain-file /etc/letsencrypt/example.com/fullchain.pem --reloadcmd "sudo systemctl reload nginx.service"
ECC/ECDSA
acme.sh --install-cert -d example.com --ecc --cert-file /etc/letsencrypt/example.com_ecc/cert.pem --key-file /etc/letsencrypt/example.com_ecc/private.key --fullchain-file /etc/letsencrypt/example.com_ecc/fullchain.pem --reloadcmd "sudo systemctl reload nginx.service"
所有证书将每 60 天自动续订一次。
获取证书后,从 root 用户退出并返回到普通 sudo 用户:
exit第 4 步 - 安装并配置 Nginx
安装 NGINX 网络服务器:
sudo apt install -y nginx检查 NGINX 版本:
sudo nginx -v
# nginx version: nginx/1.14.0 (Ubuntu)
为 ExpressionEngine 配置 Nginx。运行 sudo vim /etc/nginx/sites-available/expressionengine.conf 并添加以下配置:
server {

  listen [::]:443 ssl http2;
  listen 443 ssl http2;
  listen [::]:80;
  listen 80;

  server_name example.com;
  root /var/www/expressionengine;

  index index.php;

  location / {
    index index.php;
    try_files $uri $uri/ @ee;
  }

  location @ee {
    rewrite ^(.*) /index.php?$1 last;
  }

  location ~* \.php$ {
    fastcgi_pass unix:/run/php/php7.2-fpm.sock;
    include fastcgi_params;
    fastcgi_index index.php5;
    fastcgi_param SCRIPT_FILENAME $document_root$fastcgi_script_name;
  }

}
通过将文件链接到 sites-enabled 目录来激活新的 expressionengine.conf 配置:
sudo ln -s /etc/nginx/sites-available/expressionengine.conf /etc/nginx/sites-enabled/检查 NGINX 配置是否存在语法错误:
sudo nginx -t最后,重新加载 NGINX 服务以使更改生效:
sudo systemctl reload nginx.service第 5 步 - 安装 ExpressionEngine CMS
创建文档根目录:
sudo mkdir -p /var/www/expressionengine导航到文档根文件夹:
cd /var/www/expressionengine下载最新版本的 ExpressionEngine 并将文件解压缩到服务器上的文件夹中:
sudo wget -O ee.zip --referer https://expressionengine.com/ 'https://expressionengine.com/?ACT=243'
sudo unzip ee.zip
sudo rm ee.zip
将 /var/www/expressionengine 目录的所有权更改为 www-data:
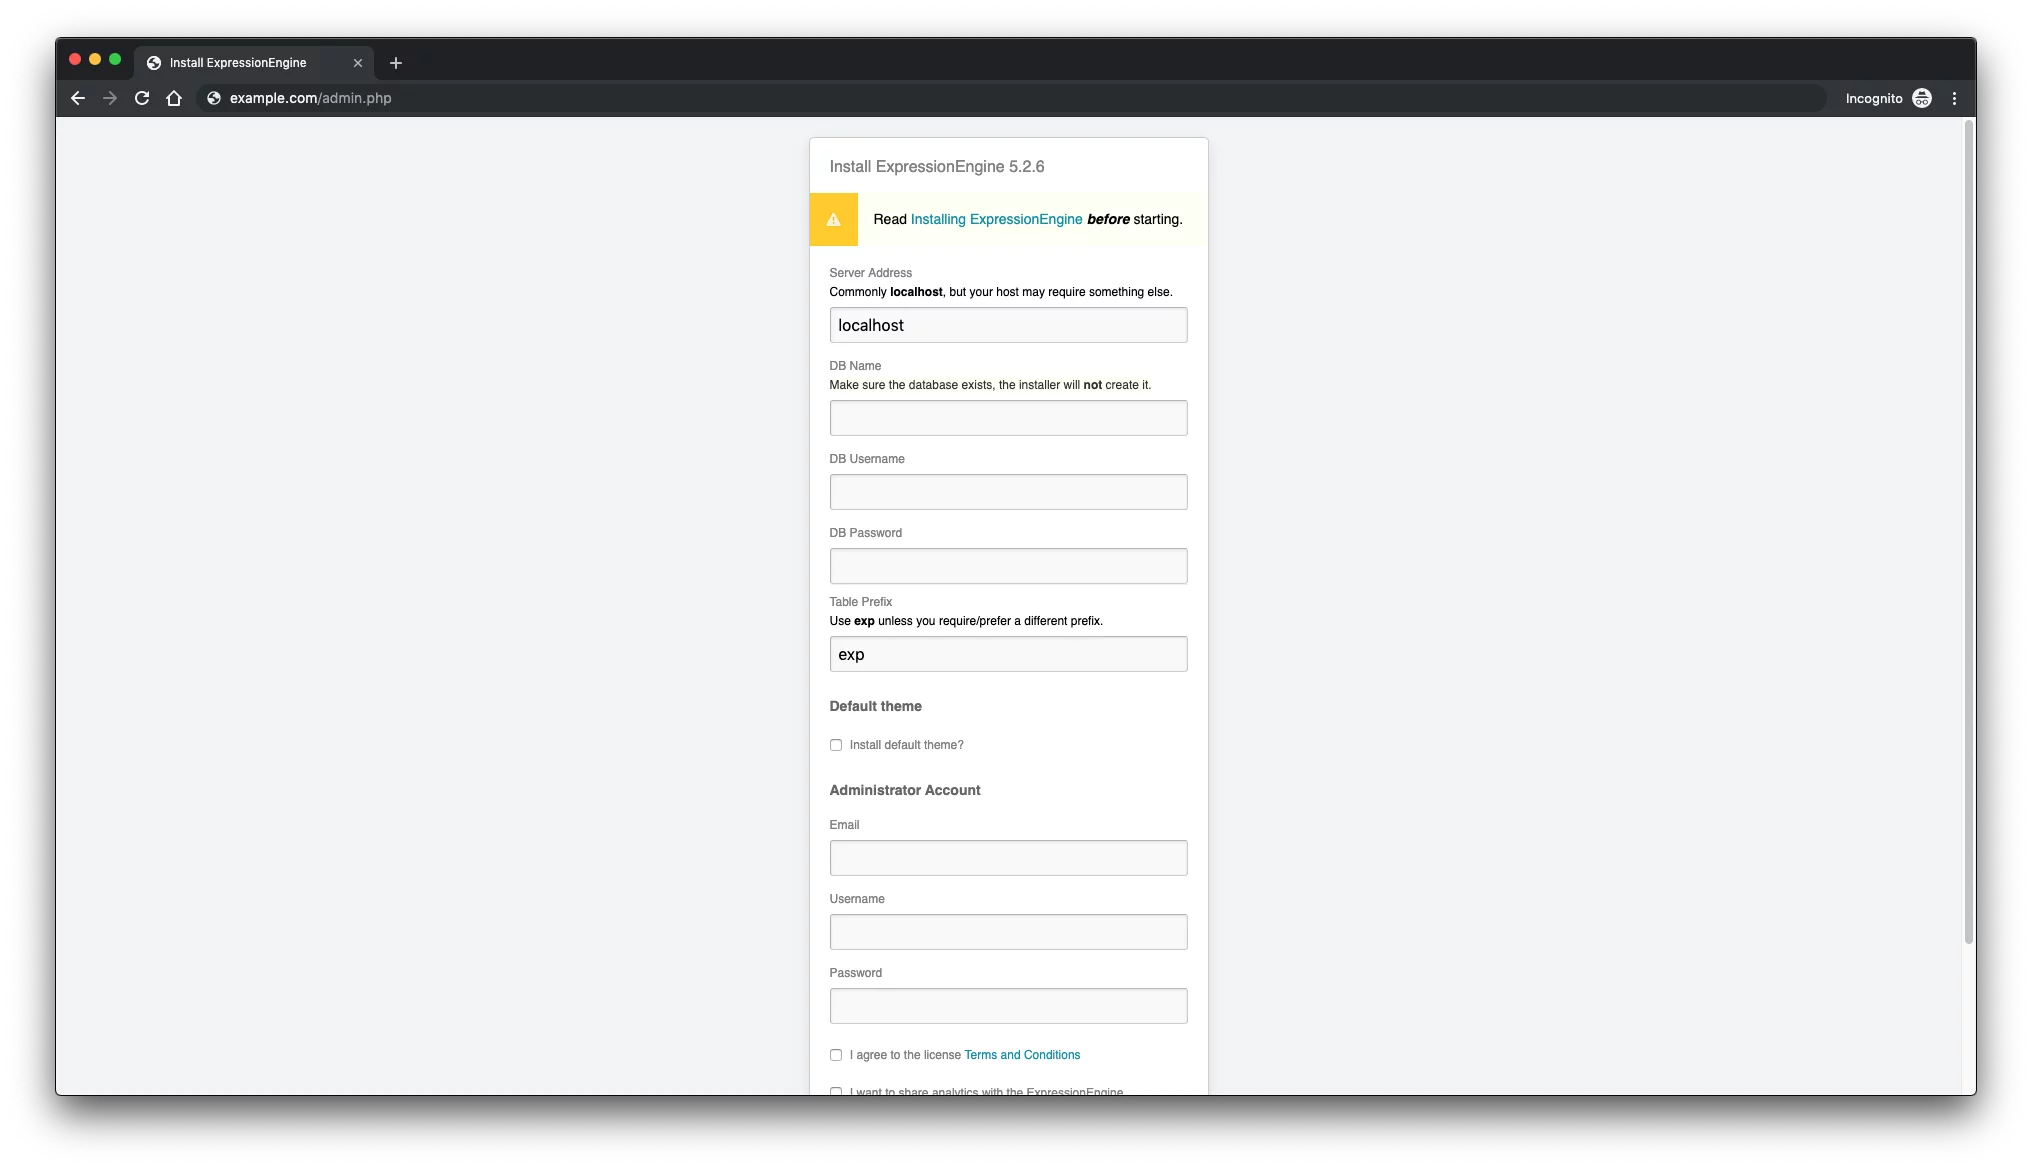
sudo chown -R www-data:www-data /var/www/expressionengine将浏览器指向您上传的 /admin.php 文件(例如:http://example.com/admin.php)并运行安装向导。按照屏幕上的说明安装 ExpressionEngine。安装向导完成后,您应该从服务器中重命名或删除 system/ee/installer/ 目录。
第 6 步 - 完成 ExpressionEngine 设置
填写数据库和管理员用户详细信息单击“安装”按钮:
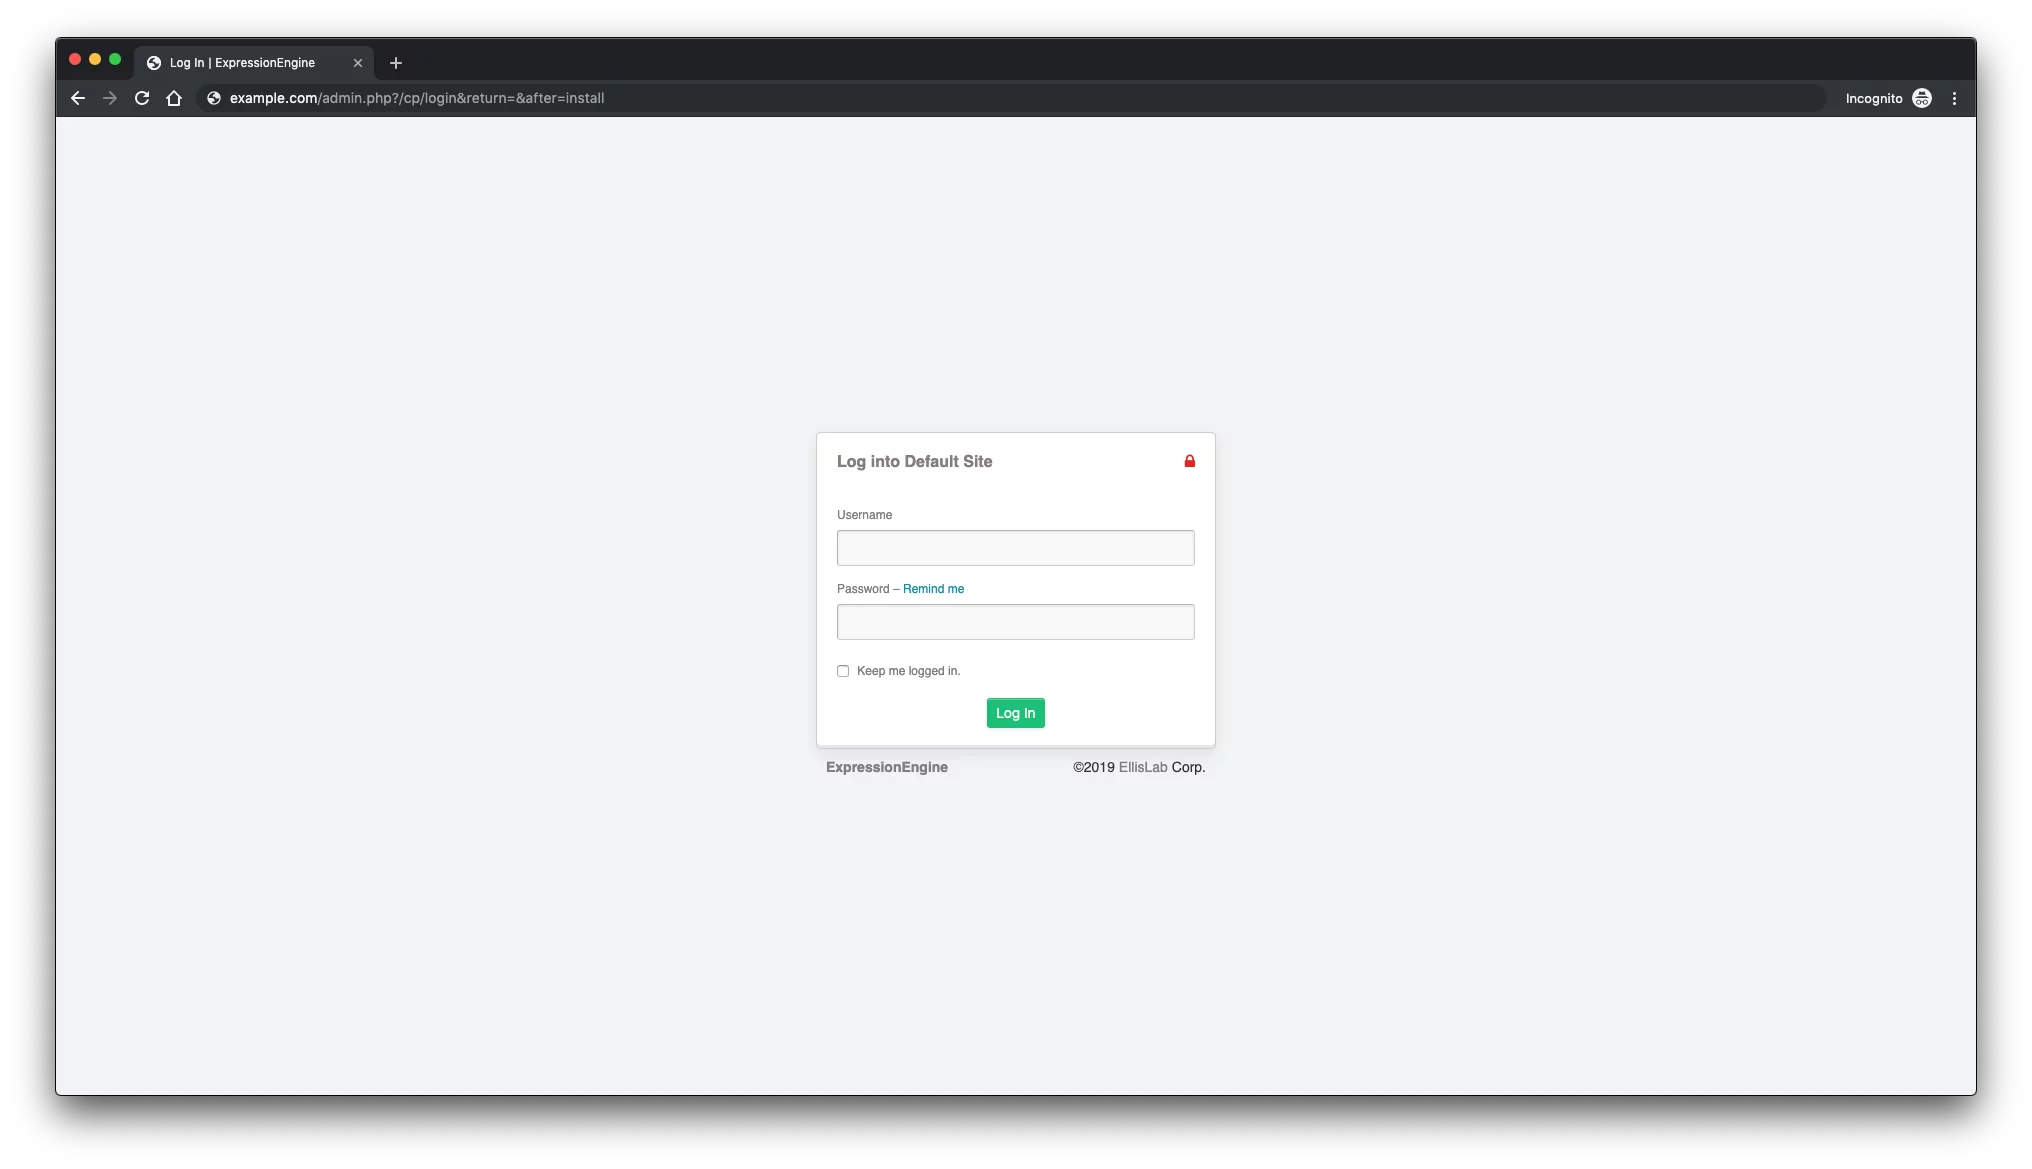
之后,您将被重定向到默认登录页面。输入您的登录详细信息,然后单击“登录”按钮:
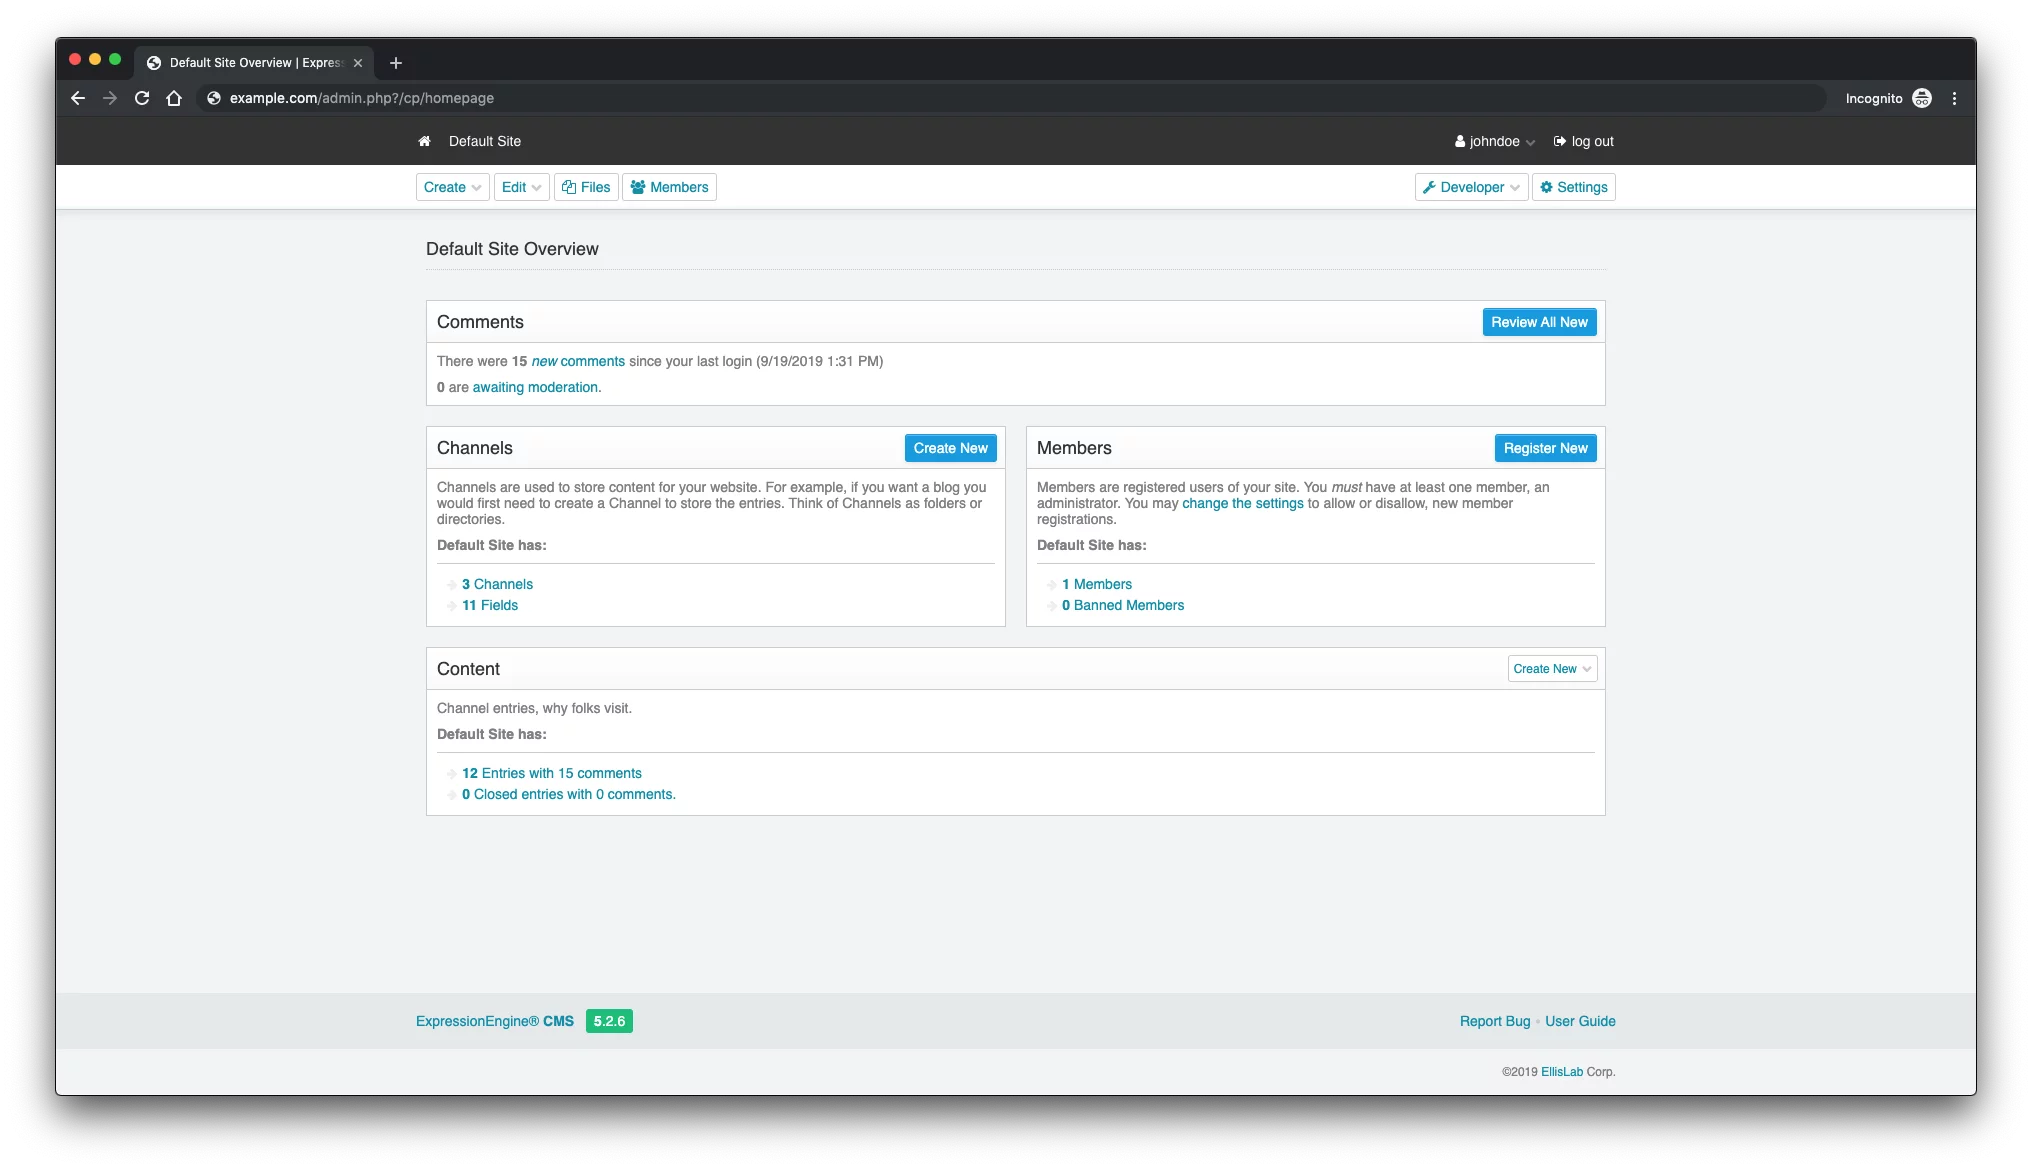
您将看到 ExpressionEngine 仪表板,如下所示:
前端可能是这样的:
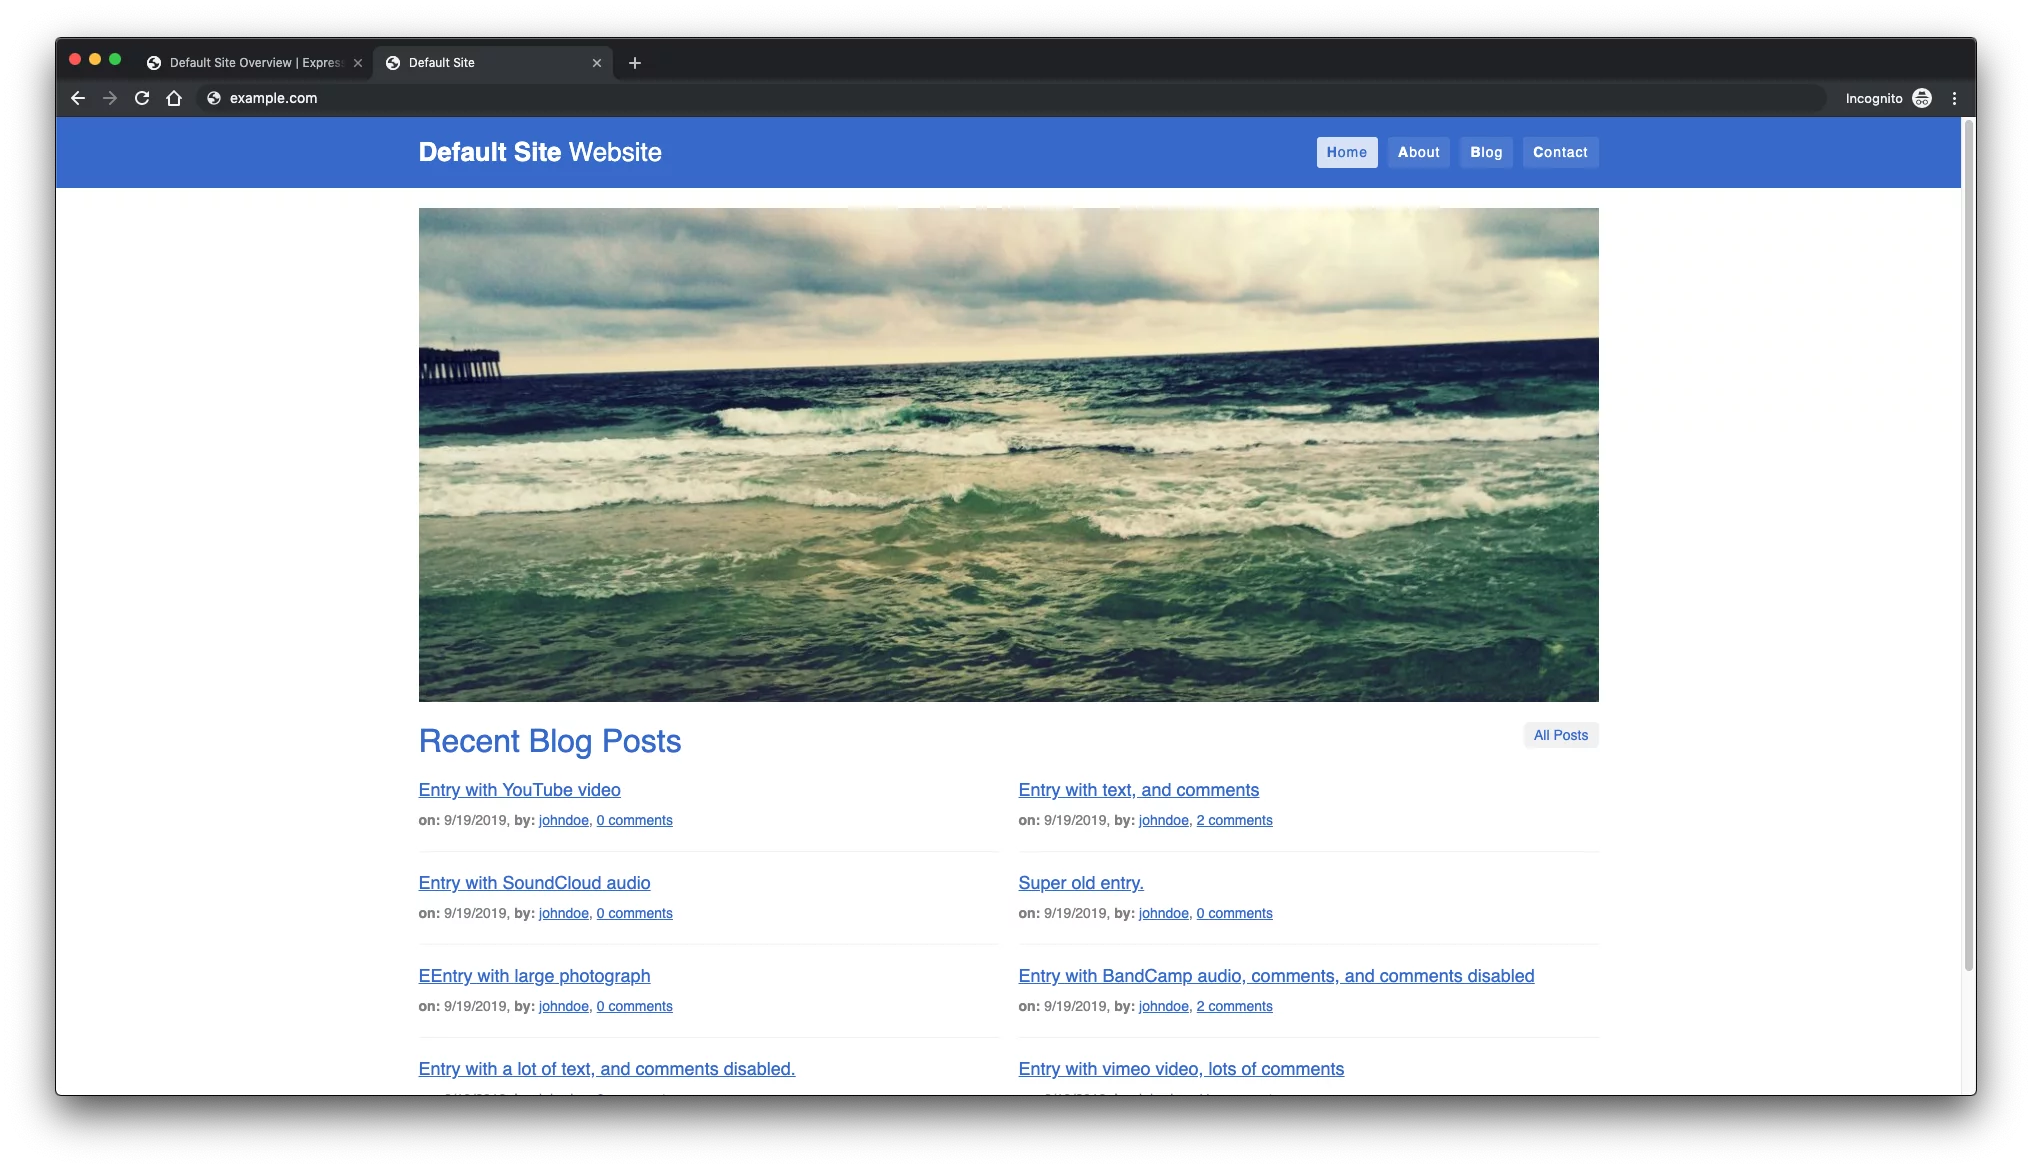
ExpressionEngine CMS 安装现已完成。
链接
- https://expressionengine.com/
- https://github.com/ExpressionEngine/ExpressionEngine