如何在 Ubuntu 14.04 上安装 Mumble 语音聊天服务器
在此页
- 成为您服务器上的根用户
- 安装 Ubuntu 更新
- 安装杂音
- MurMur 配置
- 开机启动
- 网络优先
- 咕哝超级用户密码
Mumble 是专为游戏玩家设计的语音聊天应用程序,使他们可以通过将 mumble 客户端连接到同一服务器来相互交谈。此 IP 语音应用程序类似于 Ventrilo 和 TeamSpeak。简单的管理界面、高质量的编解码器和低延迟使其非常受欢迎。在本文中,我将告诉您如何在您的系统上安装和配置 Murmur。 Murmur 是 Mumble 的服务器组件。
Murmur 允许用户运行他们自己的公共或私人语音聊天服务器。
成为您服务器上的 root 用户
以下步骤必须以 root 用户身份运行。要成为 root 用户,请在 shell 上以“普通”ubuntu 用户身份登录,然后运行:
sudo su成为根用户。
安装 Ubuntu 更新
在继续安装 murmur 之前,您应该检查您的服务器是否安装了最新的更新。执行以下命令以从 Ubuntu 存储库下载更新的软件包列表。
apt-get update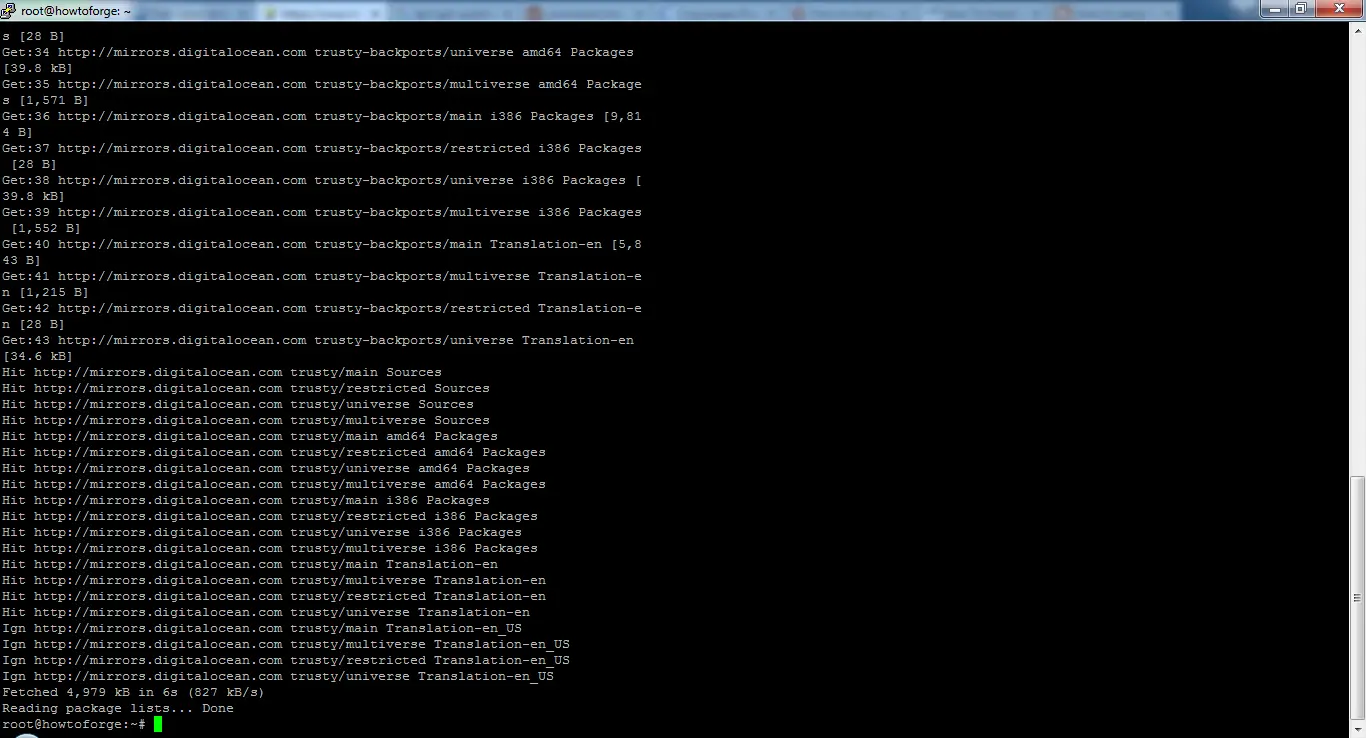
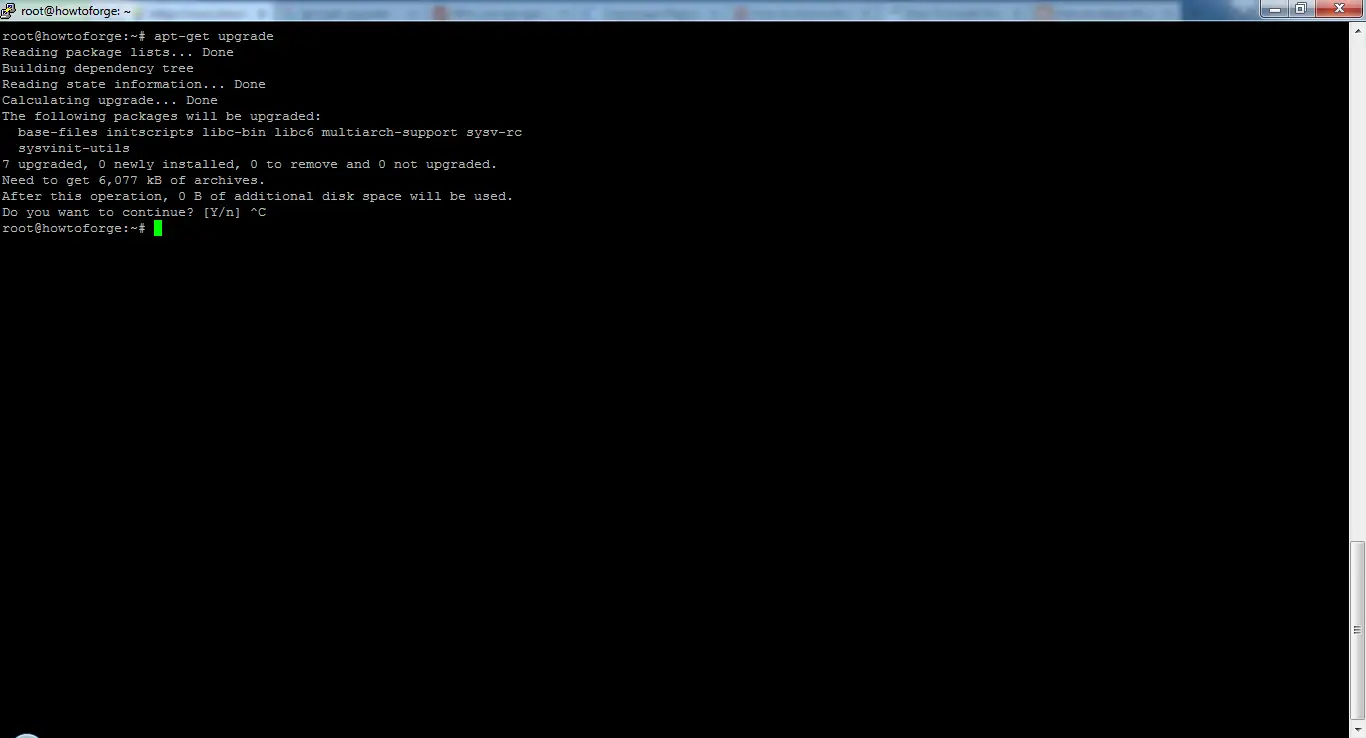
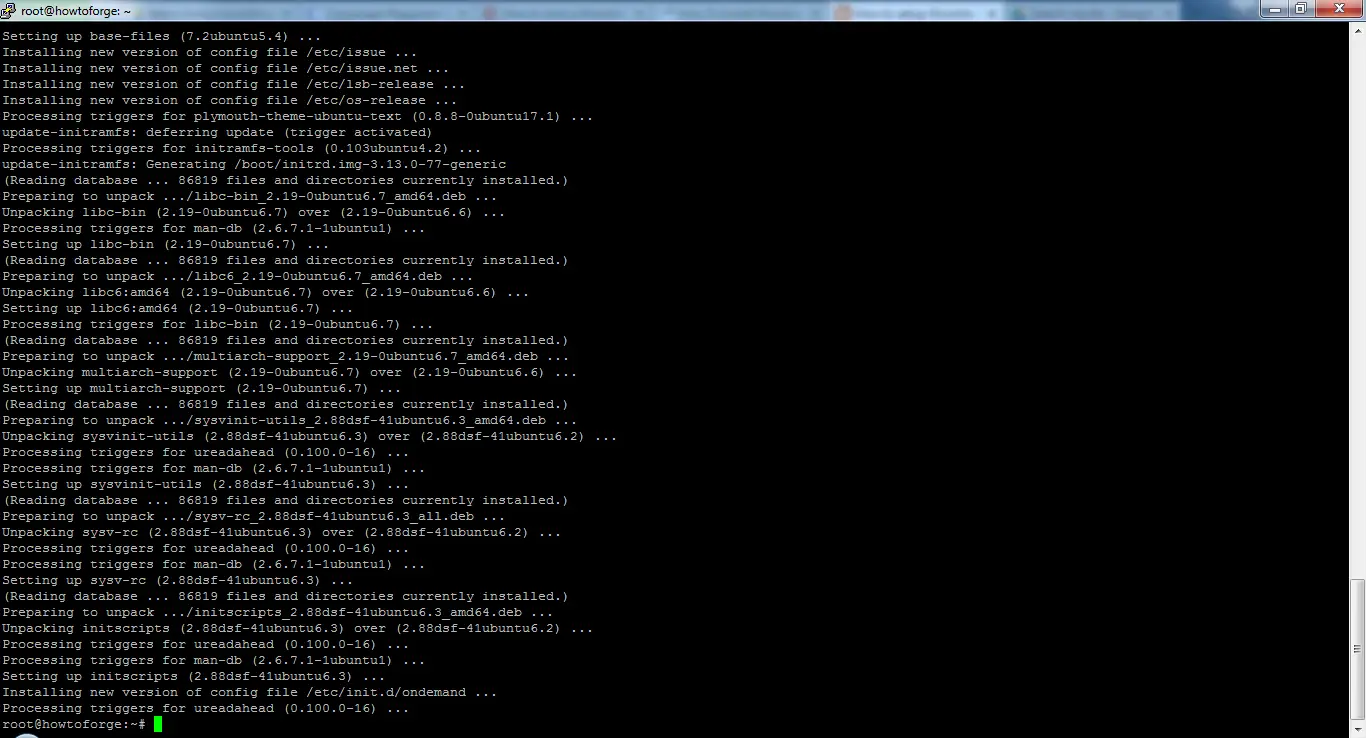
然后使用此命令安装更新:
apt-get upgradeReading package lists... Done
Building dependency tree
Reading state information... Done
Calculating upgrade... Done
The following packages will be upgraded:
base-files initscripts libc-bin libc6 multiarch-support sysv-rc
sysvinit-utils
7 upgraded, 0 newly installed, 0 to remove and 0 not upgraded.
Need to get 6,077 kB of archives.
After this operation, 0 B of additional disk space will be used.
Do you want to continue? [Y/n]按 Y 继续。
安装杂音
Mumble 在官方 Ubuntu 存储库中以 Mumble-Server 的名称提供。
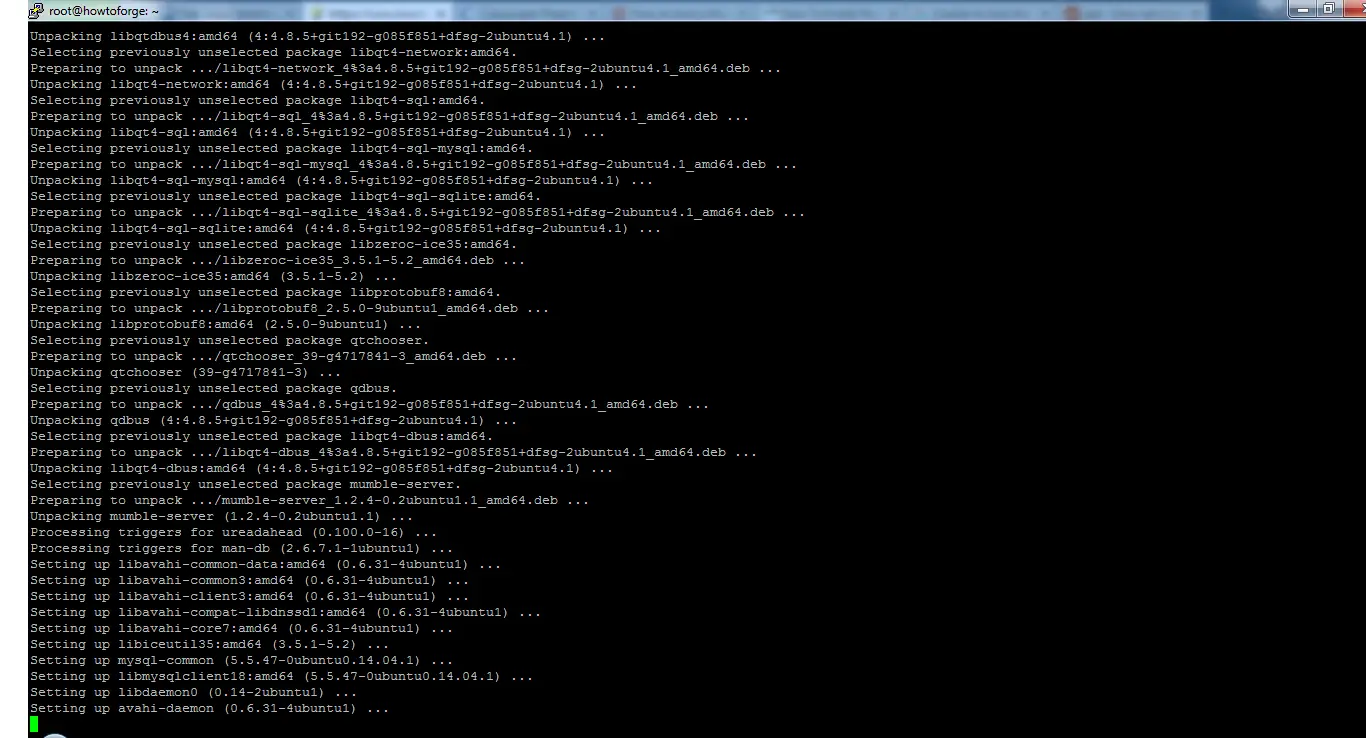
执行命令安装包:
apt-get install mumble-serverReading package lists... Done
Building dependency tree
Reading state information... Done
The following extra packages will be installed:
avahi-daemon libavahi-client3 libavahi-common-data libavahi-common3
libavahi-compat-libdnssd1 libavahi-core7 libdaemon0 libiceutil35
libmysqlclient18 libnss-mdns libprotobuf8 libqt4-dbus libqt4-network
libqt4-sql libqt4-sql-mysql libqt4-sql-sqlite libqt4-xml libqtcore4
libqtdbus4 libzeroc-ice35 mysql-common qdbus qtchooser qtcore4-l10n
Suggested packages:
avahi-autoipd libqt4-dev libicu48 libthai0 mumble-server-web mumble-django
qt4-default qt5-default
The following NEW packages will be installed:
avahi-daemon libavahi-client3 libavahi-common-data libavahi-common3
libavahi-compat-libdnssd1 libavahi-core7 libdaemon0 libiceutil35
libmysqlclient18 libnss-mdns libprotobuf8 libqt4-dbus libqt4-network
libqt4-sql libqt4-sql-mysql libqt4-sql-sqlite libqt4-xml libqtcore4
libqtdbus4 libzeroc-ice35 mumble-server mysql-common qdbus qtchooser
qtcore4-l10n
0 upgraded, 25 newly installed, 0 to remove and 0 not upgraded.
Need to get 5,879 kB of archives.
After this operation, 27.9 MB of additional disk space will be used.
Do you want to continue? [Y/n]然后你将被要求确认安装包,按 Y 然后输入。
杂音配置
安装完成后,您应该运行 package reconfiguration 命令来创建一些基本的服务器和用户设置。在这里,箭头键可用于选择答案,然后按 enter 键继续。
dpkg-reconfigure mumble-server启动时启动
 Mumble-server (murmurd) can start automatically when the server is booted. ?
 ? ?
 ? Autostart mumble-server on server boot?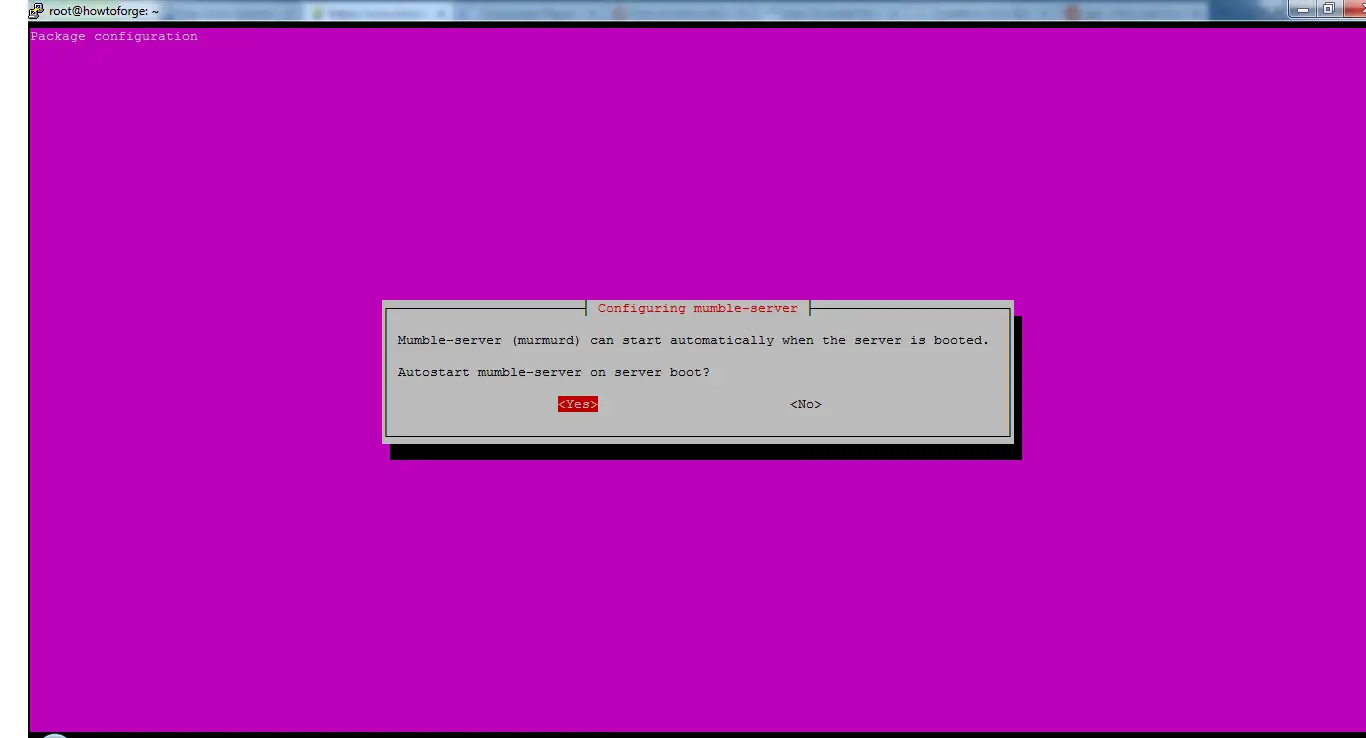
接受默认值 Yes,因为当服务器启动时我们希望 murmur 也能运行。
网络优先
Mumble-server (murmurd) can use higher process and network priority to ensure low latency audio forwarding even on highly loaded servers. ?
 ? ?
 ? Allow mumble-server to use higher priority?
为确保尽可能低的延迟,请选择是。
咕哝超级用户密码
Murmur has a special account called "SuperUser" which bypasses all privilege checks. ?
 ? ?
 ? If you set a password here, the password for the "SuperUser" account will be updated. ?
 ? ?
 ? If you leave this blank, the password will not be changed. ?
 ? ?
 ? Password to set on SuperUser account: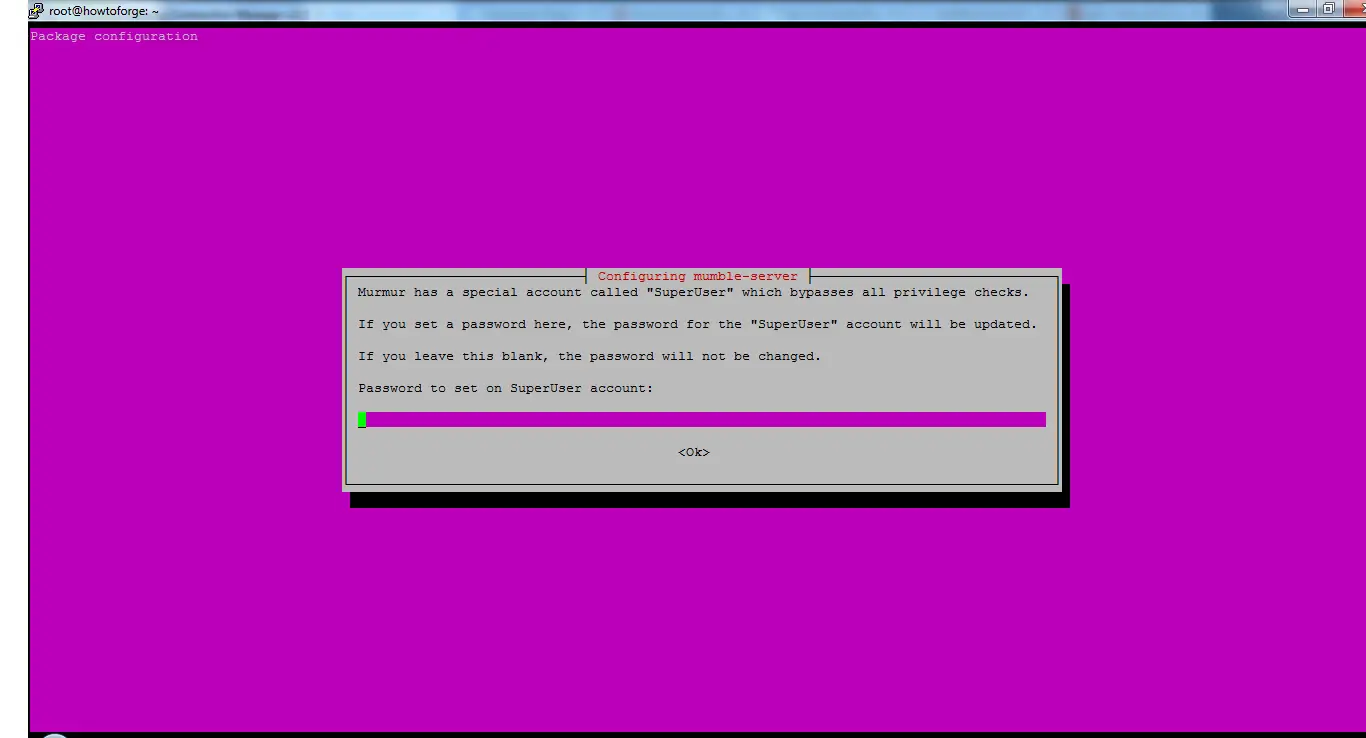
当您想要管理服务器时,您需要使用此用户登录 Mumble,这是 Mumble 的最高级别管理帐户。
如果您将密码字段留空,密码将保持默认值。我强烈建议您更改此帐户的密码并选择一个长而安全的密码。
在字段中输入所需的密码,按 Tab 键并按回车键设置新密码。
现在,我们正在使用 mumble 服务器和一个超级用户帐户。
高级配置
接下来,我们将编辑配置文件并查看最常见的内容。您可以在此位置找到服务器配置文件:/etc/mumble-server.ini。
在您喜欢的文本编辑器中打开配置文件:
nano /etc/mumble-server.iniGeneral notes:
# * Settings in this file are default settings and many of them can be overridden
# with virtual server specific configuration via the Ice or DBus interface.
# * Due to the way this configuration file is read some rules have to be
# followed when specifying variable values (as in variable = value):
# * Make sure to quote the value when using commas in strings or passwords.
# NOT variable = super,secret BUT variable = "super,secret"
# * Make sure to escape special characters like '\' or '"' correctly
# NOT variable = """ BUT variable = "\""
# NOT regex = \w* BUT regex = \\w*
# Path to database. If blank, will search for
# murmur.sqlite in default locations or create it if not found.
database=/var/lib/mumble-server/mumble-server.sqlite
# If you wish to use something other than SQLite, you'll need to set the name
# of the database above, and also uncomment the below.
# Sticking with SQLite is strongly recommended, as it's the most well tested
# and by far the fastest solution.
#
#dbDriver=QMYSQL
#dbUsername=
#dbPassword=
#dbHost=
#dbPort=
#dbPrefix=murmur_
#dbOpts=
# Murmur defaults to not using D-Bus. If you wish to use dbus, which is one of the
# RPC methods available in Murmur, please specify so here.
#
dbus=system
# Alternate D-Bus service name. Only use if you are running distinct
# murmurd processes connected to the same D-Bus daemon.
#dbusservice=net.sourceforge.mumble.murmur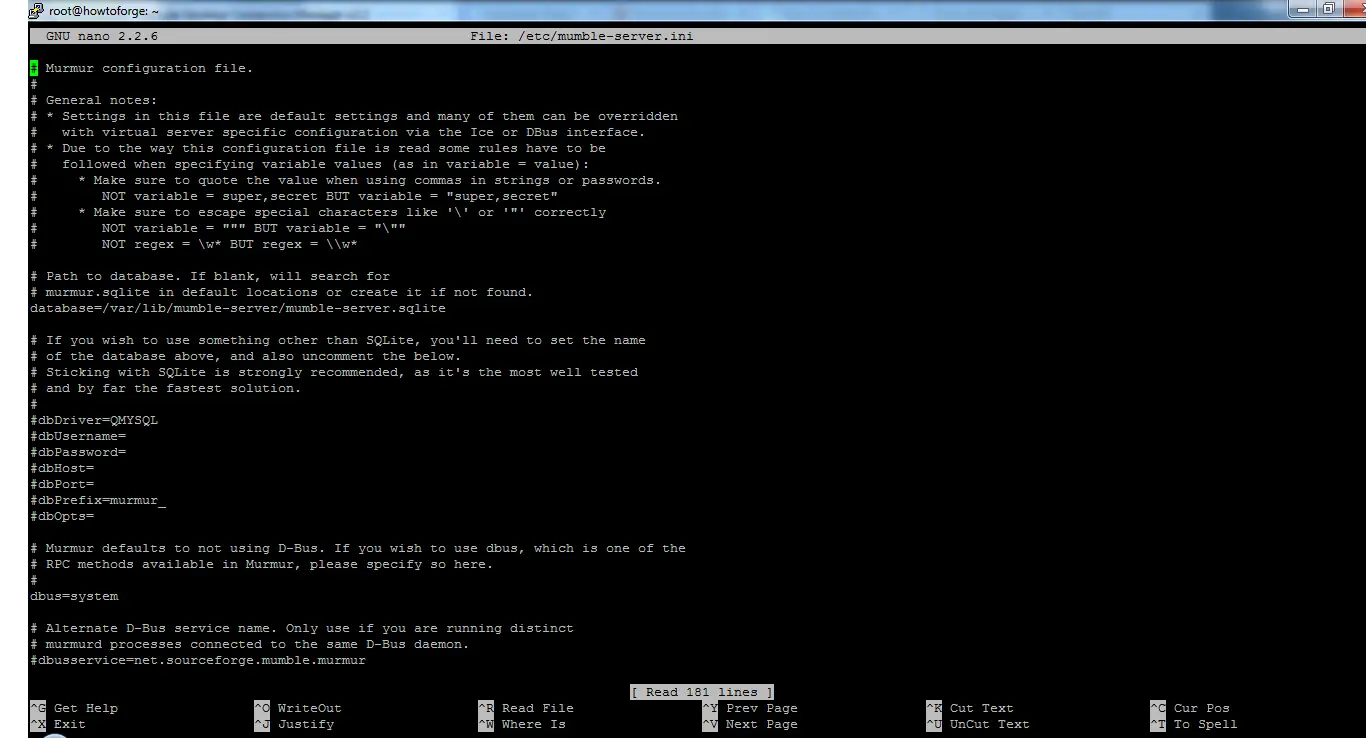
下面列出了一些经常更改的值以供参考。您必须删除 # 字符才能启用设置。 # 被称为取消注释行。服务器不会处理任何以# 开头的行。
- autobanTimeframe、autobanAttempts、autobanTime——这些值可以防止暴力登录尝试。这将在特定时间段内禁止 IP,直到满足条件为止。下面的设置是30秒内尝试连接3次(不成功)的人将被禁言60秒的设置。谨慎使用此设置,将其设置得太低可能会禁止您自己。设置为高,它基本上是无效的。
#autobanAttempts = 3 #autobanTimeframe = 30 #autobanTime = 60- welcometext – 此设置会在用户每次登录服务器时向他们显示一条消息。它通知用户规则、链接到您的网站等。要使用 HTML 字符和标签,请将条目封装在引号中。
# welcometext=Thank you for choosing linux教程! We hope you enjoy your stay- 端口– 64738 是默认的 mumble 端口,您可以随时更改此端口,但请确保将此新端口告知用户,否则他们将无法再连接到服务器。但要避免为其他服务使用标准端口号,如 21、22、25、80 或 443。您可以使用 \netstat -ntap\ 命令查看服务器上正在使用哪些端口以找到可用端口。
# port=64738- Host——默认情况下,mumble 会将您绑定到任何主机名。如果您希望使用单个主机名,您可以通过输入该主机名来更改它。
- 带宽——这是允许每个用户使用的带宽量。如果您设置更高的值,那么每个消费者将消耗更多的 RAM。要在 512 RAM 上托管 50 个用户,60000-72000 之间的值比较合适。
#bandwidth=72000- 用户——可以同时连接到服务器的最大用户数。
#users=150- textmessagelength – 这限制了用户每条短信可以发送的字符数。默认情况下不启用此设置。
- imagemessagelength – 这限制了用户可以发送的图像数量。默认情况下不启用。
- allowhtml– 将 Allowhtml 设置为 true 以允许在消息中使用 HTML
#allowhtml=true- registerName、RegisterUrl——如果您启用这些设置,您的服务器名称将出现在 Mumble 客户端可用的公共列表中。如果未启用,用户必须知道 IP 地址和主机名才能连接到服务器。
要保存更改的配置设置,请按 Ctrl+X,按 Y,然后按 Enter 保存,否则更改将设置回以前的值。您必须重新启动 Murmur 才能启用更改后的配置;这将断开所有用户与服务器的连接。
要重新启动 Murmur,请执行命令:
service mumble-server restart连接到您的 Mumble 服务器
以下步骤将帮助您将超级用户连接到 Mumble 服务器。其他用户稍后可以按照相同的步骤进行连接。任何其他用户不需要密码,他们只需要一个 IP 地址和端口号即可连接。
- 将 Mumble 客户端下载到您的系统
- 在您的计算机上打开 Mumble 客户端
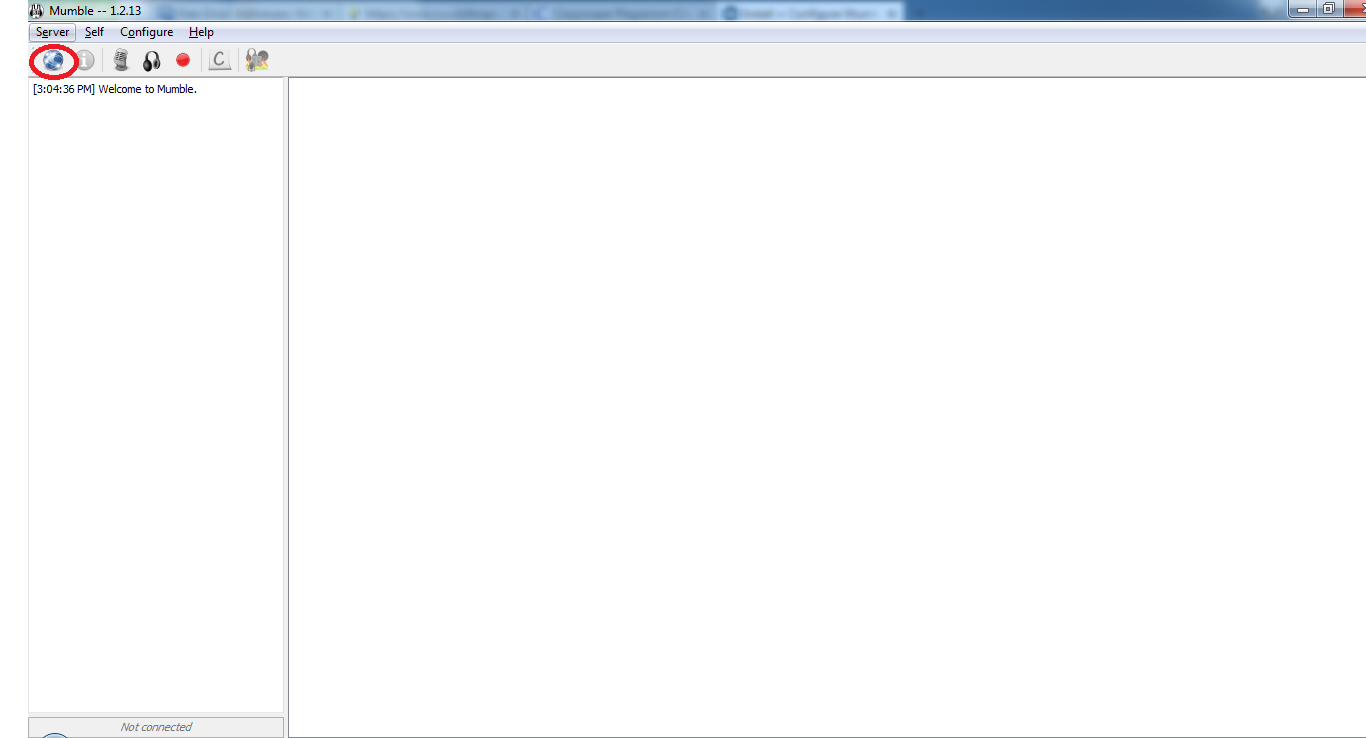
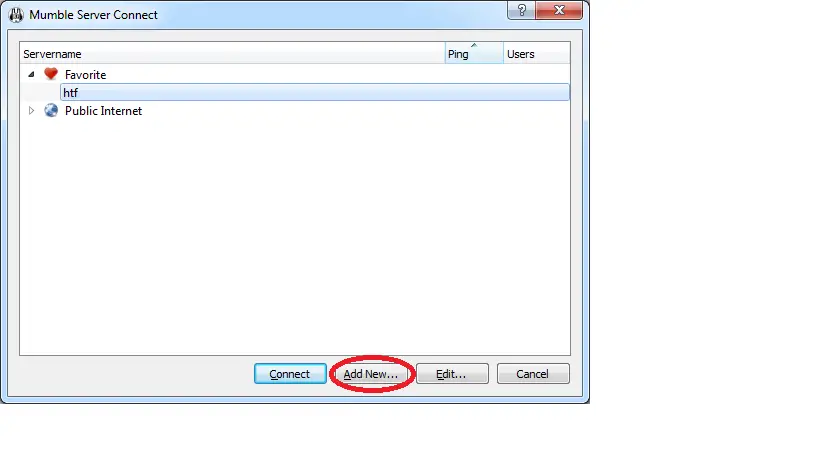
- 点击连接
- 点击添加新
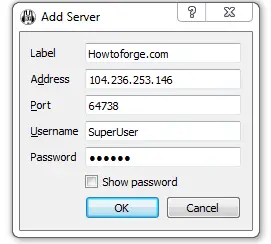
- 输入 mumble 服务器所需的信息。地址可以是任何内容,可以是主机名或服务器的 IP 地址。默认端口为 64736,如果您更改了新端口,则用户必须输入新端口才能连接。单击确定以保存设置。
- 要连接到服务器,只需单击“连接”。服务器可以在您的收藏夹中看到。

- 您必须接受服务器的签名证书。
- 成功连接后,您将收到已连接消息。
- 现在,您可以与该服务器上的任何用户聊天。
您的 Mumble 服务器已安装并可以使用。