如何在 Ubuntu 18.04 LTS 上安装 Monica 个人关系经理
在此页
- 要求
- 开始
- 安装 Nginx、MariaDB 和 PHP
- 配置 MariaDB
- 安装 Composer 和 Node.j
- 安装和配置莫妮卡
- 为 Monica 配置 Nginx
- 访问莫妮卡
Monica 是一款免费、开源的基于 Web 的人际关系管理软件,使用 Laravel 框架编写。它用于跟踪有关您的朋友和家人的所有重要详细信息。您可以使用 Monica 轻松添加和管理联系人、定义联系人之间的关系、设置生日自动提醒。您还可以使用 Monica 跟踪在社交媒体或短信上进行的对话。 Monica 可以定义联系表上应显示的部分。
在本教程中,我们将学习如何在 Ubuntu 18.04 服务器上安装 Monica PRM。
要求
- 一台运行 Ubuntu 18.04 的服务器。
- 在您的服务器上设置了根密码。
入门
首先,您需要使用最新版本更新您的系统。您可以使用以下命令执行此操作:
apt-get update -y
apt-get upgrade -y
更新系统后,重新启动系统以应用这些更改。
安装 Nginx、MariaDB 和 PHP
首先,您需要在您的服务器上安装 Nginx、MariaDB 服务器、PHP 和其他 PHP 模块。您可以通过运行以下命令来安装所有这些:
apt-get install nginx mariadb-server php7.2 php7.2-cli php7.2-fpm php7.2-common php7.2-mbstring php7.2-xml php7.2-mysql php7.2-curl php7.2-zip php7.2-intl git wget unzip -y安装所有软件包后,您可以继续下一步。
配置 MariaDB
默认情况下,MariaDB 安装是不安全的,因此您需要先对其进行保护。您可以使用以下命令保护它:
mysql_secure_installation Enter current password for root (enter for none):
Set root password? [Y/n]: N
Remove anonymous users? [Y/n]: Y
Disallow root login remotely? [Y/n]: Y
Remove test database and access to it? [Y/n]: Y
Reload privilege tables now? [Y/n]: Y
MariaDB 安全后,使用以下命令登录到 MariaDB shell:
mysql -u root -p输入您的根密码。然后,使用以下命令为 Monica 创建数据库和用户:
MariaDB [(none)]> create database monica;
MariaDB [(none)]> create user  identified by 'password';
接下来,使用以下命令将所有权限授予 Monica:
MariaDB [(none)]> GRANT ALL ON monica.* TO 'monica'@'localhost' IDENTIFIED BY 'password' WITH GRANT OPTION;接下来,使用以下命令刷新权限并退出 MariaDB shell:
MariaDB [(none)]> FLUSH PRIVILEGES;
MariaDB [(none)]> EXIT;
安装 Composer 和 Node.j
接下来,您需要将 Composer 安装到您的系统中。 Composer 是 PHP 编程语言的包管理器。它用于安装 PHP 所需的所有依赖项。
首先,使用以下命令下载作曲家安装程序:
php -r "copy('https://getcomposer.org/installer', 'composer-setup.php');"接下来,您需要通过将脚本 SHA-384 哈希与 Composer 公钥页面上找到的最新安装程序哈希进行比较来验证脚本的数据完整性。您可以使用以下命令执行此操作:
HASH="$(wget -q -O - https://composer.github.io/installer.sig)"
php -r "if (hash_file('SHA384', 'composer-setup.php') === '$HASH') { echo 'Installer verified'; } else { echo 'Installer corrupt'; unlink('composer-setup.php'); } echo PHP_EOL;"
如果一切正常,您应该会看到以下输出:
Installer verified
接下来,使用以下命令安装 Composer:
php composer-setup.php --install-dir=/usr/local/bin --filename=composer您应该看到以下输出:
All settings correct for using Composer
Downloading...

Composer (version 1.8.4) successfully installed to: /usr/local/bin/composer
Use it: php /usr/local/bin/composer
接下来,使用以下命令安装 Node.js:
curl -sL https://deb.nodesource.com/setup_10.x | bash -
apt-get install -y nodejs
安装和配置莫妮卡
接下来,您需要为 Monica 创建一个目录结构。您可以使用以下命令执行此操作:
mkdir -p /var/www/monica接下来,将目录更改为 monica 并使用以下命令下载最新版本的 Monica:
cd /var/www/monica
git clone https://github.com/monicahq/monica.git .
git checkout tags/v2.1.1
您应该看到以下输出:
Note: checking out 'tags/v2.1.1'.

You are in 'detached HEAD' state. You can look around, make experimental
changes and commit them, and you can discard any commits you make in this
state without impacting any branches by performing another checkout.

If you want to create a new branch to retain commits you create, you may
do so (now or later) by using -b with the checkout command again. Example:

  git checkout -b

HEAD is now at dcfd15fa Update translations (#1324)
接下来,您需要重命名示例环境变量文件。您可以使用以下命令执行此操作:
mv .env.example .env接下来,打开 .env 文件并定义您的数据库和用户名:
nano .env进行以下更改:
# Database information
# To keep this information secure, we urge you to change the default password
DB_CONNECTION=mysql
DB_HOST=127.0.0.1
DB_PORT=3306
# You can use mysql unix socket if available, it overrides DB_HOST and DB_PORT values.
#DB_UNIX_SOCKET=/var/run/mysqld/mysqld.sock
DB_DATABASE=monica
DB_USERNAME=monica
DB_PASSWORD=password
接下来,使用以下命令使用 Composer 安装所有必需的 PHP 依赖项:
composer install --no-interaction --no-suggest --no-dev --ignore-platform-reqs接下来,使用以下命令安装所有前端依赖项:
npm install接下来,使用以下命令编译 JS 和 CSS:
npm run production接下来,使用以下命令生成应用程序密钥:
php artisan key:generate接下来,使用以下命令迁移和播种数据库:
php artisan setup:production您应该看到以下输出:
 You are about to setup and configure Monica. Do you wish to continue? (yes/no) [no]:
 > yes


-----------------------------
|
| Welcome to Monica v2.1.1
|
-----------------------------
| You can now register to the first account by opening the application:
| URL:      http://localhost
-----------------------------
Setup is done. Have fun.
接下来,使用以下命令为 monica 目录提供适当的权限:
chown -R www-data:www-data /var/www/monica完成后,您可以继续下一步。
为 Monica 配置 Nginx
接下来,您需要为 Monica 创建一个 Nginx 虚拟主机文件。您可以通过使用以下命令在 /etc/nginx/sites-available/ 目录中创建 monica.conf 文件来执行此操作:
nano /etc/nginx/sites-available/monica.conf添加以下行:
server {
    listen 80;
    listen [::]:80;

    server_name example.com;
    root /var/www/monica/public;

    index index.php;

    location / {
        try_files $uri $uri/ /index.php?$args;
    }

    location ~ \.php$ {
        include snippets/fastcgi-php.conf;
        fastcgi_pass unix:/var/run/php/php7.2-fpm.sock;
    }
}
保存并关闭文件。然后,使用以下命令重启 Nginx 服务:
systemctl restart nginx您现在可以使用以下命令检查 Nginx 的状态:
systemctl status nginx输出:
? nginx.service - A high performance web server and a reverse proxy server
   Loaded: loaded (/lib/systemd/system/nginx.service; enabled; vendor preset: enabled)
   Active: active (running) since Fri 2019-02-15 10:03:53 UTC; 2min 12s ago
     Docs: man:nginx(8)
  Process: 22598 ExecStop=/sbin/start-stop-daemon --quiet --stop --retry QUIT/5 --pidfile /run/nginx.pid (code=killed, signal=TERM)
  Process: 22612 ExecStart=/usr/sbin/nginx -g daemon on; master_process on; (code=exited, status=0/SUCCESS)
  Process: 22601 ExecStartPre=/usr/sbin/nginx -t -q -g daemon on; master_process on; (code=exited, status=0/SUCCESS)
 Main PID: 22613 (nginx)
    Tasks: 2 (limit: 1114)
   CGroup: /system.slice/nginx.service
           ??22613 nginx: master process /usr/sbin/nginx -g daemon on; master_process on;
           ??22615 nginx: worker process

Feb 15 10:03:53 ubuntu1804 systemd[1]: nginx.service: Failed with result 'timeout'.
Feb 15 10:03:53 ubuntu1804 systemd[1]: Stopped A high performance web server and a reverse proxy server.
Feb 15 10:03:53 ubuntu1804 systemd[1]: Starting A high performance web server and a reverse proxy server...
Feb 15 10:03:53 ubuntu1804 systemd[1]: nginx.service: Failed to parse PID from file /run/nginx.pid: Invalid argument
Feb 15 10:03:53 ubuntu1804 systemd[1]: Started A high performance web server and a reverse proxy server.
访问莫妮卡
Monica 现已安装并配置完毕。是时候访问 Monica Web 界面了。
现在,打开您的 Web 浏览器并输入 URL http://example.com。您将被重定向到以下页面:
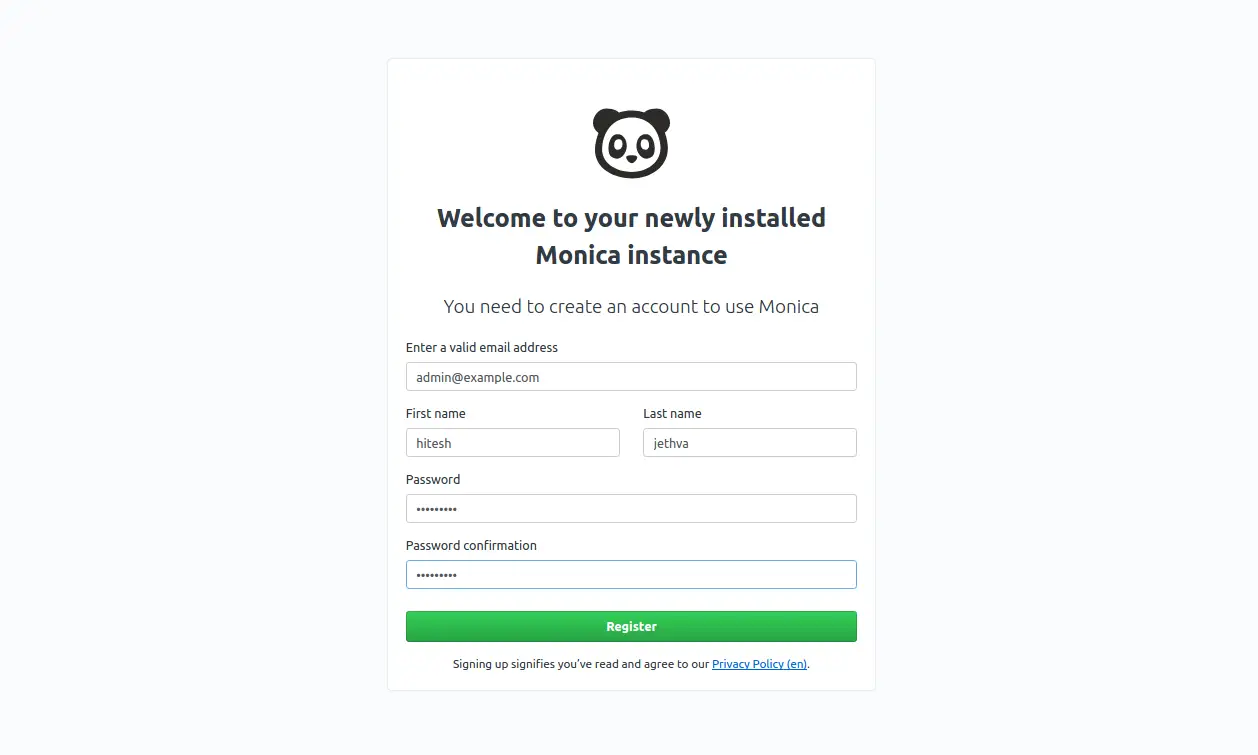
提供您的电子邮件地址、姓名和密码。然后,单击“注册”按钮。您应该在以下页面中看到 Monica 仪表板:
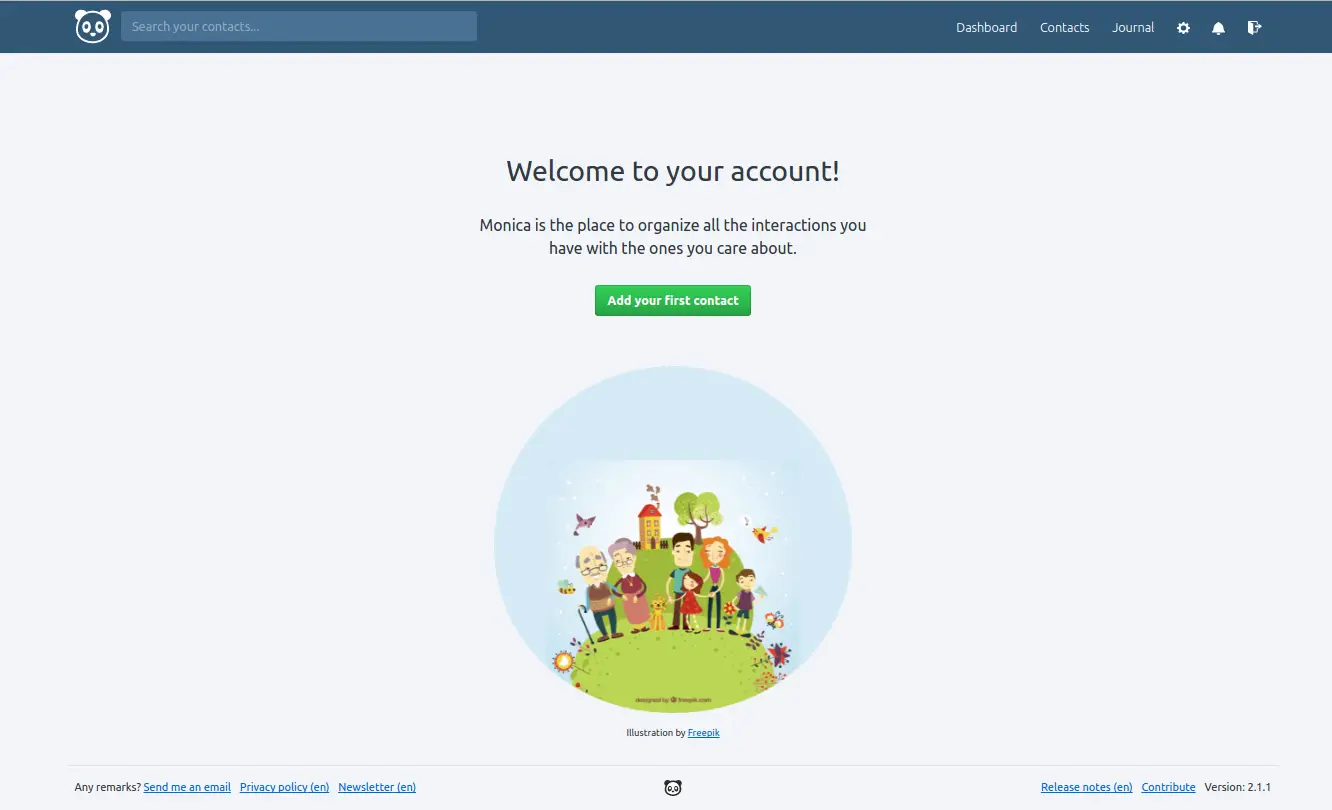
恭喜!您已经在 Ubuntu 18.04 服务器上成功安装了 Monica。您现在可以从中央位置使用 Monica 轻松管理您的联系人。如果您有任何问题,请随时问我。