如何在 CentOS 7 上安装 Matomo Web Analytics
在此页
- 要求
- 先决条件
- 初始步骤
- 第 1 步 - 安装 MariaDB 并为 Matomo 创建数据库
- 第 2 步 - 安装 PHP 和必要的 PHP 扩展
- 第 3 步 - 安装
acme.sh客户端并获取 Let\>) - 第 3 步 - 安装 NGINX 并为 Matomo 配置 NGINX
- 第 4 步 - 安装 Matomo Analytics
- 第 5 步 - 完成 Matomo 分析设置
- 链接
Matomo(以前称为 Piwik)是一个免费的开源网络分析应用程序,由国际开发人员团队开发,在 PHP/MySQL 网络服务器上运行。它跟踪对一个或多个网站的在线访问,并显示这些访问的报告以供分析。您可以将其视为 Google Analytics 的替代品。 Matomo 是开源的,其代码可在 Github 上公开获取。它具有的一些功能是 - A/B 测试、热图、漏斗、跟踪和报告 API、Google AdWords、Facebook Ads、Bing Ads、每次点击成本 (CPC) 等。本教程将向您展示如何在使用 Nginx 作为 Web 服务器的 CentOS 7 系统,我们将使用 Lets Encrypt SSL 证书保护网站。
要求
要在您的 CentOS 7 系统上运行 Matomo (Piwik),您需要一些东西:
- 网络服务器,例如 Apache、Nginx、IIS。
- PHP 版本 5.5.9 或更高版本,带有 pdo 和 pdo_mysql 或 mysqli、gd、xml、curl 和 mbsting 扩展。推荐 PHP 7+。
- MySQL 5.5 或更高版本,或等效的 MariaDB 版本。推荐 MySQL 5.7+。
先决条件
- 运行 CentOS 7 的操作系统。
- 具有 sudo 权限的非根用户。
初始步骤
检查您的 CentOS 版本:
cat /etc/centos-release
设置时区:
timedatectl list-timezones
sudo timedatectl set-timezone 'Region/City'
更新您的操作系统包(软件)。这是重要的第一步,因为它确保您拥有操作系统默认软件包的最新更新和安全修复程序:
sudo yum update -y安装 CentOS 操作系统基本管理所需的一些基本软件包:
sudo yum install -y curl wget vim git unzip socat epel-release第 1 步 - 安装 MariaDB 并为 Matomo 创建数据库
Matomo 支持 MySQL 和 MariaDB 数据库。在本教程中,我们将使用 MariaDB 作为数据库服务器。
为 CentOS 创建 MariaDB 10.2 YUM 存储库:
sudo vim /etc/yum.repos.d/MariaDB.repo将以下文本复制并粘贴到其中:
# MariaDB 10.2 CentOS repository list - created 2017-12-11 23:19 UTC
# http://downloads.mariadb.org/mariadb/repositories/
[mariadb]
name=MariaDB
baseurl=https://yum.mariadb.org/10.2/centos7-amd64
gpgkey=https://yum.mariadb.org/RPM-GPG-KEY-MariaDB
gpgcheck=1
文件就位后,运行以下命令安装 MariaDB:
sudo yum install -y MariaDB-server MariaDB-client检查 MariaDB 版本:
mysql --version
# mysql  Ver 15.1 Distrib 10.2.21-MariaDB, for Linux (x86_64) using readline 5.1
启动并启用 MariaDB 服务:
sudo systemctl start mariadb.service
sudo systemctl enable mariadb.service
运行 mysql_secure 安装 脚本以提高 MariaDB 安全性并为 MariaDB root 用户设置密码:
sudo mysql_secure_installation回答每个问题:
Enter current password for root (enter for none): Press Enter
Set root password? [Y/n] Y
New password: your_secure_password
Re-enter new password: your_secure_password
Remove anonymous users? [Y/n] Y
Disallow root login remotely? [Y/n] Y
Remove test database and access to it? [Y/n] Y
Reload privilege tables now? [Y/n] Y
以根用户身份连接到 MariaDB shell:
sudo mysql -u root -p
# Enter password
为 Matomo 创建一个空的 MariaDB 数据库和用户并记住凭据:
MariaDB [(none)]> CREATE DATABASE dbname;
MariaDB [(none)]> GRANT ALL ON dbname.* TO 'username' IDENTIFIED BY 'password';
MariaDB [(none)]> FLUSH PRIVILEGES;
退出 MariaDB:
MariaDB [(none)]> exit将 dbname、username 和 password 替换为您自己的名称。
第 2 步 - 安装 PHP 和必要的 PHP 扩展
设置 Webtatic YUM 仓库:
sudo rpm -Uvh https://mirror.webtatic.com/yum/el7/webtatic-release.rpm安装 PHP,以及必要的 PHP 扩展:
sudo yum install -y php72w php72w-cli php72w-fpm php72w-common php72w-curl php72w-gd php72w-xml php72w-mbstring php72w-mysqlnd php72w-json要显示在模块中编译的 PHP,您可以运行:
php -m

ctype
curl
exif
fileinfo
. . .
. . .
检查 PHP 版本:
php --version

# PHP 7.2.14 (cli) (built: Jan  8 2019 09:59:17) ( NTS )
# Copyright (c) 1997-2018 The PHP Group
# Zend Engine v3.2.0, Copyright (c) 1998-2018 Zend Technologies
启动并启用 PHP-FPM 服务:
sudo systemctl start php-fpm.service
sudo systemctl enable php-fpm.service
我们可以继续下一步,即从 Lets Encrypt CA 获取免费的 SSL 证书。
第 3 步 - 安装 acme.sh 客户端并获取 Lets Encrypt 证书(可选)
没有必要使用 HTTPS 保护您的网站,但这是保护您的网站流量的好习惯。为了从 Lets Encrypt 获得 TLS 证书,我们将使用 Acme.sh 客户端。 Acme.sh 是一款纯 UNIX shell 软件,用于从 Lets Encrypt 以零依赖方式获取 TLS 证书。
下载并安装 Acme.sh:
sudo mkdir /etc/letsencrypt
git clone https://github.com/Neilpang/acme.sh.git
cd acme.sh
sudo ./acme.sh --install --home /etc/letsencrypt --accountemail
cd ~
检查 Acme.sh 版本:
/etc/letsencrypt/acme.sh --version
# v2.8.0
为您的域/主机名获取 RSA 和 ECC/ECDSA 证书:<br>
# RSA 2048
sudo /etc/letsencrypt/acme.sh --issue --standalone --home /etc/letsencrypt -d example.com --keylength 2048
# ECDSA
sudo /etc/letsencrypt/acme.sh --issue --standalone --home /etc/letsencrypt -d example.com --keylength ec-256运行上述命令后,您的证书和密钥将位于:
- 对于 RSA:
/etc/letsencrypt/example.com目录。 - 对于 ECC/ECDSA:
/etc/letsencrypt/example.com_ecc目录。
第 3 步 - 安装 NGINX 并为 Matomo 配置 NGINX
Matomo 可以很好地与许多流行的网络服务器软件一起工作。在本教程中,我们选择了 Nginx。
从 CentOS 存储库下载并安装 Nginx:
sudo yum install -y nginx检查 Nginx 版本:
sudo nginx -v
启动并启用 Nginx 服务:
sudo systemctl start nginx.service
sudo systemctl enable nginx.service
通过运行以下命令为 Matomo 配置 Nginx:
sudo vim /etc/nginx/conf.d/matomo.conf
并使用以下配置填充文件:
server {

  listen [::]:443 ssl http2;
  listen 443 ssl http2;
  listen [::]:80;
  listen 80;

  server_name example.com;
  root /var/www/matomo/;
  index index.php;

  ssl_certificate /etc/letsencrypt/example.com/fullchain.cer;
  ssl_certificate_key /etc/letsencrypt/example.com/example.com.key;
  ssl_certificate /etc/letsencrypt/example.com_ecc/fullchain.cer;
  ssl_certificate_key /etc/letsencrypt/example.com_ecc/example.com.key;

  location ~ ^/(index|matomo|piwik|js/index).php {
    fastcgi_split_path_info ^(.+\.php)(/.+)$;
    try_files $fastcgi_script_name =404;
    set $path_info $fastcgi_path_info;
    fastcgi_param PATH_INFO $path_info;
    fastcgi_index index.php;
    include fastcgi.conf;
    fastcgi_param SCRIPT_FILENAME $document_root$fastcgi_script_name;
    fastcgi_param SCRIPT_NAME $fastcgi_script_name;
    fastcgi_param HTTP_PROXY "";
    fastcgi_pass 127.0.0.1:9000;
  }

  location = /plugins/HeatmapSessionRecording/configs.php {
    fastcgi_split_path_info ^(.+\.php)(/.+)$;
    try_files $fastcgi_script_name =404;
    set $path_info $fastcgi_path_info;
    fastcgi_param PATH_INFO $path_info;
    fastcgi_index index.php;
    include fastcgi.conf;
    fastcgi_param SCRIPT_FILENAME $document_root$fastcgi_script_name;
    fastcgi_param SCRIPT_NAME $fastcgi_script_name;
    fastcgi_param HTTP_PROXY "";
    fastcgi_pass 127.0.0.1:9000;
  }

  location ~* ^.+\.php$ {
    deny all;
    return 403;
  }

  location / {
    try_files $uri $uri/ =404;
  }

  location ~ /(config|tmp|core|lang) {
    deny all;
    return 403;
  }

  location ~ \.(gif|ico|jpg|png|svg|js|css|htm|html|mp3|mp4|wav|ogg|avi|ttf|eot|woff|woff2|json)$ {
    allow all;
  }

  location ~ /(libs|vendor|plugins|misc/user) {
    deny all;
    return 403;
  }

}注意:有关 Matomo 的完整和生产就绪的 Nginx 配置,请访问 https://github.com/matomo-org/matomo-nginx。
检查 Nginx 配置是否有语法错误:
sudo nginx -t重新加载 Nginx 服务:
sudo systemctl reload nginx.service第 4 步 - 安装 Matomo Analytics
创建 /var/www 目录:
sudo mkdir -p /var/www/导航到 /var/www 目录:
cd /var/www/通过 wget 下载最新版本的 Matomo 并解压:
sudo wget https://builds.matomo.org/matomo.zip && sudo unzip matomo.zip
删除下载的 matomo.zip 文件:
sudo rm matomo.zip将 /var/www/matomo 目录的所有权更改为 nginx user:
sudo chown -R nginx:nginx /var/www/matomo运行 sudo vim /etc/php-fpm.d/www.conf 并将用户和组设置为 nginx。最初,它将设置为用户和组 apache。
sudo vim /etc/php-fpm.d/www.conf
# user = nginx
# group = nginx
重启 PHP-FPM 服务。
sudo systemctl restart php-fpm.service第 5 步 - 完成 Matomo Analytics 设置
在网络浏览器中打开您的站点,然后按照 Matomo 网络安装向导进行操作。
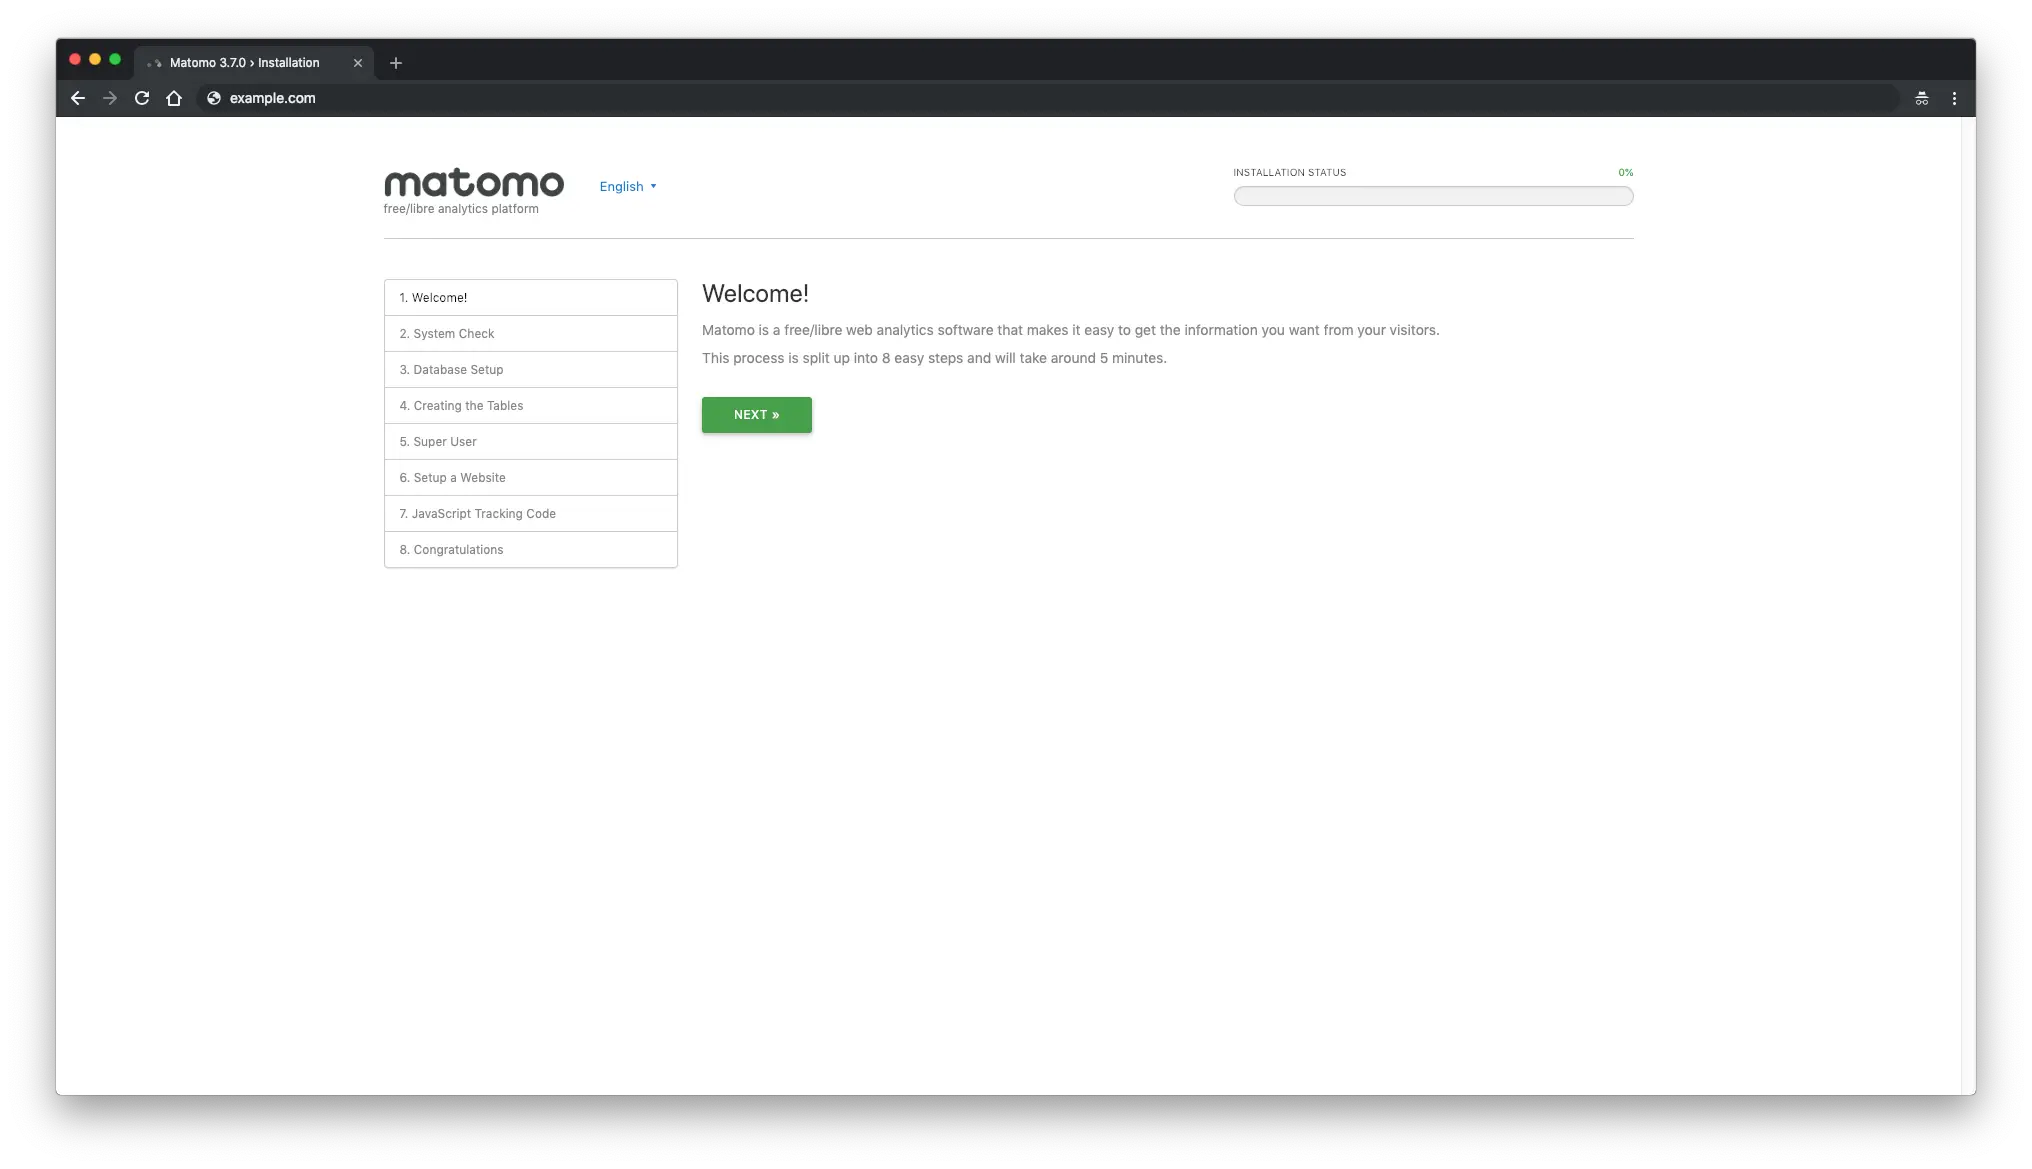
首先,应该会出现 Matomo 欢迎信息。单击“下一步”按钮:
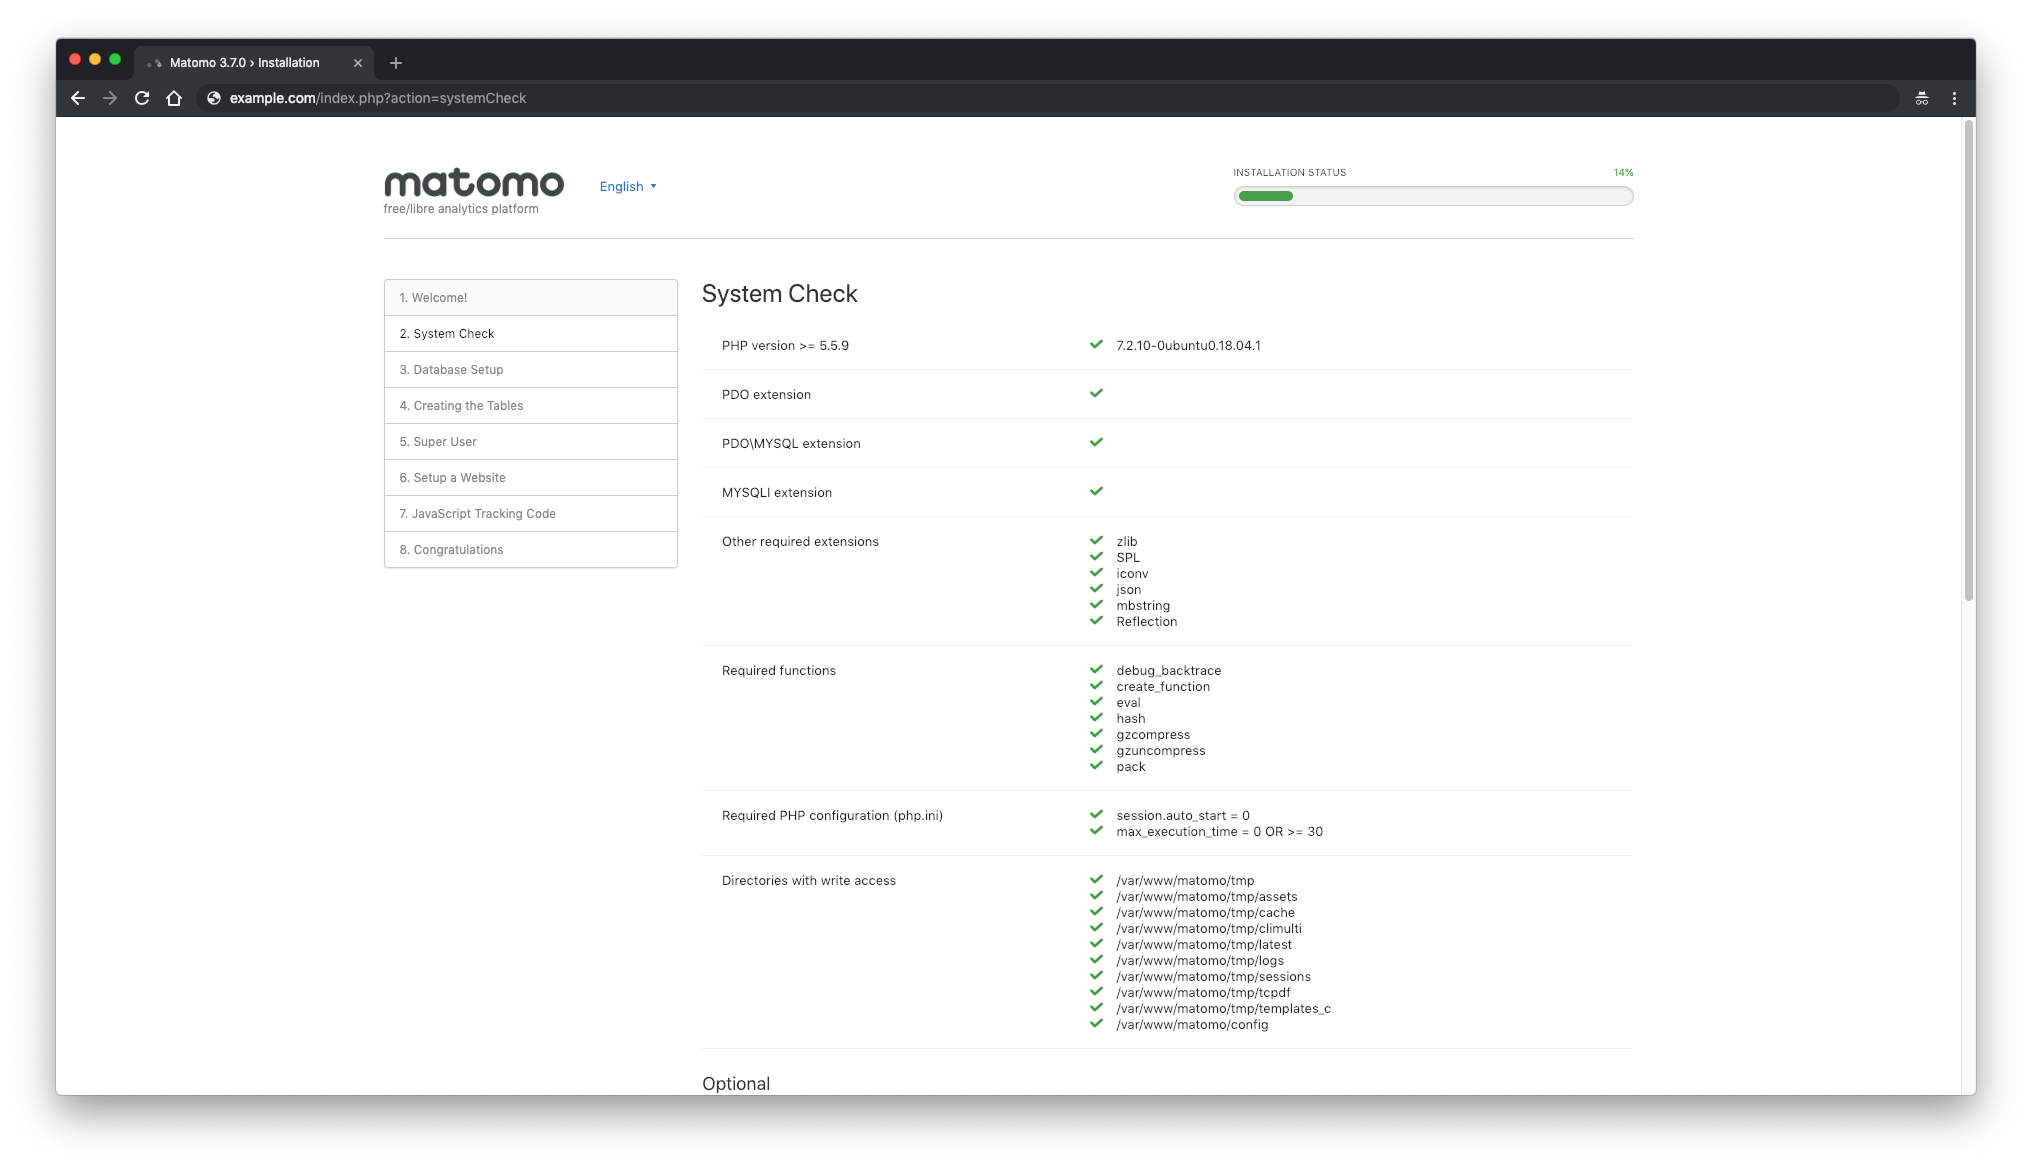
之后,您将看到一个“系统检查”页面。如果缺少某些内容,您将看到一条警告。如果所有内容都标有绿色复选标记,请单击“下一步”按钮继续下一步:
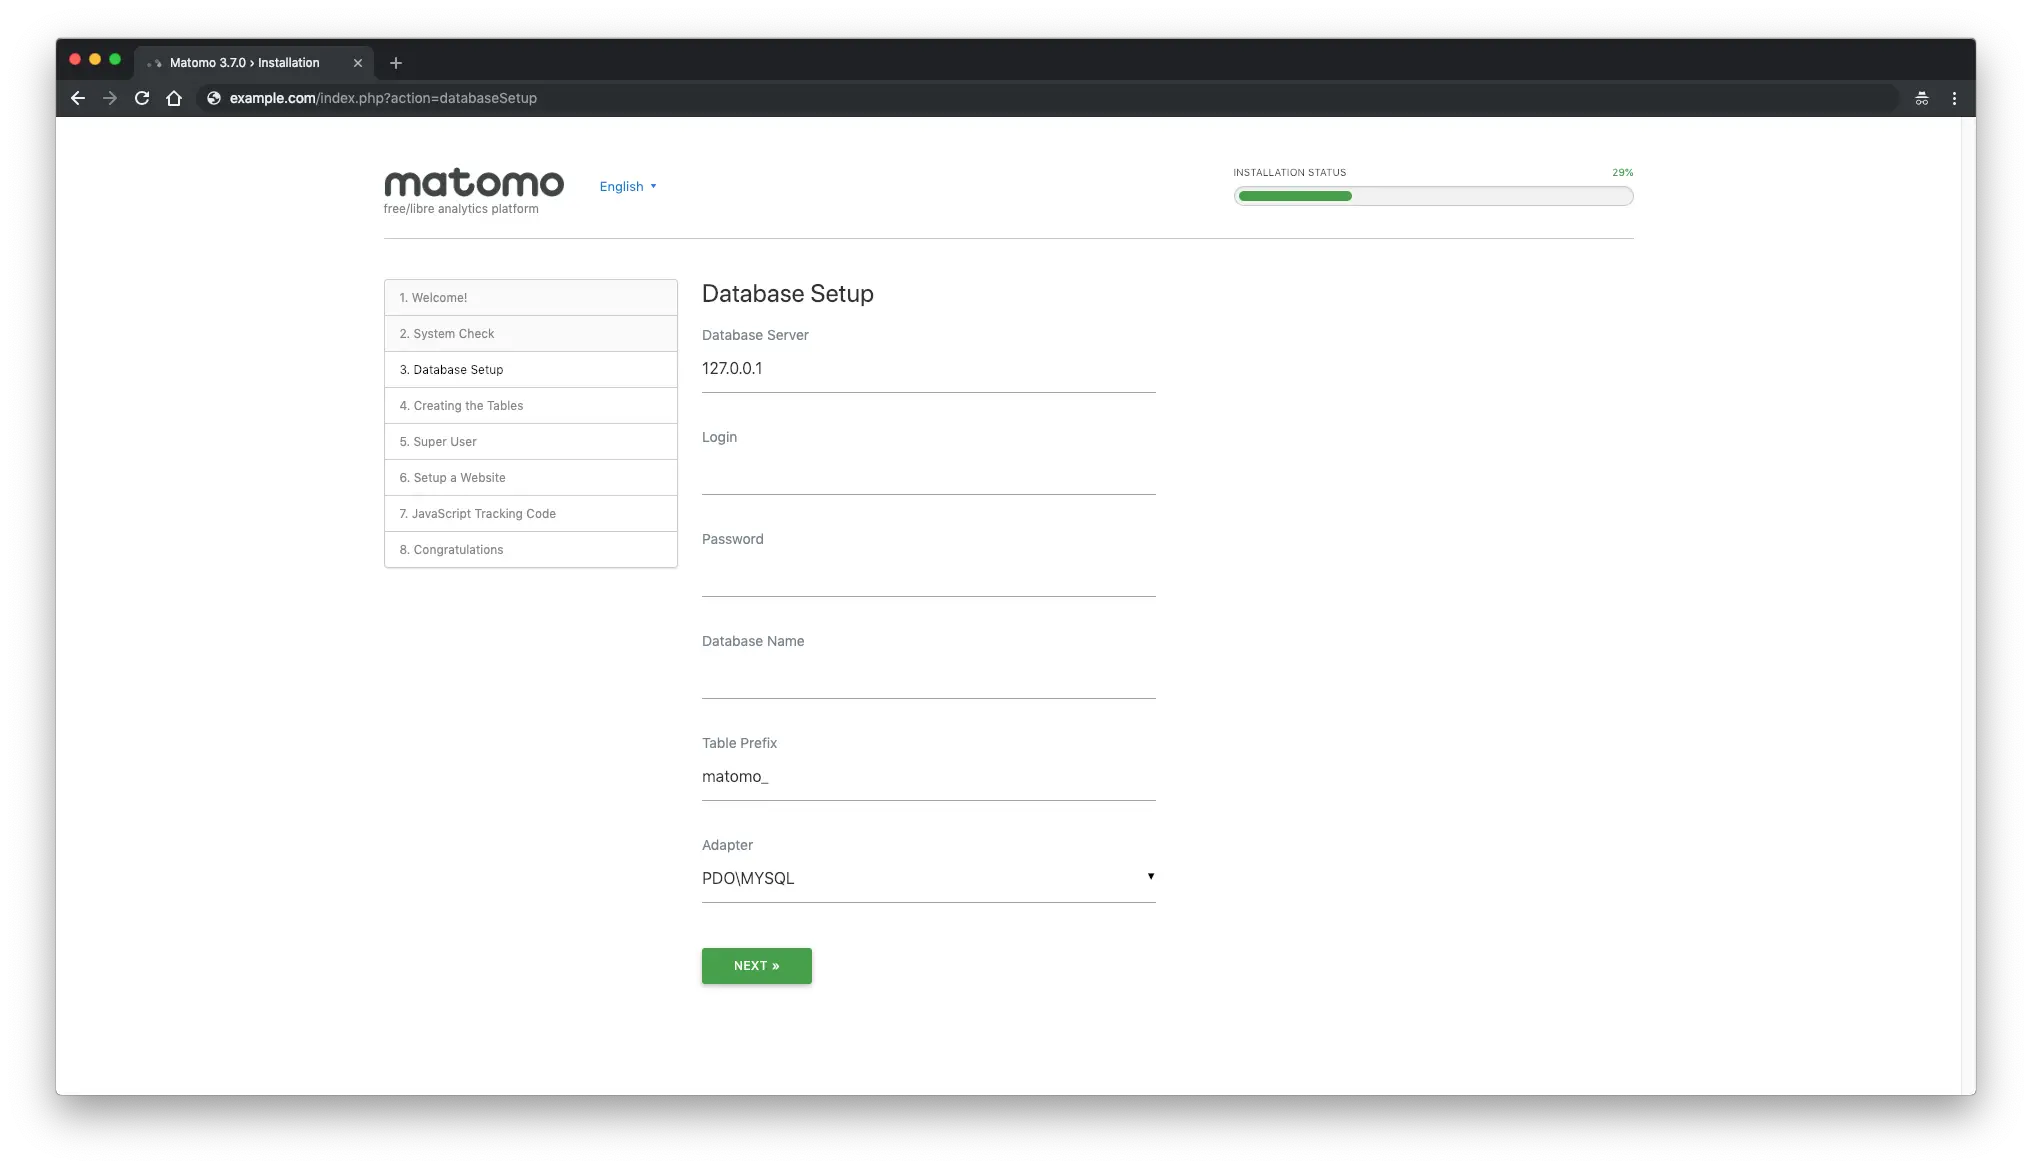
接下来,填写数据库详细信息并单击“下一步”按钮:
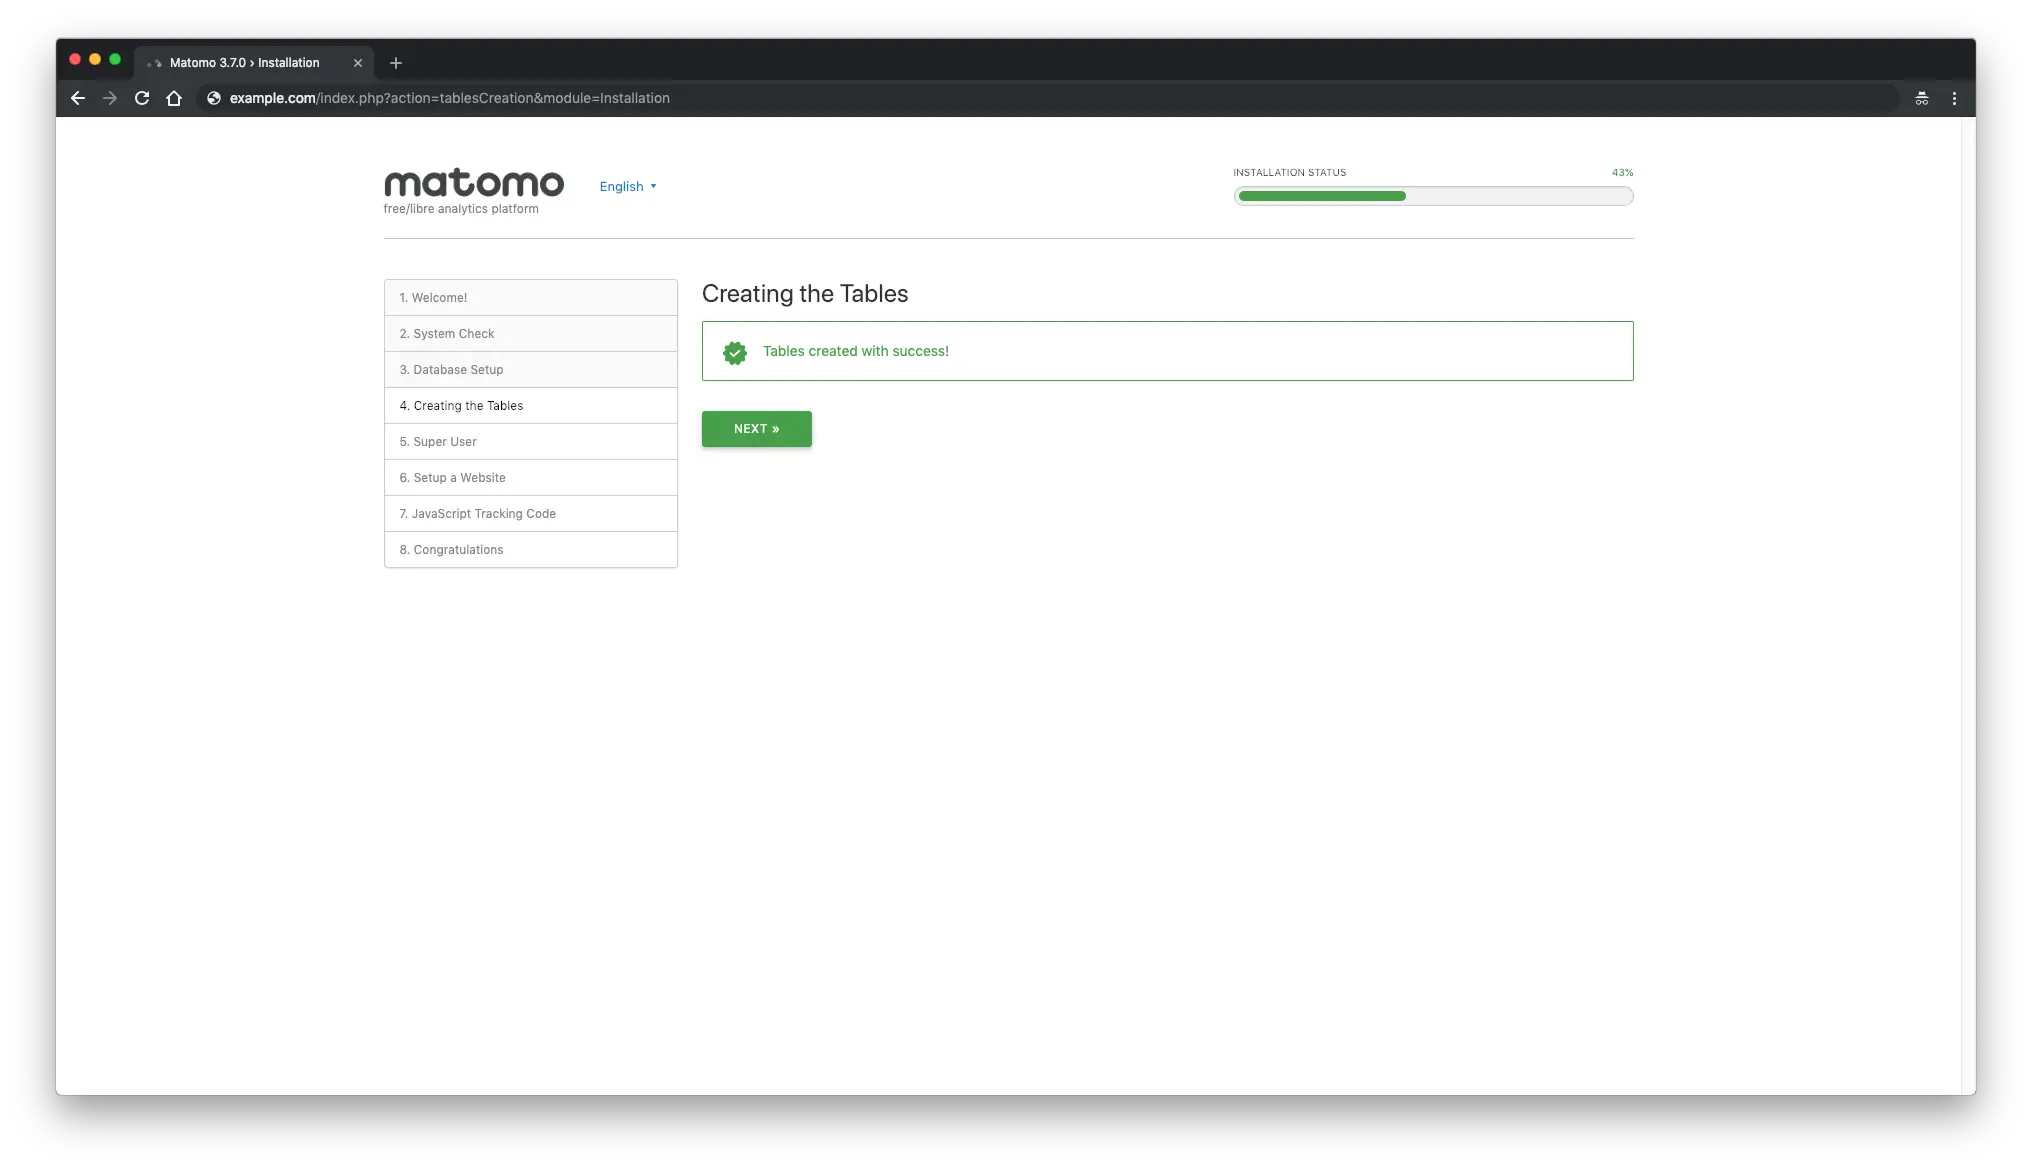
如果数据库设置一切顺利,您应该会看到“成功创建表!”消息:
创建 Matomo 超级用户帐户并单击“下一步”按钮:
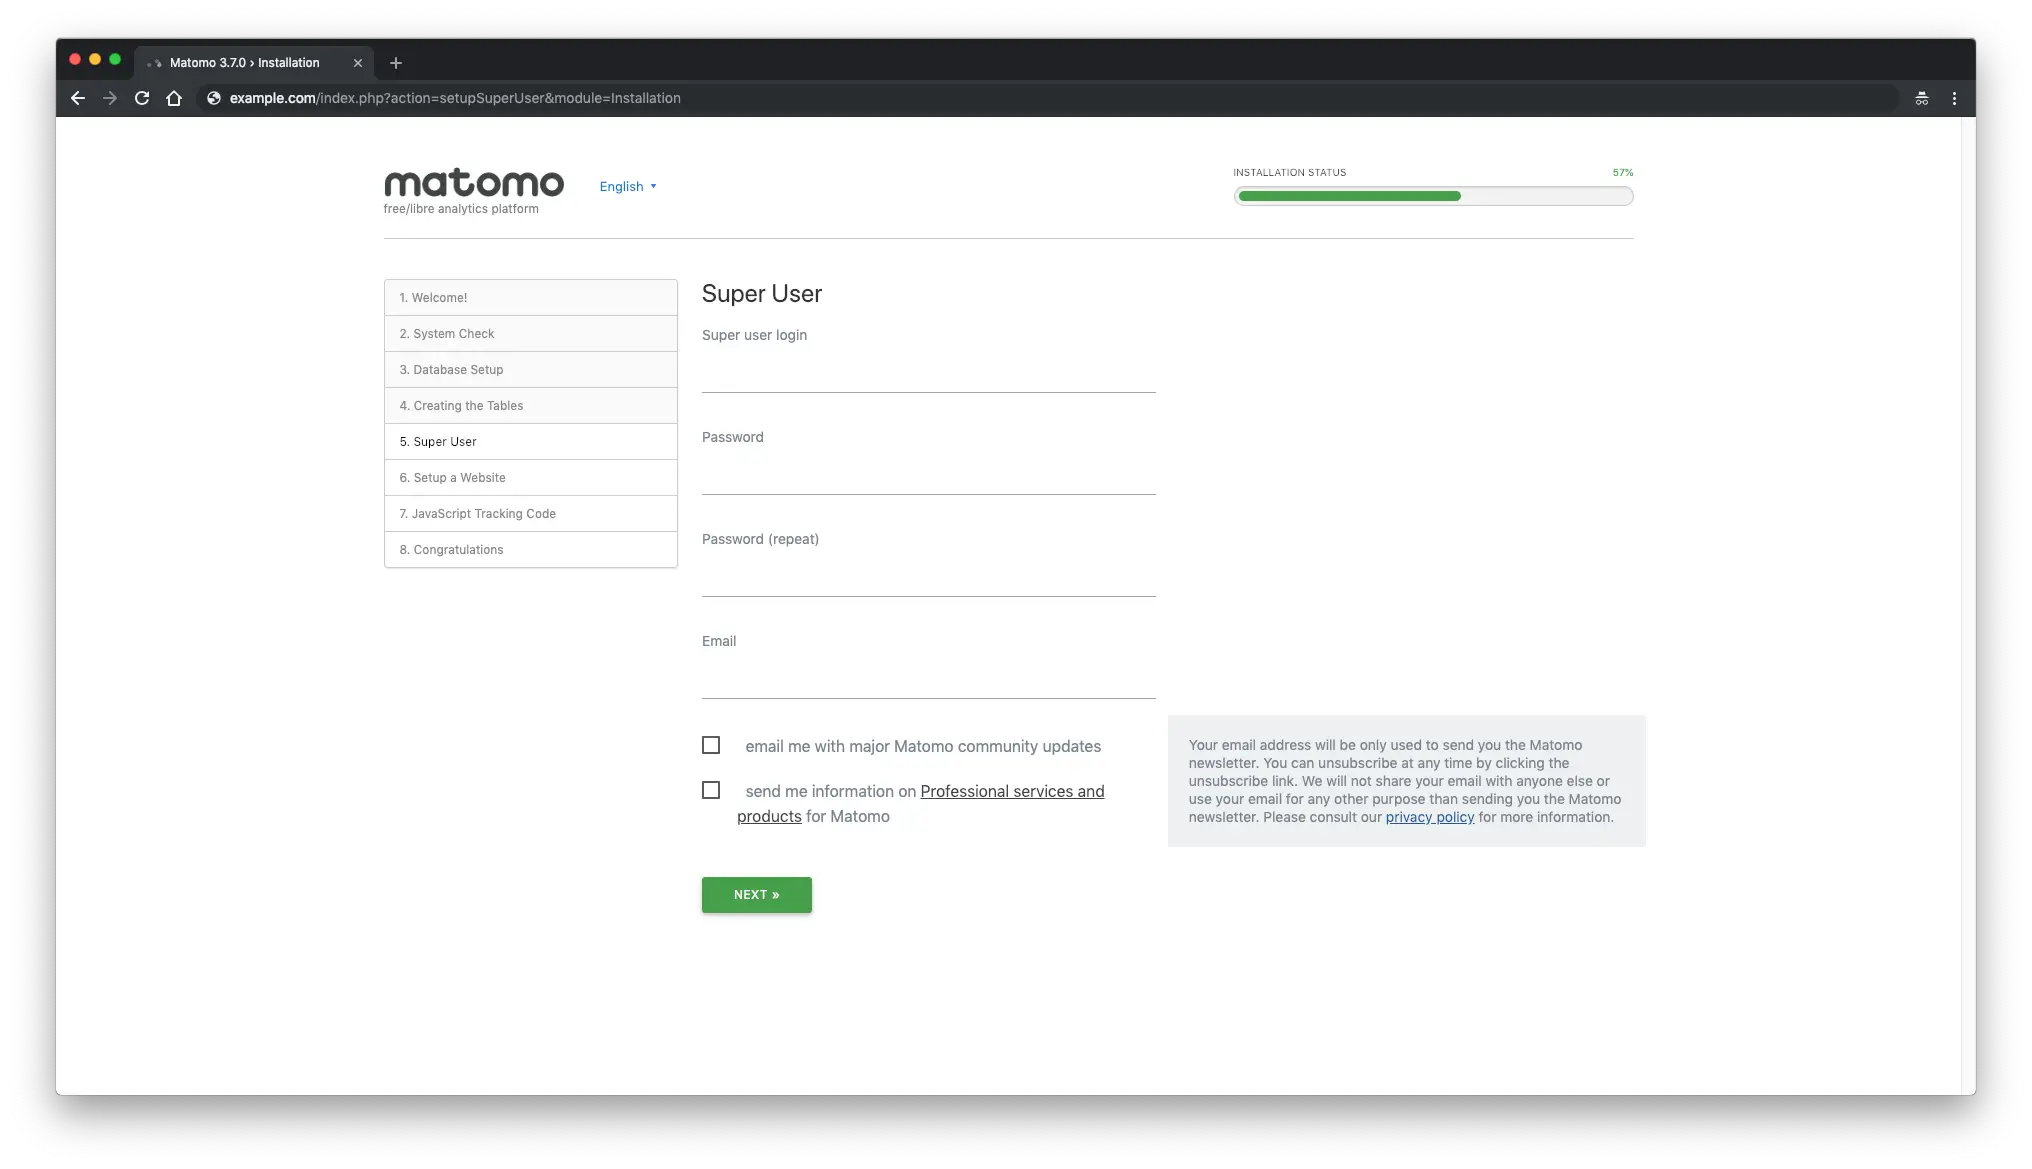
接下来,设置您想要使用 Matomo 跟踪和分析的第一个网站。稍后,您可以添加更多站点以使用 Matomo 进行跟踪:
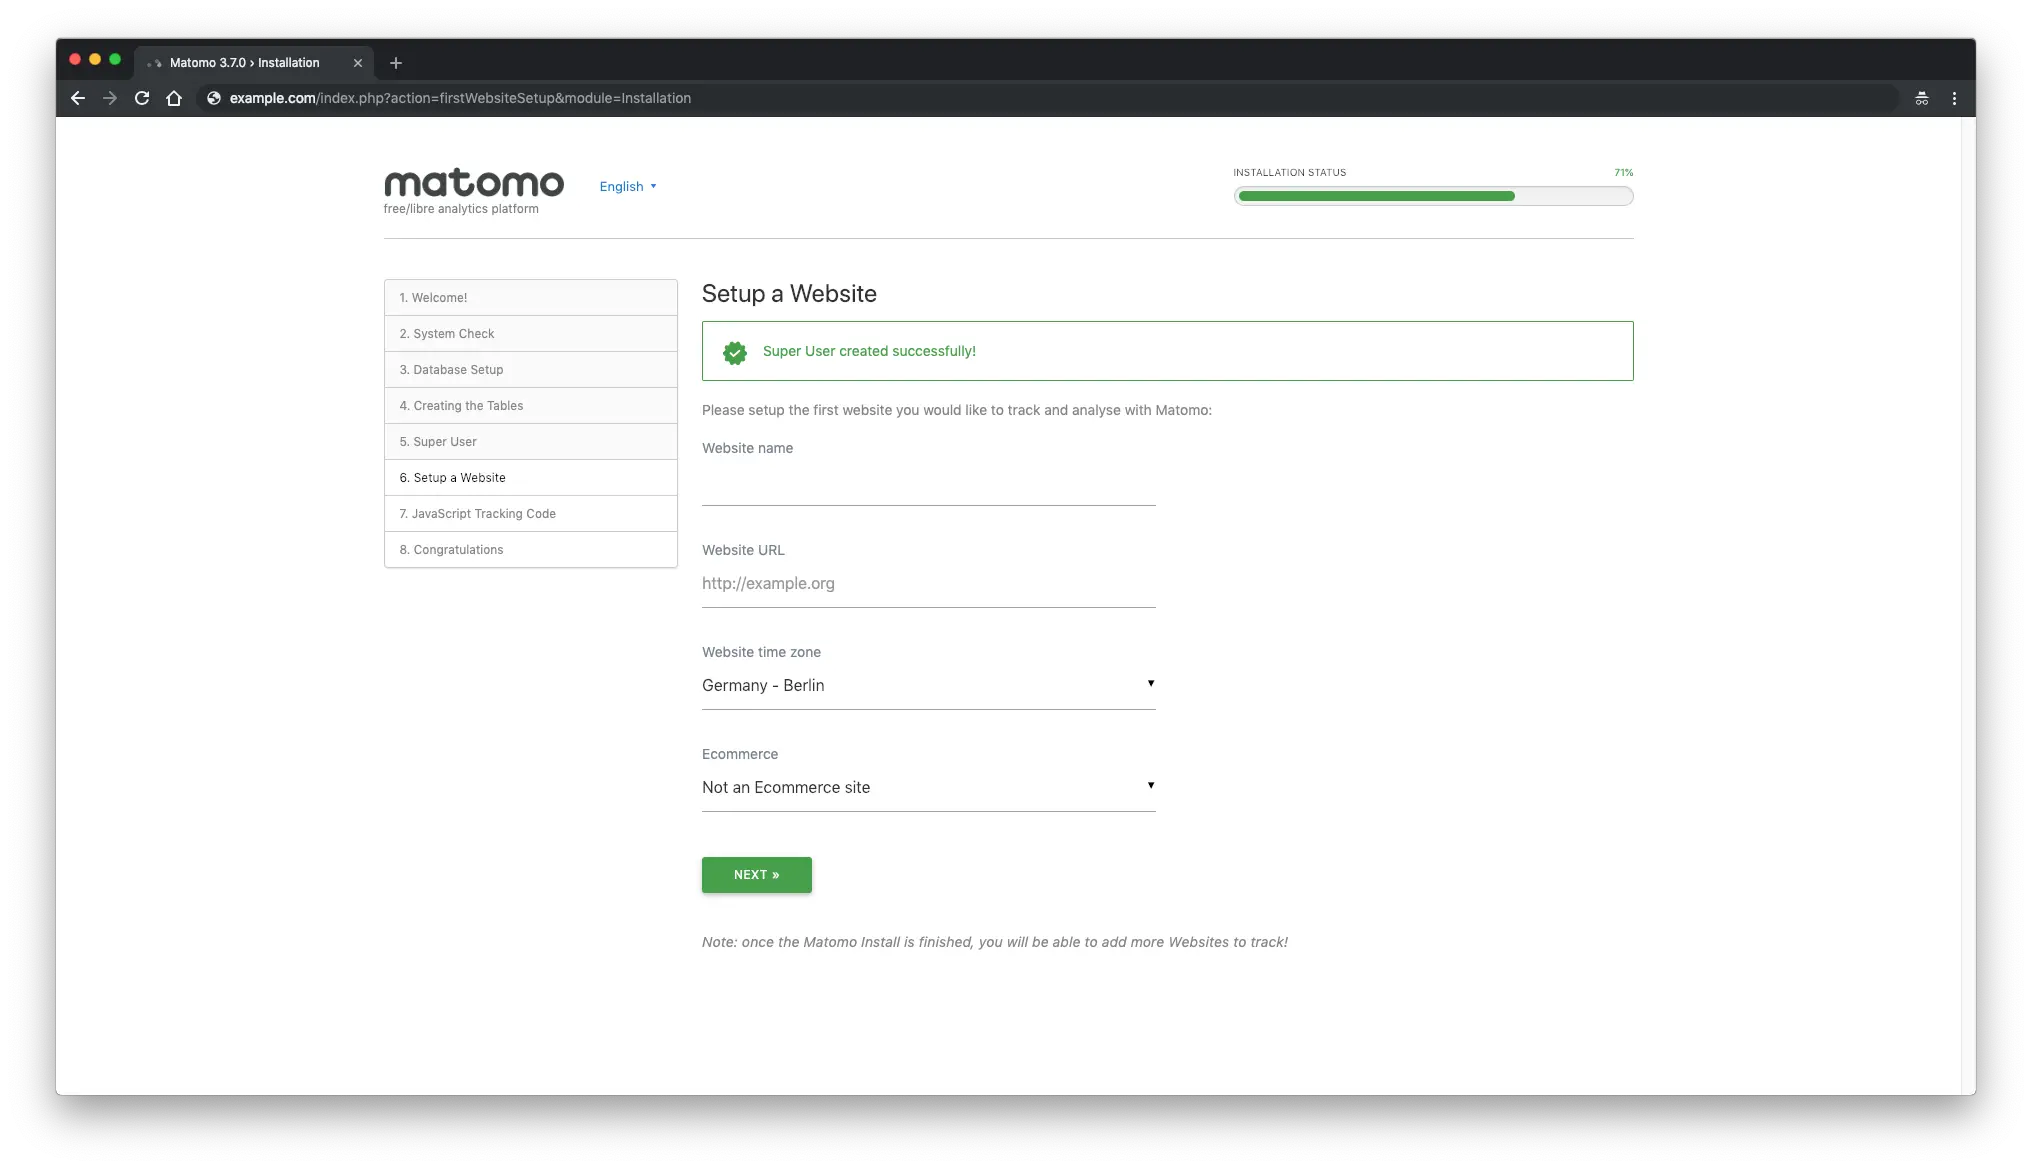
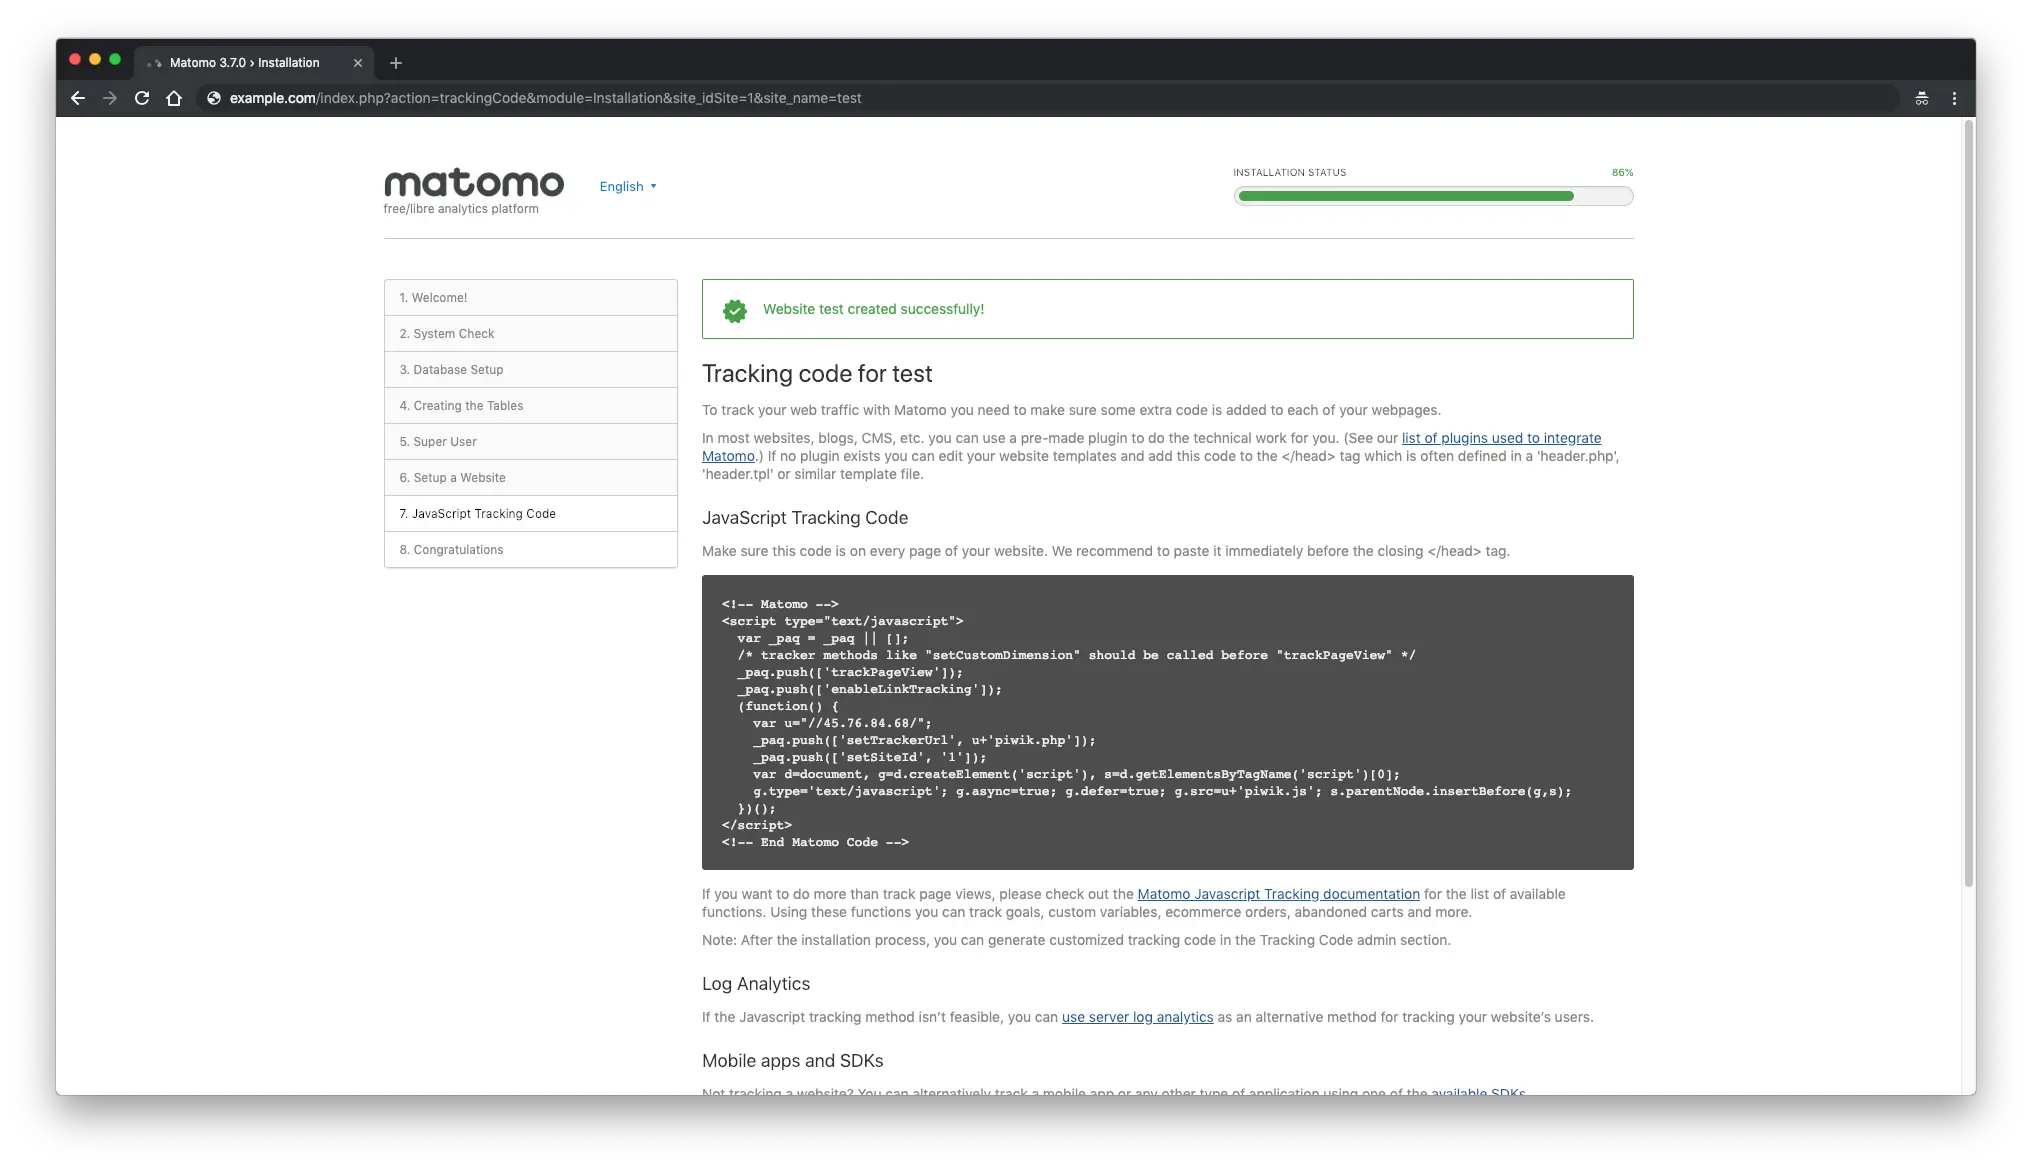
接下来,您将获得网站的 JavaScript 跟踪代码,您需要添加该代码才能开始跟踪。
接下来,您应该会看到 Matomo 安装完成。
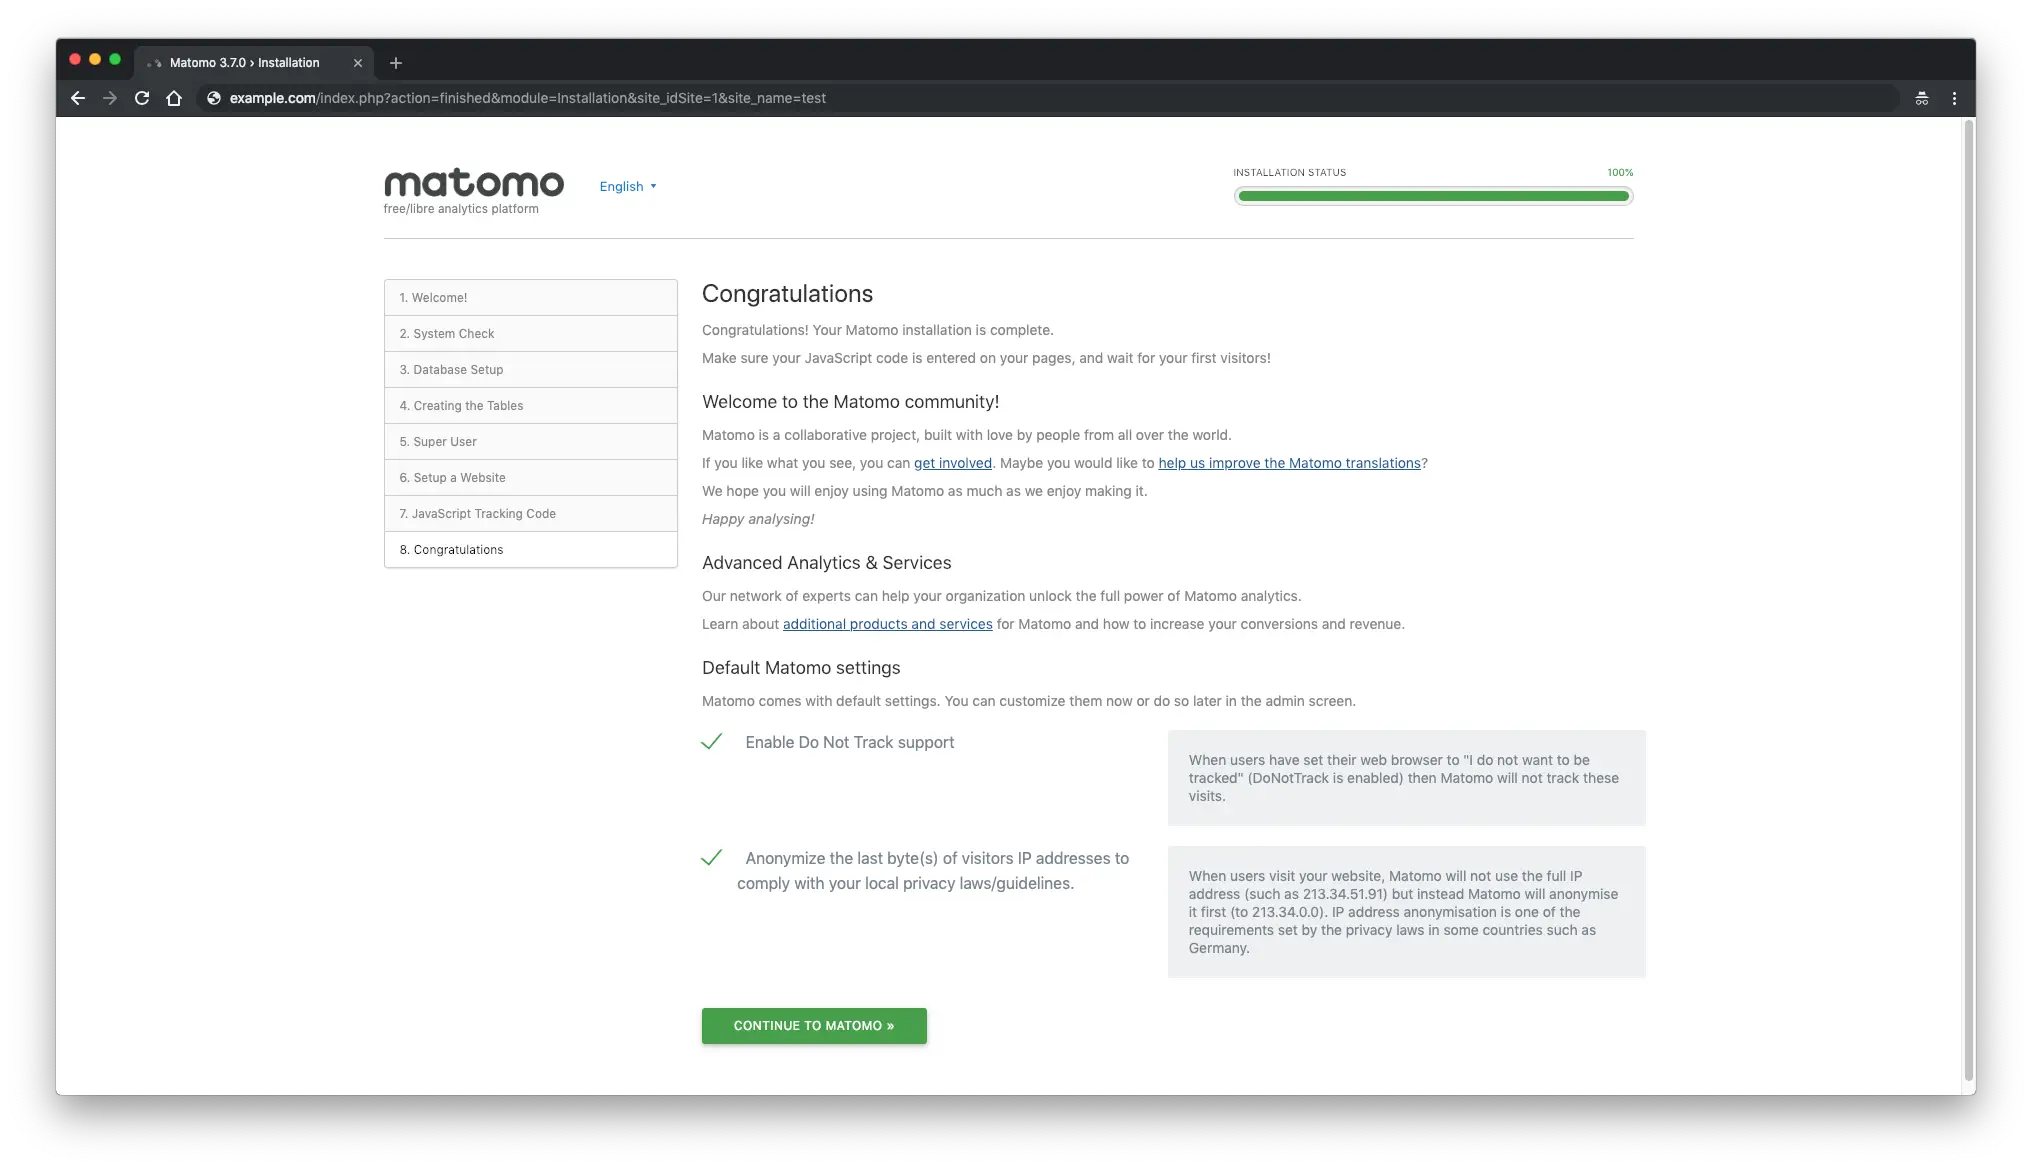
恭喜!您的 Matomo 安装已完成。
链接
- https://matomo.org/ <李>
- https://github.com/matomo-org/matomo-nginx
