如何在 Ubuntu 24.04 服务器上安装 Etherpad 协作编辑器
本教程适用于这些操作系统版本
- Ubuntu 24.04(高贵食蚁兽)
- Ubuntu 20.04(焦窝)
- Ubuntu 18.04(仿生海狸)
在此页面上
- 先决条件
- 安装依赖项
- 设置 MariaDB 服务器
- 安装 Etherpad Lite
- 将 Etherpad 作为 systemd 服务运行
- 将 Nginx 设置为反向代理
- 使用 HTTPS 保护 Etherpad
- 访问以太网板
- 结论
Etherpad 是一款适合您团队的开源协作实时文本编辑器,可以随时随地访问,因为 Etherpad 是基于 Web 的文本编辑器。 Etherpad 支持团队的版本控制和内置格式,并提供高度可定制的编辑器以及各种插件的支持。它还支持现代文档格式,如 doc、pdf、odt、markdown 等。
在本指南中,我们将引导您完成 Etherpad 协作编辑器在 Ubuntu 24.04 服务器上的安装过程。您将使用 MariaDB 数据库服务器设置 Etherpad,将 Nginx 设置为反向代理,然后通过 Certbot 和 Letsencrypt 使用 HTTPS 保护 Etherpad。
先决条件
要开始使用本指南,请确保您具备以下条件:
Ubuntu 24.04 服务器。
具有管理员权限的非 root 用户。
指向服务器 IP 地址的域名。
安装依赖项
Etherpad 是一个用 Node.js 编写的协作实时编辑器。要安装它,您必须安装软件包依赖项,例如 Node.js、NPM 和 Git。 Etherpad 还需要 Python3 和 MySQL/MariaDB 作为数据库。
首先,使用以下内容更新您的 Ubuntu 存储库:
sudo apt update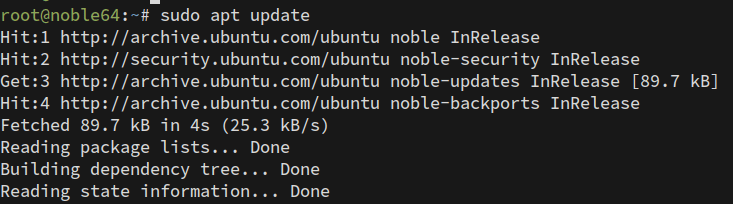
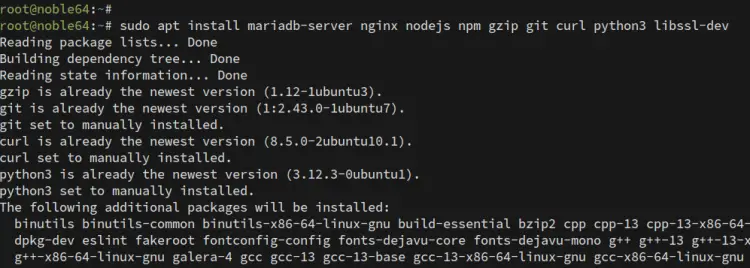
现在,使用以下命令安装 Etherpad 的依赖项。使用此命令,您将安装 MariaDB 服务器、Nginx、Node.js、Python3、Git 和一些基本工具。
sudo apt install mariadb-server nginx nodejs npm gzip git curl python3 libssl-dev键入 Y 确认安装。
安装完成后,检查MariaDB和Nginx服务以确保这两个服务都在运行。
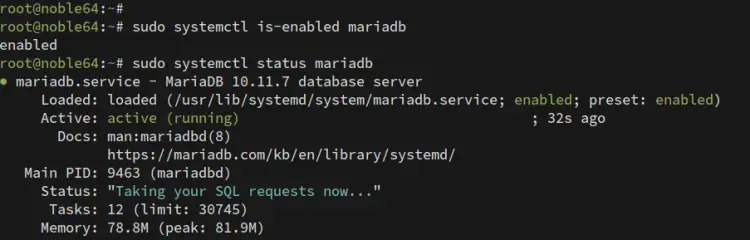
使用以下命令检查 MariaDB 服务:
sudo systemctl is-enabled mariadb
sudo systemctl status mariadb
如下所示,MariaDB 服务正在运行,并将在启动时自动启动。
现在使用以下命令检查 Nginx 服务。当 Nginx 服务运行并启用时,您应该会得到类似的输出。
sudo systemctl is-enabled nginx
sudo systemctl status nginx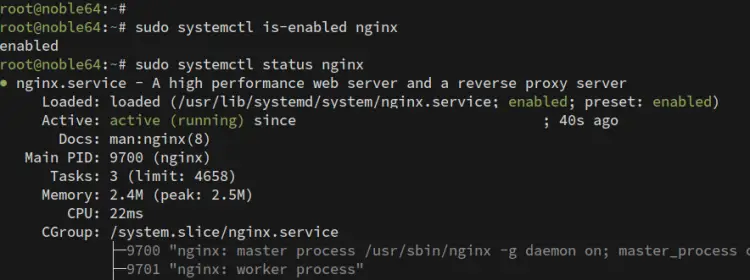
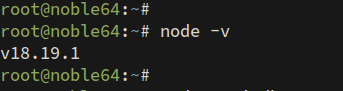
最后,使用命令检查 Node.js 版本。
node -v确保您有 Node.js v18.x 或更高版本。 Etherpad 支持 Node.js v18 及更高版本。
设置 MariaDB 服务器
安装依赖项后,您将配置 MariaDB 服务器并为 Etherpad 创建新的数据库和用户。您将使用“mariadb-secure-installation”实用程序保护 MariaDB,然后通过 MariaDB 客户端设置数据库和用户。
为了保护您的 MariaDB 服务器,请执行以下命令:
sudo mariadb-secure-installation系统将提示您进行 MariaDB 服务器配置:
- 默认的 MariaDB 安装没有密码,当提示输入密码时按 ENTER。
- 现在输入 Y 设置 MariaDB root 密码。然后,输入 MariaDB 的新密码并重复该密码。
- 输入 Y 从 MariaDB 安装中删除匿名用户。
- 当提示禁用 MariaDB root 用户远程登录时,再次输入 Y。
- 输入 Y 从 MariaDB 中删除默认数据库测试。
- 最后,输入 Y 重新加载表权限并应用新的更改。
保护并配置 MariaDB 服务器后,您将为 Etherpad 创建新的数据库和用户。
使用以下命令登录 MariaDB 服务器。出现提示时输入 MariaDB root 密码。
sudo mariadb -u root -p接下来,运行以下 MariaDB 查询来创建新数据库“etherpad_db”、用户“etherpad”和密码“StrongPasswordEtherpadDB”。您可以使用您的信息调整以下数据库详细信息。
CREATE DATABASE etherpad_db;
CREATE USER etherpad@localhost IDENTIFIED BY 'StrongPasswordEtherpadDB';
GRANT CREATE,ALTER,SELECT,INSERT,UPDATE,DELETE on etherpad_db.* to etherpad@localhost;
FLUSH PRIVILEGES;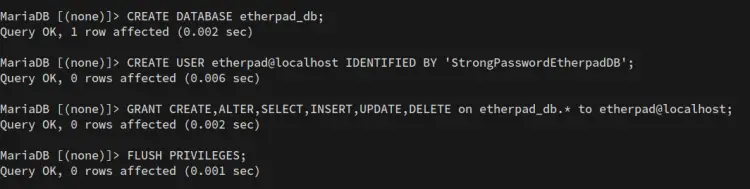
现在运行以下查询以确保用户“etherpad”可以访问数据库“etherpad_db”。
SHOW GRANTS FOR etherpad@localhost;您可以在下面看到用户“etherpad”对数据库“etherpad_db”具有多种权限。
最后,输入 quit 退出 MariaDB 服务器。

安装 Etherpad Lite
创建数据库和用户后,您将下载 Etherpad 源代码,使用安装程序脚本安装 Etherpad 依赖项,然后使用 MariaDB 服务器配置 Etherpad 安装。
默认情况下,Etherpad 使用 pnpm 包管理器来管理安装,因此您必须首先将“pnpm”全局安装到系统中。
首先,使用以下 npm 命令全局安装 pnpm 软件包 (-g)。默认情况下,Etherpad 项目使用 pnpm 作为 Node.js 包管理器,而不是标准 npm。
npm install pnpm -g现在运行以下命令来创建新的系统用户“etherpad”。该用户将用于运行 Etherpad 应用程序。
sudo adduser --system --no-create-home --home=/opt/etherpad-lite --group etherpad接下来,进入/opt并使用git将Etherpad源代码下载到'etherpad-lite'目录。然后,将“/opt/etherpad-lite”目录的所有权更改为用户“etherpad”。
cd /opt && git clone --branch master https://github.com/ether/etherpad-lite.git
sudo chown -R etherpad:etherpad /opt/etherpad-lite
然后,转到“opt/etherpad-lite”目录并使用以下命令安装 Etherpad 的 Node.js 依赖项。
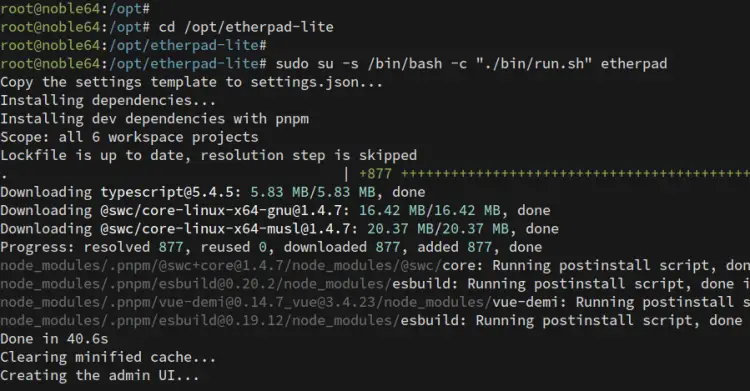
cd /opt/etherpad-lite
sudo su -s /bin/bash -c "./bin/run.sh" etherpad
以下是使用 pnpm 包管理器下载 Etherpad 依赖项的过程。
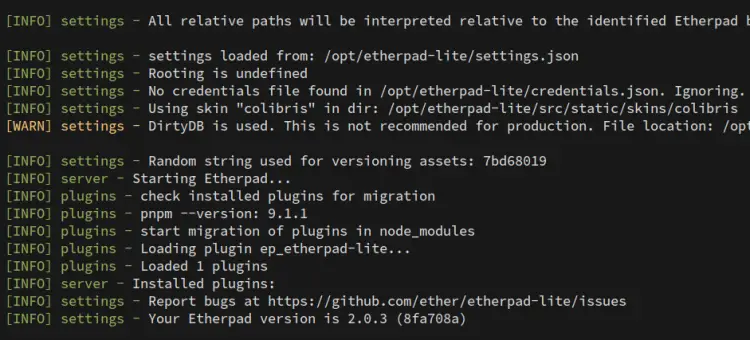
安装依赖项后,Etherpad 应该会自动运行。您可以在下面看到 Etherpad 2.0.3 正在运行。
按 Ctrl+c 终止当前 Etherpad 进程。您将使用 MariaDB 数据库配置 Etherpad。
现在使用以下 Nano 编辑器打开文件“settings.json”。
nano settings.json更改 Etherpad 安装的标题。
"title": "Etherpad Ubuntu 24",将默认 IP 地址更改为 12.0.0.1 或 localhost。这将仅在本地主机中启动 Etherpad 进程。
```
 "ip": "127.0.0.1",
 "port": 9001,
```注释默认的“dirty”数据库配置,如下所示:
 /*
 *"dbType": "dirty",
 *"dbSettings": {
 * "filename": "var/dirty.db"
 *},
 */
插入以下配置以使用 MariaDB 服务器设置数据库。确保更改数据库信息的详细信息。
 "dbType" : "mysql",
 "dbSettings" : {
 "user": "etherpad",
 "host": "127.0.0.1",
 "port": 3306,
 "password": "StrongPasswordEtherpadDB",
 "database": "etherpad_db",
 "charset": "utf8mb4"
 },
完成后,保存文件并退出编辑器。
将 Etherpad 作为 systemd 服务运行
现在您已经安装并配置了 Etherpad,您将为 Etherpad 创建一个新的 systemd 服务文件。这样,您将在后台运行 Etherpad,并且可以通过“systemctl”命令管理 Etherpad。
使用 nano 编辑器为 Etherpad '/etc/systemd/system/etherpad.service' 创建一个新的 systemd 服务文件。
sudo nano /etc/systemd/system/etherpad.service将以下配置添加到文件中。这样,您将通过“pnpm”命令在后台将 Etherpad 作为 systemd 服务运行。
[Unit]
Description=Etherpad-lite, the collaborative editor.
After=syslog.target network.target mariadb.service
[Service]
Type=simple
User=etherpad
Group=etherpad
WorkingDirectory=/opt/etherpad-lite
ExecStart=/usr/local/bin/pnpm run prod
# use mysql plus a complete settings.json to avoid Service hold-off time over, scheduling restart.
Restart=always
[Install]
WantedBy=multi-user.target
保存文件并退出。
现在运行以下命令来重新加载 systemd 管理器并应用 Etherpad 服务文件。
sudo systemctl daemon-reloadsystemd 重新加载后,使用以下 systemctl 命令启动并启用“etherpad”服务。
sudo systemctl start etherpad
sudo systemctl enable etherpad
接下来,运行以下命令检查 Etherpad 服务状态并确保该服务正在运行。
sudo systemctl status etherpad您可以在下面看到 Etherpad 服务正在作为服务运行。
最后,使用下面的“ss”命令检查默认的 Etherpad 端口 9001。您应该看到端口 9001 被 Etherpad 进程使用。
ss -tulpn | grep 9001将 Nginx 设置为反向代理
在本指南中,您将使用 Nginx 作为反向代理运行 Etherpad。现在您将为 Etherpa 创建 Nginx 服务器块配置,并确保您已为 Etherpad 准备好域名。
使用以下 nano 编辑器命令创建新的 Nginx 服务器块“/etc/nginx/sites-available/etherpad.conf”。
sudo nano /etc/nginx/sites-available/etherpad.conf添加以下配置并将 server_name 选项更改为您的域名。通过此配置,您将使用 Nginx 作为 Etherpad 的反向代理,该代理在端口 9001 上运行。
```
server {
 listen 80;
 server_name etherpad.howtoforge.local;
 access_log /var/log/nginx/eplite.access.log;
 error_log /var/log/nginx/eplite.error.log;
location / {
 proxy_pass http://127.0.0.1:9001;
 proxy_buffering off; # be careful, this line doesn't override any proxy_buffering on set in a conf.d/file.conf
 proxy_set_header Host $host;
 proxy_pass_header Server;
# Note you might want to pass these headers etc too.
 proxy_set_header X-Real-IP $remote_addr; # https://nginx.org/en/docs/http/ngx_http_proxy_module.html
 proxy_set_header X-Forwarded-For $remote_addr; # EP logs to show the actual remote IP
 proxy_set_header X-Forwarded-Proto $scheme; # for EP to set secure cookie flag when https is used
 proxy_http_version 1.1; # recommended with keepalive connections
# WebSocket proxying - from https://nginx.org/en/docs/http/websocket.html
 proxy_set_header Upgrade $http_upgrade;
 proxy_set_header Connection "upgrade";
 }
}
完成后保存并关闭文件。
现在运行以下命令来激活服务器块“etherpad.conf”文件并验证您的 Nginx 语法。
sudo ln -s /etc/nginx/sites-available/etherpad.conf /etc/nginx/sites-enabled/
sudo nginx -t
您应该使用正确的 Nginx 语法得到输出“nginx is ok...test is success”。
最后,运行以下命令重新启动 Nginx 服务并应用新的服务器块。执行命令后,您的 Etherpad 可以通过 Nginx Web 服务器访问。
sudo systemctl restart nginx使用 HTTPS 保护 Etherpad
配置 Nginx 反向代理后,您将使用 HTTPS 保护 Etherpad。如果您使用公共域,则可以使用以下步骤通过 Certbot 和 Letsencrypt 设置 HTTPS。本域用户可以使用自签名证书。
使用以下命令安装 Certbot 和 Certbot Nginx 插件。出现提示时,键入 Y 确认安装。
sudo apt install certbot python3-certbot-nginx现在运行以下 certbot 命令以从 Letsencrypt 生成 SSL/TLS 证书。请务必使用您的详细信息更改域名和电子邮件地址。
sudo certbot --nginx --agree-tos --redirect --hsts --staple-ocsp --email [email -d etherpad.howtoforge.local完成该过程后,您的证书将在“/etc/letsencrypt/live/domain.com”目录中可用。此外,您的 Etherpad 安装应该通过 Certbot Nginx 插件自动使用 HTTPS 运行。
访问以太网板
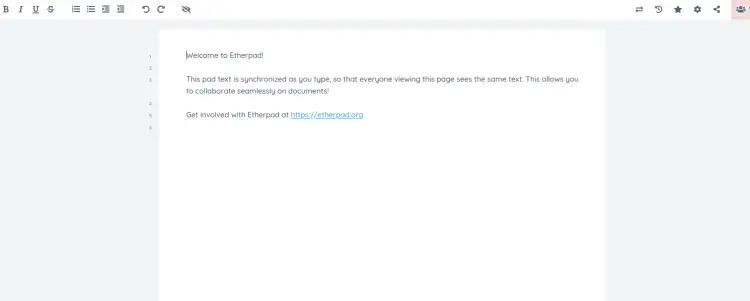
访问您的 Etherpad 域名 https://etherpad.howtoforge.local 以访问您的 Etherpad 安装。如果成功,您将看到以下页面:
输入第一个垫的新名称,然后单击确定进行确认。

现在您将看到 Etherpad 的文档编辑器。您现在可以与朋友或同事同时编辑文档。
结论
恭喜!您已在 Ubuntu 24.04 服务器上安装了 Etherpad 协作编辑器。您已将 Etherpad 与 MariaDB 数据库服务器和 Nginx Web 服务器一起运行。此外,您还通过 Certbot 和 Letsencrypt 使用 HTTPS 保护 Etherpad。