如何在 Debian 上使用 Apache 安装 CraftCMS
CraftCMS 是一个免费的开源内容管理系统,用于创建直观、用户友好且灵活的网站和数字体验。 CraftCMS 可用于多种用途,从简单的内容管理系统到电子商务。它是用 PHP 编写的,基于 Yii-2 框架、Vuejs 和 Twig。它还支持 MySQL/MariaDB 和 PostgreSQL 数据库。
CraftCMS 是一个强大的 Web 框架,具有自动生成的 GraphQL API,并且可以使用数百个模块和插件进行扩展。
在本教程中,我们将向您展示如何在 Debian 11 上使用 Apache 和 MariaDB 安装 CraftCMS。
要求
- 具有最新版本 Debian 11 Bullseye 的 Linux 服务器
- root 用户和密码或具有 sudo root 权限的用户
- 指向您服务器IP地址的域名
安装软件包依赖项
首先,您需要在 Debian 系统上安装 LAMP 堆栈。 CraftCMS 是一个基于 PHP 的应用程序,因此您需要安装 PHP 包以及 CraftCMS 所需的一些附加扩展。
通过运行以下命令在 Debian 11 系统上安装 Apache 和 MariaDB Server:
sudo apt install apache2 mariadb-server mariadb-client -y安装所有软件包后,运行以下命令来安装带有 CraftCMS 附加扩展的 PHP 软件包。
sudo apt install php libapache2-mod-php php-common php-mysql php-gmp php-curl php-intl php-mbstring php-xmlrpc php-gd php-bcmath php-xml php-cli php-intl php-zip -y接下来,使用以下命令检查 MariaDB 和 Apache 服务。在 Debian 和 Ubuntu 系统上,Apache 和 MariaDB 服务在安装后自动启动。
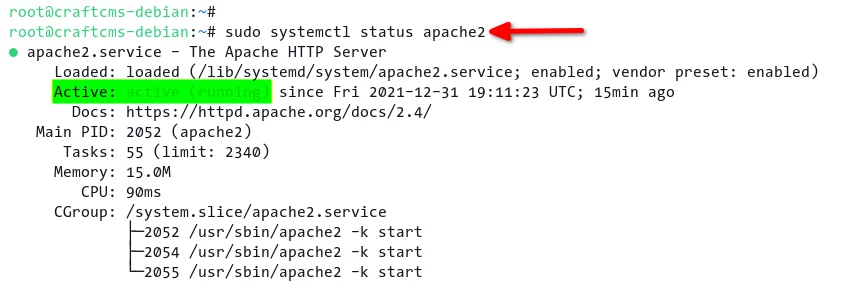
sudo systemctl status apache2
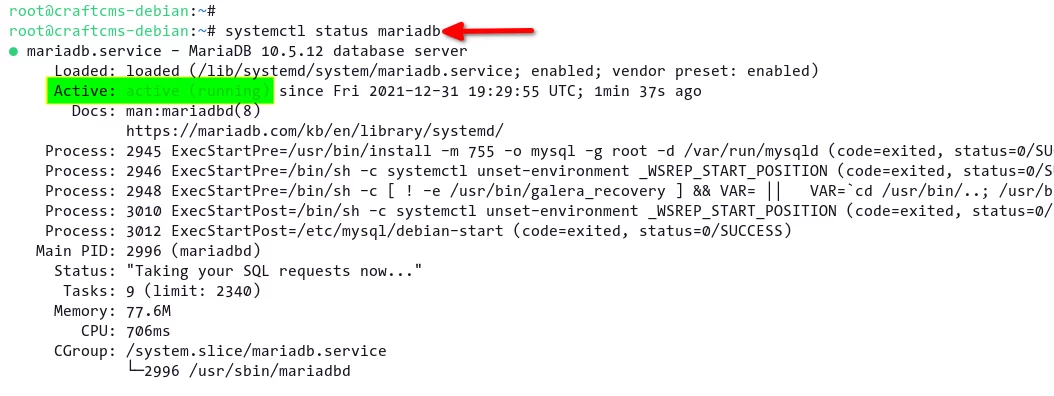
sudo systemctl status mariadb现在您可以看到 Apache 和 MariaDB 服务正在您的 Debian 系统上运行。
使用 mysql_secure_installation 脚本保护 MariaDB 安装
如果您是第一次安装 MariaDB,建议使用 mysql_secure_installation 命令设置 MariaDB root 密码并保护您的 MariaDB 部署。
执行`mysql_secure_installation`命令来设置您的 MariaDB root 密码。
sudo mysql_secure_installation系统将提示您输入 MariaDB 的当前密码。默认的 MariaDB 安装没有密码,按`ENTER` 继续。
To log into MariaDB to secure it, we'll need the current
password for the root user. If you've just installed MariaDB, and
haven't set the root password yet, you should just press enter here.
输入 root 的当前密码(不输入):
好的,密码已成功使用,继续...
现在,系统将提示您为 MariaDB root 用户设置默认身份验证。出于安全原因,始终建议 MariaDB root 用户使用身份验证方法“unix_socket”。
输入 `Y` 以启用 MariaDB `unix_socket` 身份验证。
Setting the root password or using the unix_socket ensures that nobody
can log into the MariaDB root user without the proper authorisation.
You already have your root account protected, so you can safely answer 'n'.

Switch to unix_socket authentication [Y/n] Y
Enabled successfully!
Reloading privilege tables..
... Success!接下来,输入“Y” 确认并设置 MariaDB root 用户的新密码。确保您的 MariaDB root 帐户使用强密码。
You already have your root account protected, so you can safely answer 'n'.
Change the root password? [Y/n] Y
New password:
Re-enter new password:
Password updated successfully!
Reloading privilege tables..
... Success!再次输入“Y”以删除 MariaDB 的匿名默认用户。
By default, a MariaDB installation has an anonymous user, allowing anyone
to log into MariaDB without having to have a user account created for
them.  This is intended only for testing, and to make the installation
go a bit smoother.  You should remove them before moving into a
production environment.
删除匿名用户? [是/否] 是
... 成功!
现在输入“Y” 以禁用 MariaDB root 用户的远程登录。如果您需要 MariaDB 远程登录,请使用其他用户而不是 `root` 用户进行远程登录。
Normally, root should only be allowed to connect from 'localhost'.  This
ensures that someone cannot guess at the root password from the network.
禁止远程root登录? [是/否] 是
... 成功!
在命令提示符中键入“Y”,删除默认数据库“test”及其所有权限。
By default, MariaDB comes with a database named 'test' that anyone can
access.  This is also intended only for testing, and should be removed
before moving into a production environment.
删除测试数据库并访问它? [是/否] 是
- 删除测试数据库...
...成功!
- 删除测试数据库的权限...
... 成功!
最后,重新加载 MariaDB 服务器上的所有表权限以应用新设置。
Reloading the privilege tables will ensure that all changes made so far
will take effect immediately.
现在重新加载权限表? [是/否] 是
... 成功!
现在,您已经通过设置 root 的默认密码、禁用 root 的远程登录以及为 root 用户启用unix_socket 身份验证来保护 MariaDB 安装的安全。
为 CraftCMS 设置数据库和 PHP
在此步骤中,您将为 CraftCMS 设置新的 MariaDB 数据库和新用户。然后对 PHP 配置 `php.ini` 进行一些调整,这是 CraftCMS 安装所需的。
要设置 MariaDB 数据库和用户,您必须使用下面的`mysql` 命令登录到 MariaDB shell。
sudo mysql -u root -p现在运行以下 MySQL 查询来创建新数据库 `craftcms` 和用户 `craftuser`,密码为 `StrongPasswordCraftCMS`。然后允许数据库用户`craftuser`访问数据库`craftcms`并重新加载所有表权限以应用新设置。
CREATE DATABASE craftcms;
CREATE USER craftuser@localhost IDENTIFIED BY 'StrongPasswordCraftCMS';
GRANT ALL ON craftcms.* TO craftuser@localhost WITH GRANT OPTION;
FLUSH PRIVILEGES;输入`exit` 退出 MariaDB shell。
exit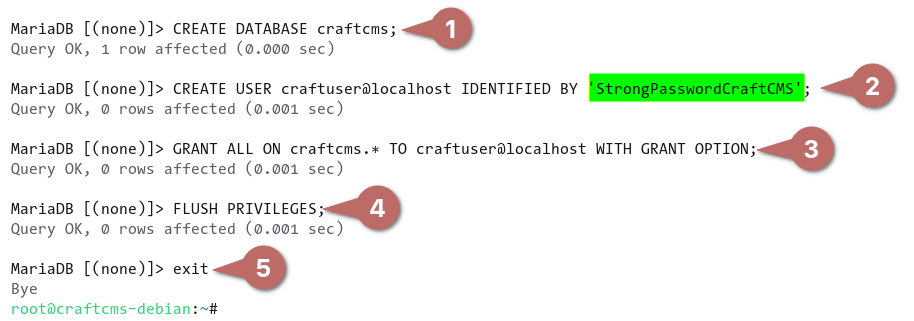
接下来,使用 nano 编辑器更改 PHP 配置 `/etc/php/7.4/apache2/php.ini`。
sudo nano /etc/php/7.4/apache2/php.ini使用 CraftCMS 的以下配置更改默认设置。
file_uploads = On
allow_url_fopen = On
short_open_tag = On
memory_limit = 512M
upload_max_filesize = 100M
max_execution_time = 360
date.timezone = Europe/Paris
保存配置并完成。
现在,您必须重新启动 Apache2 服务才能应用“php.ini”配置中的新更改。
sudo systemctl restart apache2安装作曲家
安装 CraftCMS 的方法有多种,但最简单的方法是使用 Composer 工具安装 CfatCMS。 Composer 是 PHP 的包管理器,类似于 Nodejs 的 npm、Python 的 pip 或 Ruby 的 gem。
在此步骤中,您将在 Debian 系统上安装 Composer 工具。
首先,运行以下命令下载Composer的安装程序并验证安装程序文件的完整性。
php -r "copy('https://getcomposer.org/installer', 'composer-setup.php');"
php -r "if (hash_file('sha384', 'composer-setup.php') === '906a84df04cea2aa72f40b5f787e49f22d4c2f19492ac310e8cba5b96ac8b64115ac402c8cd292b8a03482574915d1a8') { echo 'Installer verified'; } else { echo 'Installer corrupt'; unlink('composer-setup.php'); } echo PHP_EOL;"
如果安装程序有效,您将收到类似“Installerverified”的消息。

现在通过执行安装脚本来安装 Composer。然后将Composer工具的二进制文件移动到`/usr/local/bin/composer`。这使用户可以轻松运行 Composer 工具。
php composer-setup.php
php -r "unlink('composer-setup.php');"
sudo mv composer.phar /usr/local/bin/composer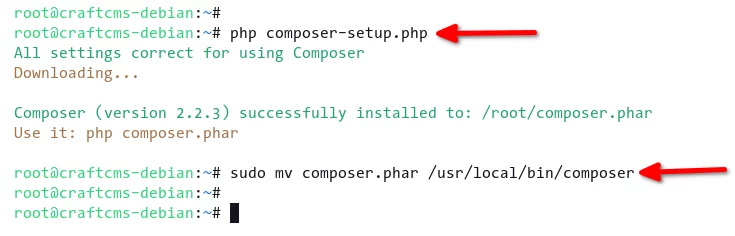
最后,使用以下命令检查您的 Composer 版本。
sudo -u www-data composer --version
sudo -u www-data composer -v
这将为您提供系统上安装的 Composer 工具的详细版本。在撰写本文时,Composer 工具的最新版本是v2.2.3。
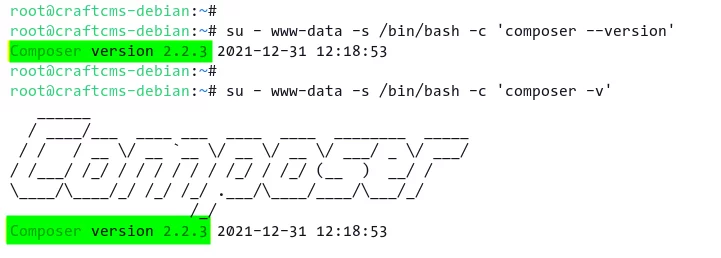
您现在已经在系统上安装了 Composer 工具。在下一步中,您可以安装 CraftCMS。
使用 Composer 工具安装 CraftCMS
在此步骤中,您将使用 Composer 工具安装和配置 CraftCMS。首先,设置 CraftCMS 的项目目录(包括正确的权限和所有权),然后在 Debian 系统上安装 CraftCMS,并通过终端手动设置 CraftCMS。
执行以下命令为 CraftCMS 创建新的项目目录。确保 CraftCMS 项目目录的所有者是用户“wwww-data”。这将允许 Apache2 和 PHP 读取项目目录中的所有 PHP 脚本。
mkdir -p /var/www/{.cache,.config,craftcms}
sudo chown -R www-data:www-data /var/www/{.cache,.config,craftcms}
正如您在命令行中看到的,您创建了多个目录。 `.cache`目录用于存储PHP包,`craftcms`目录是CraftCMS安装的主目录,`.config` 目录用于存储 Composer 工具的一些附加配置。
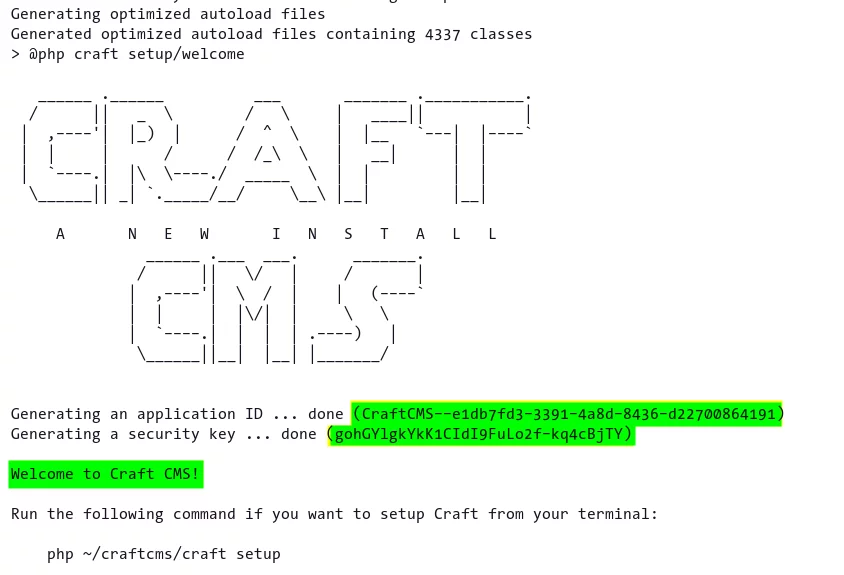
接下来,执行以下命令将 CraftCMS 安装在 `/var/www/craftcms` 目录中。
su - www-data -s /bin/bash -c 'composer create-project craftcms/craft /var/www/craftcms'此命令将下载并安装 CraftCMS 及其依赖的任何 PHP 包。安装完成后,您将收到以下输出,如下面的屏幕截图所示。
要设置 CraftCMS 安装,请运行以下命令。这类似于 CraftCMS 安装向导,但在命令行和终端模式下。
su - www-data -s /bin/bash -c 'php /var/www/craftcms/craft setup'- 对于标准数据库驱动程序,请输入“mysql”。
- 输入 CraftCMS 安装的详细 MariaDB 数据库 和用户。
- 输入“是”以确认 CraftCMS 安装。
- 输入 CraftCMS 的新管理员用户、电子邮件和密码。这是您的 CraftCMS 管理员帐户。确保您使用强密码。
- 输入有关 CraftCMS 安装的详细信息。
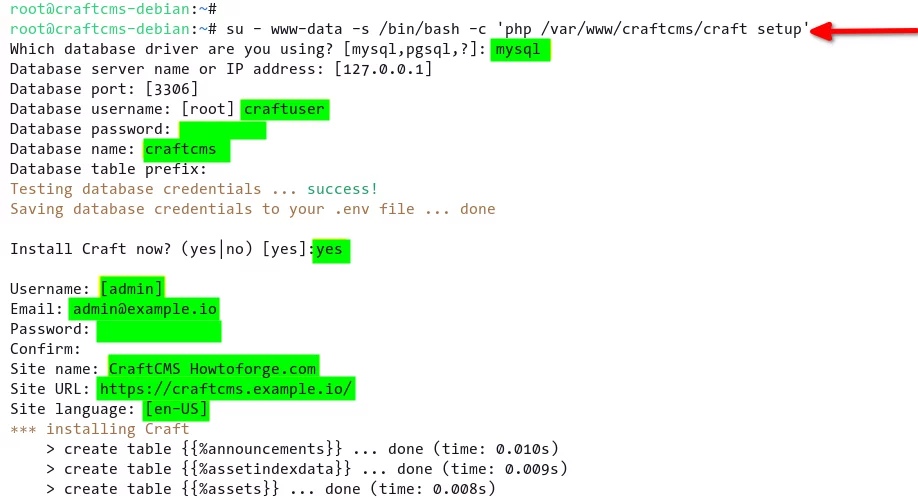
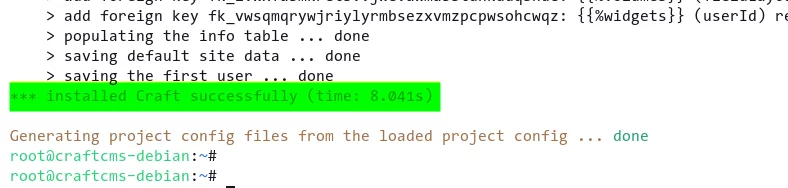
CraftCMS 安装完成后,您将看到消息“Craft 已成功安装”,如下图所示。
为 CraftCMS 设置 Apache 虚拟主机
安装 CraftCMS 后,您需要设置 Apache2 虚拟主机以使 CraftCMS 可以访问。在此示例中,您将为 CraftCMS 设置 Apache2 虚拟主机并启用 SSL。因此,请确保您拥有域名的 SSL 证书。
在设置 Apache2 虚拟主机之前,请运行以下命令启用 Apache 模块`rewrite`和`ssl`。
sudo a2enmod rewrite ssl然后将工作目录移动到目录`/etc/apache2/sites-available`并使用编辑器nano为虚拟主机`craftcms.conf`创建新配置 。
cd /etc/apache2/sites-available/
sudo nano craftcms.conf
复制并粘贴以下配置。确保更改 SSL 证书的域名和路径。
<VirtualHost *:80>
    ServerName craftcms.example.io
    Redirect permanent / https://craftcms.example.io/
</VirtualHost>
<VirtualHost *:443>
ServerAdmin [email
DocumentRoot /var/www/craftcms/web
ServerName craftcms.example.io

Protocols h2 http/1.1

SSLEngine On
SSLCertificateFile /etc/letsencrypt/live/craftcms.example.io/fullchain.pem
SSLCertificateKeyFile /etc/letsencrypt/live/craftcms.example.io/privkey.pem

<Directory /var/www/craftcms/web/>
Options FollowSymlinks
AllowOverride All
Require all granted
</Directory>

ErrorLog ${APACHE_LOG_DIR}/error.log
CustomLog ${APACHE_LOG_DIR}/access.log combined

<Directory /var/www/craftcms/web/>
RewriteEngine on
RewriteBase /
RewriteCond %{REQUEST_FILENAME} !-f
RewriteRule ^(.*) index.php [PT,L]
</Directory>
</VirtualHost>
保存配置并完成。
现在激活虚拟主机 `craftcms.conf` 的配置并检查 Apache2 配置。
sudo a2ensite craftcms.conf
sudo apchectl configtest
如果您的 Apache2 配置正确,您将看到消息`SyntaxOK`。
现在重新启动 Apache2 服务以应用新配置,并且 CraftCMS 现在可以访问。
sudo systemctl restart apache2检查 CraftCMS 安装
您现在已经完成了 CraftCMS 的安装。要检查 CraftCMS 安装,您现在可以通过网络浏览器访问您的域名。
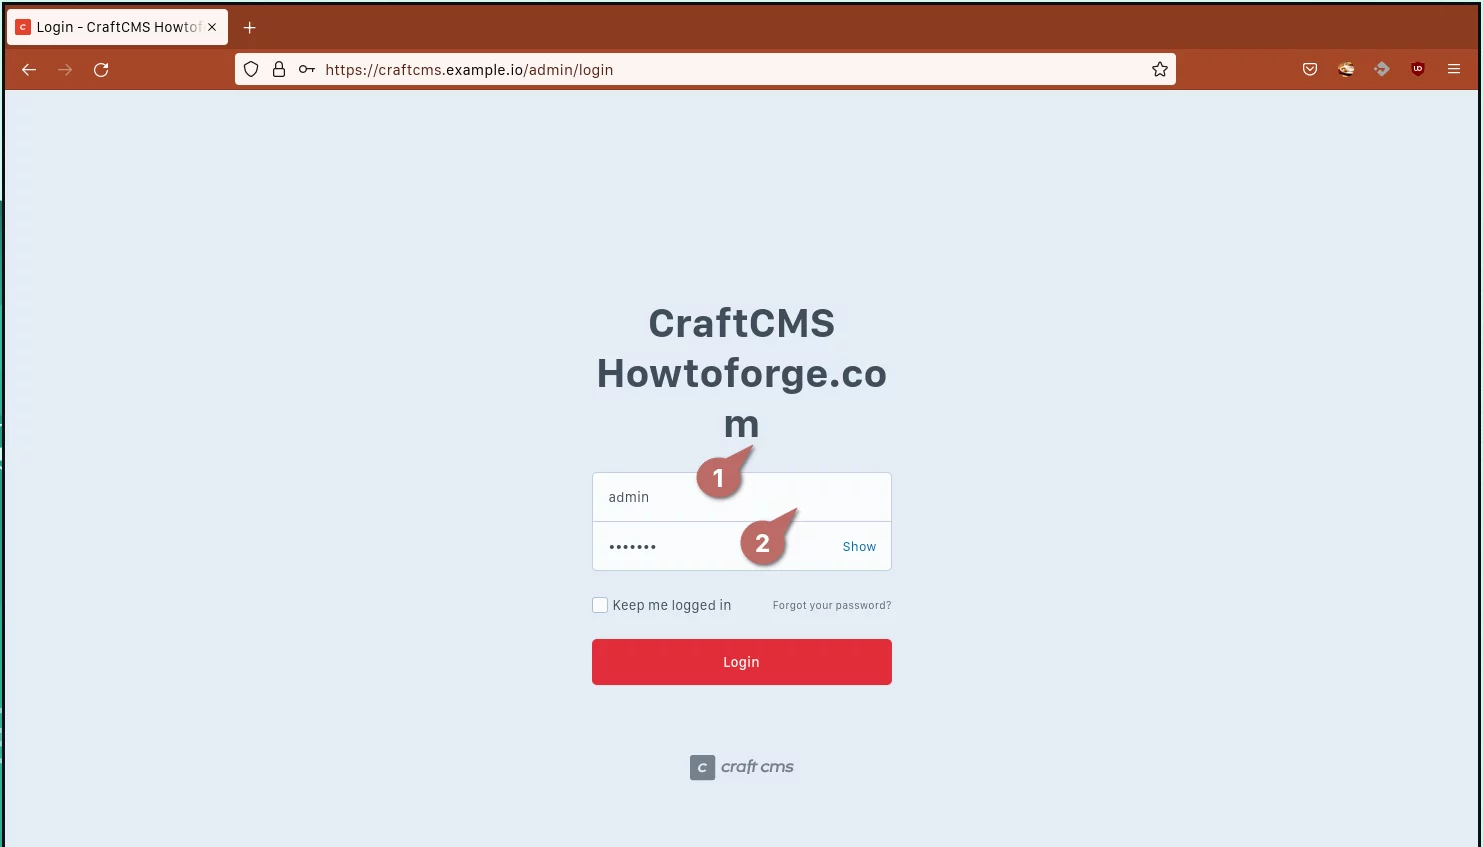
打开 Web 浏览器并输入 CraftCMS 安装的域名。
https://craftcms.example.io/
在初始安装过程中,您将被重定向到 CraftCMS 管理页面。使用您的管理员用户和密码登录 CraftCMS 仪表板。
如果您的管理员凭据正确,您将看到 CraftCMS 仪表板,如下面的屏幕截图所示。
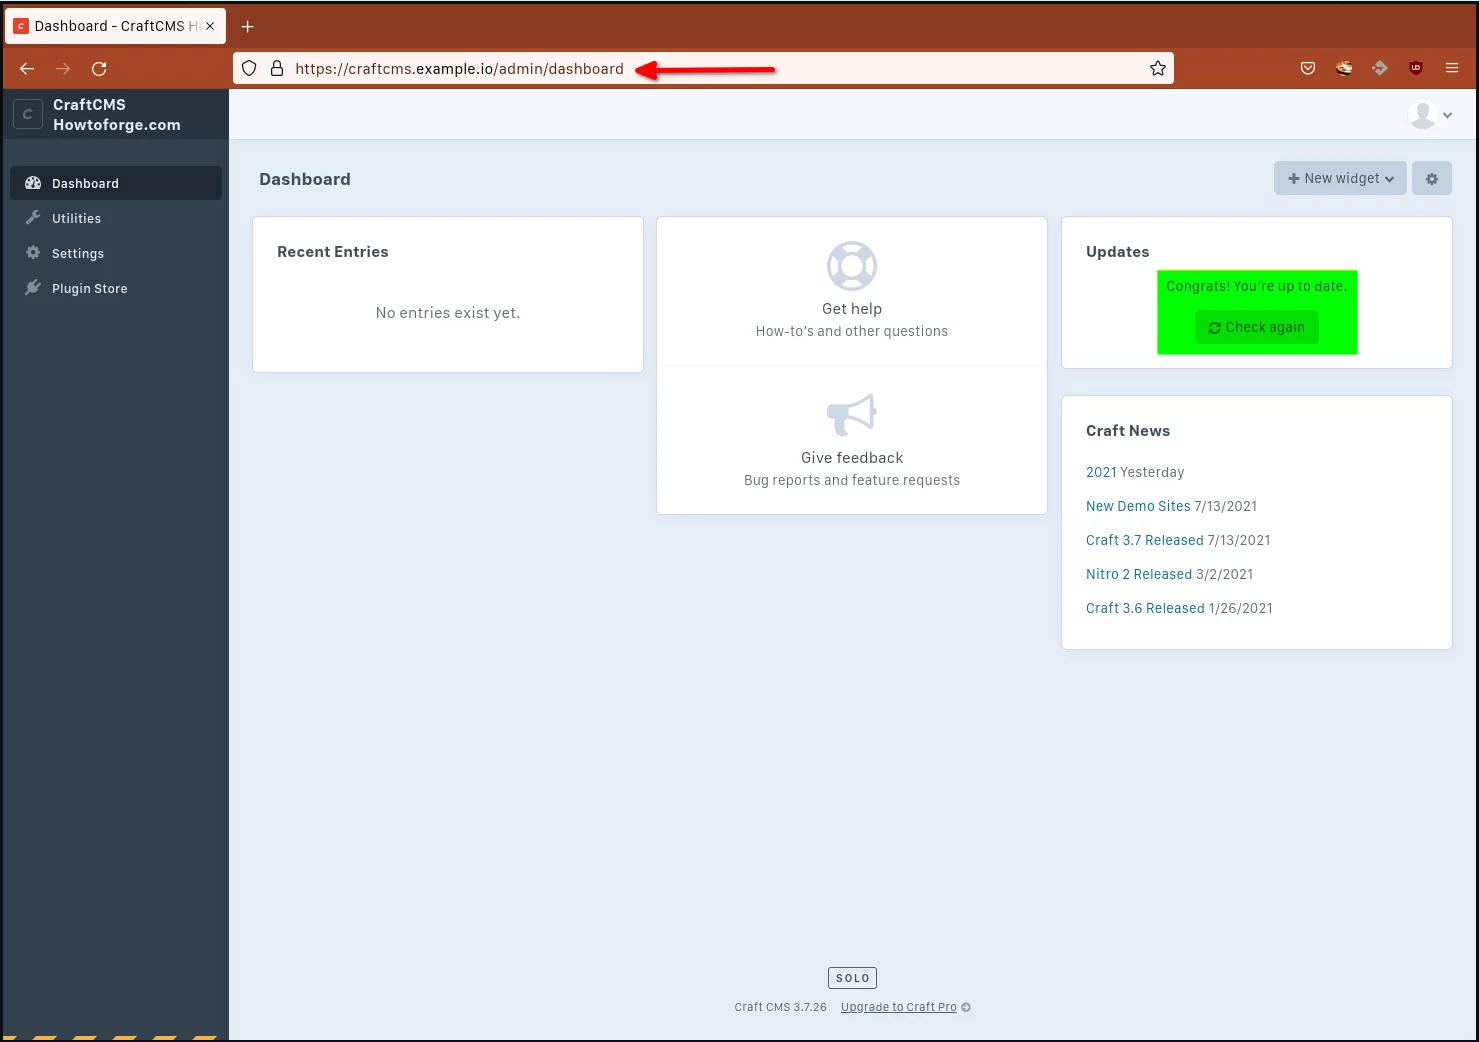
正如您在右上角看到的,您的 CraftCMS 是最新的。
接下来,打开 CraftCMS 的主域,您将看到 CraftCMS 的默认索引页面。

结论
恭喜!您现在已经学习了如何在 Debian 11 系统上安装带有 Apache2 Web 服务器和 MariaDB 数据库的 CraftCMS。您现在可以尝试向 CraftCMS 添加新内容,或者查看 CraftCMS 的可用插件并安装它们。