如何在 Ubuntu 22.04 上安装 LEMP(Nginx、PHP 和 MariaDB)服务器
LEMP 是四个开源组件的集合,它们一起用于在 Internet 上托管网站和 Web 应用程序。 LEMP 代表 L 代表 Linux 操作系统,N 代表 Nginx Web 服务器,M 代表 MySQL 或 MariaDB 数据库, P 代表 PHP 语言。它通常用于在 Internet 上托管大规模应用程序。 LEMP 堆栈得到社区的大力支持并被全球开发人员使用。
本文将向您展示如何在 Ubuntu 22.04 上安装 LEMP 服务器。
要求
- 运行 Ubuntu 22.04 的服务器。
- 至少 1 GB RAM 和 5 GB 硬盘。
- 服务器上设置了 root 密码。
在 Ubuntu 22.04 上安装 Nginx
Web 服务器包 Nginx 默认包含在 Ubuntu 22.04 标准存储库中。您可以使用以下命令轻松安装它:
apt-get install nginx -y安装 Nginx Web 服务器包后,启动 Nginx 服务并使用以下命令激活它,以便它在系统重新启动时启动:
systemctl start nginx
systemctl enable nginx
要检查 Nginx 的状态,请运行以下命令:
systemctl status nginx您将收到以下输出:
? nginx.service - A high performance web server and a reverse proxy server
     Loaded: loaded (/lib/systemd/system/nginx.service; enabled; vendor preset: enabled)
     Active: active (running) since Fri 2022-04-29 07:47:01 UTC; 17s ago
       Docs: man:nginx(8)
    Process: 11919 ExecStartPre=/usr/sbin/nginx -t -q -g daemon on; master_process on; (code=exited, status=0/SUCCESS)
    Process: 11920 ExecStart=/usr/sbin/nginx -g daemon on; master_process on; (code=exited, status=0/SUCCESS)
   Main PID: 12009 (nginx)
      Tasks: 3 (limit: 4630)
     Memory: 3.3M
        CPU: 55ms
     CGroup: /system.slice/nginx.service
             ??12009 "nginx: master process /usr/sbin/nginx -g daemon on; master_process on;"
             ??12011 "nginx: worker process" "" "" "" "" "" "" "" "" "" "" "" "" "" "" "" "" "" "" "" "" "" "" "" "" "" "" ""
             ??12012 "nginx: worker process" "" "" "" "" "" "" "" "" "" "" "" "" "" "" "" "" "" "" "" "" "" "" "" "" "" "" ""

Apr 29 07:47:01 ubuntu systemd[1]: Starting A high performance web server and a reverse proxy server...
Apr 29 07:47:01 ubuntu systemd[1]: Started A high performance web server and a reverse proxy server.
要检查 Nginx 版本,请执行以下命令:
nginx -V您将得到以下输出:
nginx version: nginx/1.18.0 (Ubuntu)
built with OpenSSL 3.0.2 15 Mar 2022
TLS SNI support enabled
configure arguments: --with-cc-opt='-g -O2 -ffile-prefix-map=/build/nginx-9P0wNJ/nginx-1.18.0=. -flto=auto -ffat-lto-objects -flto=auto -ffat-lto-objects -fstack-protector-strong -Wformat -Werror=format-security -fPIC -Wdate-time -D_FORTIFY_SOURCE=2' --with-ld-opt='-Wl,-Bsymbolic-functions -flto=auto -ffat-lto-objects -flto=auto -Wl,-z,relro -Wl,-z,now -fPIC' --prefix=/usr/share/nginx --conf-path=/etc/nginx/nginx.conf --http-log-path=/var/log/nginx/access.log --error-log-path=/var/log/nginx/error.log --lock-path=/var/lock/nginx.lock --pid-path=/run/nginx.pid --modules-path=/usr/lib/nginx/modules --http-client-body-temp-path=/var/lib/nginx/body --http-fastcgi-temp-path=/var/lib/nginx/fastcgi --http-proxy-temp-path=/var/lib/nginx/proxy --http-scgi-temp-path=/var/lib/nginx/scgi --http-uwsgi-temp-path=/var/lib/nginx/uwsgi --with-compat --with-debug --with-pcre-jit --with-http_ssl_module --with-http_stub_status_module --with-http_realip_module --with-http_auth_request_module --with-http_v2_module --with-http_dav_module --with-http_slice_module --with-threads --add-dynamic-module=/build/nginx-9P0wNJ/nginx-1.18.0/debian/modules/http-geoip2 --with-http_addition_module --with-http_gunzip_module --with-http_gzip_static_module --with-http_sub_module
您还可以通过 Web 浏览器检查 Nginx 安装情况,网址为 http://your-server-ip 。 您应该在以下屏幕上看到 Nginx 测试页面:
在 Ubuntu 22.04 上安装 PHP 和 PHP-FPM
PHP 是一种用于服务 PHP 页面的处理语言。默认情况下,最新的 PHP 版本包含在标准 Ubuntu 22.04 存储库中。您可以使用以下命令将其与其他扩展一起安装:
apt-get install php8.1 php8.1-fpm php8.1-mysql php8.1-gd php8.1-curl php8.1-xml -y安装PHP后,使用以下命令启动PHP-FPM服务:
systemctl start php8.1-fpm要检查 PHP-FPM 的状态,请运行以下命令:
systemctl status php8.1-fpm您将得到以下输出:
? php8.1-fpm.service - The PHP 8.1 FastCGI Process Manager
     Loaded: loaded (/lib/systemd/system/php8.1-fpm.service; enabled; vendor preset: enabled)
     Active: active (running) since Fri 2022-04-29 07:48:26 UTC; 2min 8s ago
       Docs: man:php-fpm8.1(8)
    Process: 13491 ExecStartPost=/usr/lib/php/php-fpm-socket-helper install /run/php/php-fpm.sock /etc/php/8.1/fpm/pool.d/www.conf 81 (code=e>
   Main PID: 13488 (php-fpm8.1)
     Status: "Processes active: 0, idle: 2, Requests: 0, slow: 0, Traffic: 0req/sec"
      Tasks: 3 (limit: 4630)
     Memory: 9.2M
        CPU: 116ms
     CGroup: /system.slice/php8.1-fpm.service
             ??13488 "php-fpm: master process (/etc/php/8.1/fpm/php-fpm.conf)" "" "" "" "" "" "" "" "" "" "" "" "" "" "" "" "" "" "" "" "" "">
             ??13489 "php-fpm: pool www" "" "" "" "" "" "" "" "" "" "" "" "" "" "" "" "" "" "" "" "" "" "" "" "" "" "" "" "" "" "" "" "" "" ">
             ??13490 "php-fpm: pool www" "" "" "" "" "" "" "" "" "" "" "" "" "" "" "" "" "" "" "" "" "" "" "" "" "" "" "" "" "" "" "" "" "" ">

Apr 29 07:48:26 ubuntu systemd[1]: Starting The PHP 8.1 FastCGI Process Manager...
Apr 29 07:48:26 ubuntu systemd[1]: Started The PHP 8.1 FastCGI Process Manager.
在 Ubuntu 22.04 上安装 MySQL 服务器
MySQL 是一个数据库管理系统,可用作任何 Web 应用程序的数据库后端。默认情况下,最新版本的 MySQL 包含在 Ubuntu 22.04 的默认存储库中。您可以使用以下命令安装它:
apt-get install mysql-server -y安装 MySQL 后,使用以下命令启动并激活 MySQL 服务:
systemctl start mysql
systemctl enable mysql
您还可以使用以下命令检查 MySQL 状态:
systemctl status mysql您应该看到以下输出:
? mysql.service - MySQL Community Server
     Loaded: loaded (/lib/systemd/system/mysql.service; enabled; vendor preset: enabled)
     Active: active (running) since Fri 2022-04-29 07:43:21 UTC; 5min ago
   Main PID: 11476 (mysqld)
     Status: "Server is operational"
      Tasks: 38 (limit: 4630)
     Memory: 358.7M
        CPU: 2.266s
     CGroup: /system.slice/mysql.service
             ??11476 /usr/sbin/mysqld

Apr 29 07:43:20 ubuntu systemd[1]: Starting MySQL Community Server...
Apr 29 07:43:21 ubuntu systemd[1]: Started MySQL Community Server.
您还可以使用以下命令检查MySQL版本:
mysql --version您将得到以下输出:
mysql Ver 8.0.28-0ubuntu4 for Linux on x86_64 ((Ubuntu))
默认情况下,MySQL 不安全,并且未设置 root 密码。因此,您需要通过运行以下脚本来保护它:
mysql_secure_installation设置新的 MySQL 密码,如下所示:
Securing the MySQL server deployment.

Connecting to MySQL using a blank password.

VALIDATE PASSWORD COMPONENT can be used to test passwords
and improve security. It checks the strength of password
and allows the users to set only those passwords which are
secure enough. Would you like to setup VALIDATE PASSWORD component?

Press y|Y for Yes, any other key for No:
Please set the password for root here.

New password:

Re-enter new password:
By default, a MySQL installation has an anonymous user,
allowing anyone to log into MySQL without having to have
a user account created for them. This is intended only for
testing, and to make the installation go a bit smoother.
You should remove them before moving into a production
environment.
删除匿名用户(见下文):
Remove anonymous users? (Press y|Y for Yes, any other key for No) : Y
Success.


Normally, root should only be allowed to connect from
'localhost'. This ensures that someone cannot guess at
the root password from the network.
禁止远程 root 登录(见下文):
Disallow root login remotely? (Press y|Y for Yes, any other key for No) : Y
Success.

By default, MySQL comes with a database named 'test' that
anyone can access. This is also intended only for testing,
and should be removed before moving into a production
environment.
删除测试数据库(见下文):
Remove test database and access to it? (Press y|Y for Yes, any other key for No) : Y
 - Dropping test database...
Success.

 - Removing privileges on test database...
Success.

Reloading the privilege tables will ensure that all changes
made so far will take effect immediately.
重置权限如下图:
Reload privilege tables now? (Press y|Y for Yes, any other key for No) : Y
Success.

All done!
检查 PHP 安装
Nginx 使用 PHP-FPM 来处理 PHP 页面。因此,您需要编辑虚拟主机的Nginx默认配置文件并定义PHP-FPM sock来服务PHP页面:
使用以下命令编辑默认的 Nginx 配置文件:
nano /etc/nginx/sites-enabled/default删除所有行并添加以下行:
server {
        listen   80;
        root /var/www/html;
        index info.php;
        server_name  _;
        location / {
                try_files $uri $uri/ =404;
        }

        location ~ \.php$ {
                include snippets/fastcgi-php.conf;
                fastcgi_pass unix:/run/php/php8.1-fpm.sock;
        }
}
保存并关闭文件并使用以下命令检查 Nginx 是否有语法错误:
nginx -t您将得到以下输出:
nginx: the configuration file /etc/nginx/nginx.conf syntax is ok
nginx: configuration file /etc/nginx/nginx.conf test is successful
接下来,重新启动 Nginx 服务以应用更改:
systemctl restart nginx现在在 Nginx Web 根目录中创建一个示例 PHP 信息页面:
nano /var/www/html/info.php粘贴以下代码:
<?php
   phpinfo();
?>
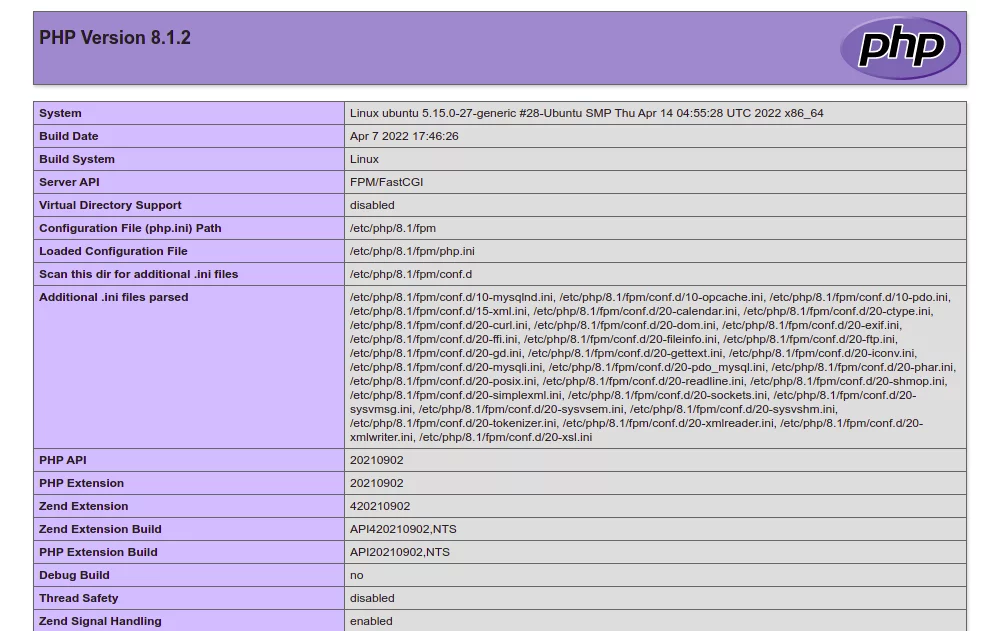
保存并关闭文件,然后打开 Web 浏览器并通过 URL http://your-server-ip 访问 PHP 页面。 您应该看到 PHP 信息页面在以下屏幕上:
结论
恭喜!您已在 Ubuntu 22.04 上成功安装 LEMP 服务器。现在您可以在开发环境中使用 LEMP 服务器来创建、测试和部署 Web 应用程序。如果您还有任何疑问,请随时与我联系。