如何在 Debian 9 上安装 ERPNext
在此页
- 先决条件
- 开始
- 安装依赖项
- 安装 Node.js、Redis 和 Nginx
- 安装和配置 MariaDB
- 安装 PDF 转换器
- 安装工作台
- 安装 ERP下一步
- 访问 ERPNext 网络界面
- 结论
ERPNext 是一个在 Frappe 框架之上用 Python 编写的免费开源 ERP 软件,包括会计、库存、制造、CRM、销售、采购、项目管理、人力资源管理系统等。 ERPNext 是一个简单、强大且易于使用的 ERP 系统。它带有漂亮的网络界面,可用于从中央位置管理日常任务。
在本教程中,我们将学习如何在 Debian 9 服务器上安装 ERPNext 软件。
先决条件
- 运行 Debian 9 的服务器。
- 具有 sudo 权限的非根用户。
入门
在开始之前,建议将您的包存储库更新到最新版本。您可以通过运行以下命令来执行此操作:
sudo apt-get update -y
sudo apt-get upgrade -y
接下来,重新启动系统以应用所有更改。
安装依赖
ERPNext 需要 Python 2.7 版才能正常工作。您可以通过运行以下命令来安装 Python 和其他所需的包:
sudo apt-get install python-minimal git build-essential python-setuptools python-dev libffi-dev libssl-dev curl -y您还需要安装 Pythons pip 工具来安装 Python 依赖项。您可以通过运行以下命令来执行此操作:
wget https://bootstrap.pypa.io/get-pip.py
sudo python get-pip.py
接下来,使用 pip 命令安装 ansible:
sudo pip install ansible安装 Node.js、Redis 和 Nginx
默认情况下,最新版本的 Node.js 在 Debian 9 中不可用。因此您需要为 Node.js 8.x 添加 Nodesource 存储库。您可以通过运行以下命令来执行此操作:
sudo curl --silent --location https://deb.nodesource.com/setup_8.x | sudo bash -接下来,通过运行以下命令安装 Node.js、Nginx 和 Redis:
sudo apt-get install nodejs redis-server nginx -y安装完所有软件包后,启动 Nginx 和 Redis 服务,并使用以下命令使它们能够在启动时启动:
sudo systemctl start nginx
sudo systemctl enable nginx
sudo systemctl start redis-server
sudo systemctl enable redis-server
安装和配置 MariaDB
默认情况下,最新版本的 MariaDB 在 Debian 9 存储库中不可用。所以你需要为此添加 MariaDB 存储库。
首先,使用以下命令下载签名密钥并将其添加到您的系统:
sudo apt-get install software-properties-common dirmngr
sudo apt-key adv --recv-keys --keyserver keyserver.ubuntu.com 0xF1656F24C74CD1D8
接下来,使用以下命令添加 MariaDB 存储库:
sudo add-apt-repository 'deb [arch=amd64,i386,ppc64el] http://ftp.utexas.edu/mariadb/repo/10.2/debian stretch main'最后,使用以下命令安装 MariaDB 服务器:
sudo apt-get update -y
sudo apt-get install mariadb-server libmysqlclient-dev -y
接下来,您需要将 Barracuda 存储引擎添加到 MariaDB 配置文件以创建 ERPNext 数据库。您可以通过编辑 my.cnf 文件来执行此操作:
sudo nano /etc/mysql/my.cnf添加以下行:
[mysqld]

innodb-file-format=barracuda
innodb-file-per-table=1
innodb-large-prefix=1
character-set-client-handshake = FALSE
character-set-server = utf8mb4
collation-server = utf8mb4_unicode_ci

[mysql]

default-character-set = utf8mb4
完成后保存并关闭文件,然后启动 MariaDB 服务并使用以下命令使其在开机时启动:
sudo systemctl restart mysql
sudo systemctl enable mysql
接下来,通过运行 mysql_secure_installation 脚本来保护 MariaDB:
sudo mysql_secure_installation该脚本将设置 root 密码,删除匿名用户,禁止远程 root 登录,并删除测试数据库和对安全 MariaDB 的访问,如下所示:
Set root password? [Y/n] y
Remove anonymous users? [Y/n] y
Disallow root login remotely? [Y/n] y
Remove test database and access to it? [Y/n] y
Reload privilege tables now? [Y/n] y
安装 PDF 转换器
您还需要安装 wkhtmltopdf 以使用 QT Webkit 呈现引擎将 HTML 转换为 PDF。首先,使用以下命令安装所需的依赖项:
sudo apt-get install libxext6 xfonts-75dpi xfonts-base libxrender1 -y接下来,使用以下命令下载最新版本的 wkhtmltopdf:
wget https://github.com/wkhtmltopdf/wkhtmltopdf/releases/download/0.12.4/wkhtmltox-0.12.4_linux-generic-amd64.tar.xz接下来,将下载的文件解压到 /opt 目录:
sudo tar -xvf wkhtmltox-0.12.4_linux-generic-amd64.tar.xz -C /opt接下来,使用以下命令为 wkhtmltopdf 创建一个软链接:
sudo ln -s /opt/wkhtmltox/bin/wkhtmltopdf /usr/bin/wkhtmltopdf
sudo ln -s /opt/wkhtmltox/bin/wkhtmltopdf /usr/bin/wkhtmltopdf
安装工作台
接下来,您需要安装 Bench 以在您的系统中安装和管理 ERPNext 应用程序。 Bench 还用于创建和管理 Nginx 和主管配置。
在安装 Bench 之前,您需要为 Bench 添加用户。
首先,使用以下命令创建一个 Bench 用户:
sudo adduser bench接下来,为 bench 用户提供 sudo 权限。
sudo usermod -aG sudo bench接下来,使用 Bench 用户登录并使用以下命令克隆 Bench 存储库:
su - bench
git clone https://github.com/frappe/bench bench-repo
最后,使用 pip 命令安装 Bench:
sudo pip install -e bench-repo安装ERP下一步
接下来,初始化一个安装了 frappe 框架的 bench 目录。
bench init erpnext接下来,将目录更改为 erpnext 并使用以下命令创建一个新的 Frappe 站点:
cd erpnext
bench new-site test.example.com
上面的命令将要求提供 MySQL root 密码,并要求您为管理员帐户设置一个新密码。管理员密码稍后需要登录管理员仪表板。
接下来,使用以下命令从 Git 存储库下载 ERPNext 安装文件:
bench get-app erpnext https://github.com/frappe/erpnext接下来,在您新创建的站点上安装 ERPNext。
bench --site test.example.com install-app erpnext最后,使用以下命令启动 Bench 应用程序:
bench start应用程序成功启动后,您应该会看到以下输出:
13:40:10 system           | redis_socketio.1 started (pid=2618)
13:40:10 system           | worker_long.1 started (pid=2625)
13:40:10 system           | watch.1 started (pid=2619)
13:40:10 system           | redis_queue.1 started (pid=2626)
13:40:10 redis_socketio.1 | 2630:M 24 Feb 13:40:10.939 * Increased maximum number of open files to 10032 (it was originally set to 1024).
13:40:10 system           | web.1 started (pid=2629)
13:40:11 system           | schedule.1 started (pid=2634)
13:40:10 redis_socketio.1 |                 _._
13:40:10 redis_socketio.1 |            _.-``__ ''-._
13:40:10 redis_socketio.1 |       _.-``    `.  `_.  ''-._           Redis 3.0.6 (00000000/0) 64 bit
13:40:10 redis_socketio.1 |   .-`` .-```.  ```\/    _.,_ ''-._
13:40:10 redis_socketio.1 |  (    '      ,       .-`  | `,    )     Running in standalone mode
13:40:10 redis_socketio.1 |  |`-._`-...-` __...-.``-._|'` _.-'|     Port: 12000
13:40:10 redis_socketio.1 |  |    `-._   `._    /     _.-'    |     PID: 2630
13:40:10 redis_socketio.1 |   `-._    `-._  `-./  _.-'    _.-'
13:40:10 redis_socketio.1 |  |`-._`-._    `-.__.-'    _.-'_.-'|
13:40:10 redis_socketio.1 |  |    `-._`-._        _.-'_.-'    |           http://redis.io
13:40:10 redis_socketio.1 |   `-._    `-._`-.__.-'_.-'    _.-'
13:40:10 redis_socketio.1 |  |`-._`-._    `-.__.-'    _.-'_.-'|
13:40:10 redis_socketio.1 |  |    `-._`-._        _.-'_.-'    |
13:40:10 redis_socketio.1 |   `-._    `-._`-.__.-'_.-'    _.-'
13:40:10 redis_socketio.1 |       `-._    `-.__.-'    _.-'
13:40:10 redis_socketio.1 |           `-._        _.-'
13:40:10 redis_socketio.1 |               `-.__.-'
13:40:10 redis_socketio.1 |
13:40:11 system           | worker_default.1 started (pid=2639)
13:40:10 redis_socketio.1 | 2630:M 24 Feb 13:40:10.973 # WARNING: The TCP backlog setting of 511 cannot be enforced because /proc/sys/net/core/somaxconn is set to the lower value of 128.
13:40:10 redis_socketio.1 | 2630:M 24 Feb 13:40:10.974 # Server started, Redis version 3.0.6
13:40:10 redis_socketio.1 | 2630:M 24 Feb 13:40:10.974 # WARNING overcommit_memory is set to 0! Background save may fail under low memory condition. To fix this issue add 'vm.overcommit_memory = 1' to /etc/sysctl.conf and then reboot or run the command 'sysctl vm.overcommit_memory=1' for this to take effect.
13:40:10 redis_socketio.1 | 2630:M 24 Feb 13:40:10.974 # WARNING you have Transparent Huge Pages (THP) support enabled in your kernel. This will create latency and memory usage issues with Redis. To fix this issue run the command 'echo never > /sys/kernel/mm/transparent_hugepage/enabled' as root, and add it to your /etc/rc.local in order to retain the setting after a reboot. Redis must be restarted after THP is disabled.
13:40:10 redis_queue.1    | 2635:M 24 Feb 13:40:10.976 * Increased maximum number of open files to 10032 (it was originally set to 1024).
13:40:10 redis_queue.1    |                 _._
13:40:10 redis_queue.1    |            _.-``__ ''-._
13:40:10 redis_queue.1    |       _.-``    `.  `_.  ''-._           Redis 3.0.6 (00000000/0) 64 bit
13:40:10 redis_queue.1    |   .-`` .-```.  ```\/    _.,_ ''-._
13:40:10 redis_queue.1    |  (    '      ,       .-`  | `,    )     Running in standalone mode
13:40:10 redis_queue.1    |  |`-._`-...-` __...-.``-._|'` _.-'|     Port: 11000
13:40:10 redis_queue.1    |  |    `-._   `._    /     _.-'    |     PID: 2635
13:40:10 redis_queue.1    |   `-._    `-._  `-./  _.-'    _.-'
13:40:10 redis_queue.1    |  |`-._`-._    `-.__.-'    _.-'_.-'|
13:40:10 redis_queue.1    |  |    `-._`-._        _.-'_.-'    |           http://redis.io
13:40:10 redis_queue.1    |   `-._    `-._`-.__.-'_.-'    _.-'
13:40:10 redis_queue.1    |  |`-._`-._    `-.__.-'    _.-'_.-'|
13:40:10 redis_queue.1    |  |    `-._`-._        _.-'_.-'    |
13:40:10 redis_queue.1    |   `-._    `-._`-.__.-'_.-'    _.-'
13:40:10 redis_queue.1    |       `-._    `-.__.-'    _.-'
13:40:10 redis_queue.1    |           `-._        _.-'
13:40:10 redis_queue.1    |               `-.__.-'
13:40:10 redis_queue.1    |
13:40:10 redis_queue.1    | 2635:M 24 Feb 13:40:10.998 # WARNING: The TCP backlog setting of 511 cannot be enforced because /proc/sys/net/core/somaxconn is set to the lower value of 128.
13:40:10 redis_queue.1    | 2635:M 24 Feb 13:40:10.999 # Server started, Redis version 3.0.6
13:40:11 redis_queue.1    | 2635:M 24 Feb 13:40:11.000 # WARNING overcommit_memory is set to 0! Background save may fail under low memory condition. To fix this issue add 'vm.overcommit_memory = 1' to /etc/sysctl.conf and then reboot or run the command 'sysctl vm.overcommit_memory=1' for this to take effect.
13:40:11 redis_socketio.1 | 2630:M 24 Feb 13:40:11.000 * The server is now ready to accept connections on port 12000
13:40:11 system           | socketio.1 started (pid=2637)
13:40:11 redis_queue.1    | 2635:M 24 Feb 13:40:11.029 # WARNING you have Transparent Huge Pages (THP) support enabled in your kernel. This will create latency and memory usage issues with Redis. To fix this issue run the command 'echo never > /sys/kernel/mm/transparent_hugepage/enabled' as root, and add it to your /etc/rc.local in order to retain the setting after a reboot. Redis must be restarted after THP is disabled.
13:40:11 redis_queue.1    | 2635:M 24 Feb 13:40:11.029 * The server is now ready to accept connections on port 11000
13:40:11 system           | redis_cache.1 started (pid=2652)
13:40:11 system           | worker_short.1 started (pid=2651)
13:40:11 redis_cache.1    | 2660:M 24 Feb 13:40:11.100 * Increased maximum number of open files to 10032 (it was originally set to 1024).
13:40:11 redis_cache.1    |                 _._
13:40:11 redis_cache.1    |            _.-``__ ''-._
13:40:11 redis_cache.1    |       _.-``    `.  `_.  ''-._           Redis 3.0.6 (00000000/0) 64 bit
13:40:11 redis_cache.1    |   .-`` .-```.  ```\/    _.,_ ''-._
13:40:11 redis_cache.1    |  (    '      ,       .-`  | `,    )     Running in standalone mode
13:40:11 redis_cache.1    |  |`-._`-...-` __...-.``-._|'` _.-'|     Port: 13000
13:40:11 redis_cache.1    |  |    `-._   `._    /     _.-'    |     PID: 2660
13:40:11 redis_cache.1    |   `-._    `-._  `-./  _.-'    _.-'
13:40:11 redis_cache.1    |  |`-._`-._    `-.__.-'    _.-'_.-'|
13:40:11 redis_cache.1    |  |    `-._`-._        _.-'_.-'    |           http://redis.io
13:40:11 redis_cache.1    |   `-._    `-._`-.__.-'_.-'    _.-'
13:40:11 redis_cache.1    |  |`-._`-._    `-.__.-'    _.-'_.-'|
13:40:11 redis_cache.1    |  |    `-._`-._        _.-'_.-'    |
13:40:11 redis_cache.1    |   `-._    `-._`-.__.-'_.-'    _.-'
13:40:11 redis_cache.1    |       `-._    `-.__.-'    _.-'
13:40:11 redis_cache.1    |           `-._        _.-'
13:40:11 redis_cache.1    |               `-.__.-'
13:40:11 redis_cache.1    |
13:40:11 redis_cache.1    | 2660:M 24 Feb 13:40:11.115 # WARNING: The TCP backlog setting of 511 cannot be enforced because /proc/sys/net/core/somaxconn is set to the lower value of 128.
13:40:11 redis_cache.1    | 2660:M 24 Feb 13:40:11.115 # Server started, Redis version 3.0.6
13:40:11 redis_cache.1    | 2660:M 24 Feb 13:40:11.115 # WARNING overcommit_memory is set to 0! Background save may fail under low memory condition. To fix this issue add 'vm.overcommit_memory = 1' to /etc/sysctl.conf and then reboot or run the command 'sysctl vm.overcommit_memory=1' for this to take effect.
13:40:11 redis_cache.1    | 2660:M 24 Feb 13:40:11.116 # WARNING you have Transparent Huge Pages (THP) support enabled in your kernel. This will create latency and memory usage issues with Redis. To fix this issue run the command 'echo never > /sys/kernel/mm/transparent_hugepage/enabled' as root, and add it to your /etc/rc.local in order to retain the setting after a reboot. Redis must be restarted after THP is disabled.
13:40:11 redis_cache.1    | 2660:M 24 Feb 13:40:11.116 * The server is now ready to accept connections on port 13000
13:40:16 socketio.1       | listening on *: 9000
13:40:34 worker_long.1    | 13:40:34 RQ worker u'rq:worker:Node1.2632.long' started, version 0.10.0
13:40:34 worker_long.1    | 13:40:34 *** Listening on long...
13:40:34 worker_long.1    | 13:40:34 Cleaning registries for queue: long
13:40:34 worker_default.1 | 13:40:34 RQ worker u'rq:worker:Node1.2646.default' started, version 0.10.0
13:40:34 worker_default.1 | 13:40:34 *** Listening on default...
13:40:34 worker_default.1 | 13:40:34 Cleaning registries for queue: default
13:40:34 worker_short.1   | 13:40:34 RQ worker u'rq:worker:Node1.2661.short' started, version 0.10.0
13:40:34 worker_short.1   | 13:40:34 *** Listening on short...
13:40:34 worker_short.1   | 13:40:34 Cleaning registries for queue: short
13:40:34 web.1            |  * Running on http://0.0.0.0:8000/ (Press CTRL+C to quit)
访问 ERPNext 网页界面
ERPNext 现已安装并在端口 8000 上运行。是时候访问 ERPNext Web 界面了。
打开您的网络浏览器并输入 URL http://test.exaple.com:8000,您将被重定向到以下页面:

在这里,提供您的管理员帐户凭据并单击登录按钮,您应该会看到以下页面:
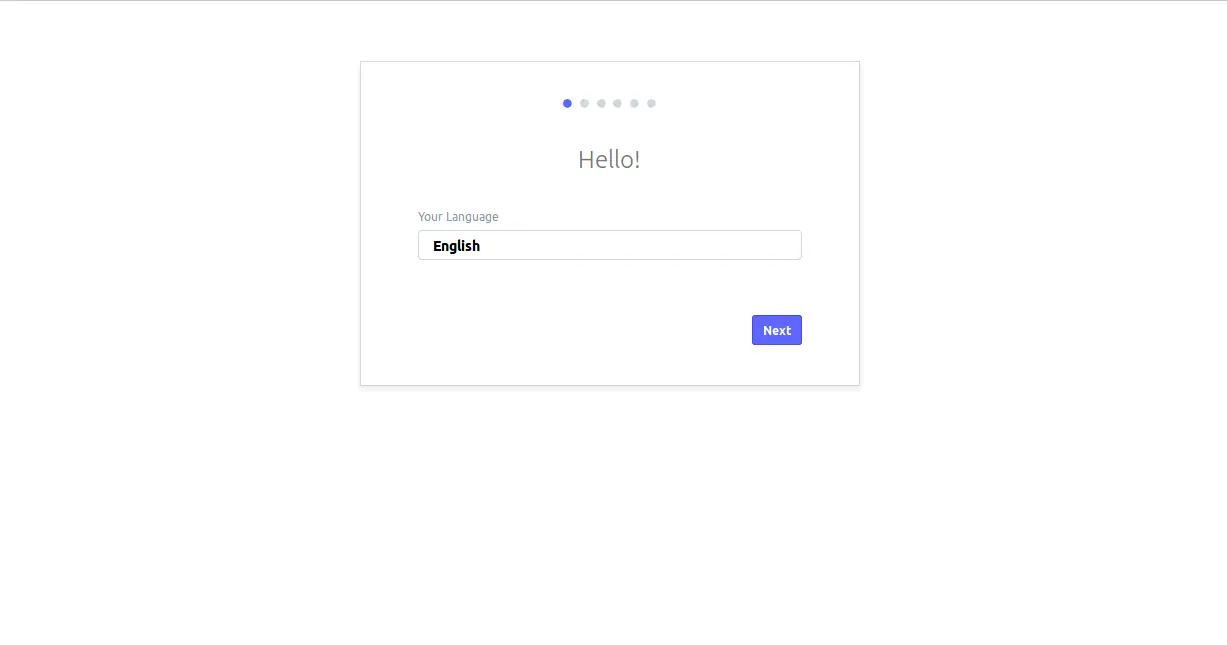
在这里,选择 English 语言并单击 Next 按钮,您应该会看到以下页面:
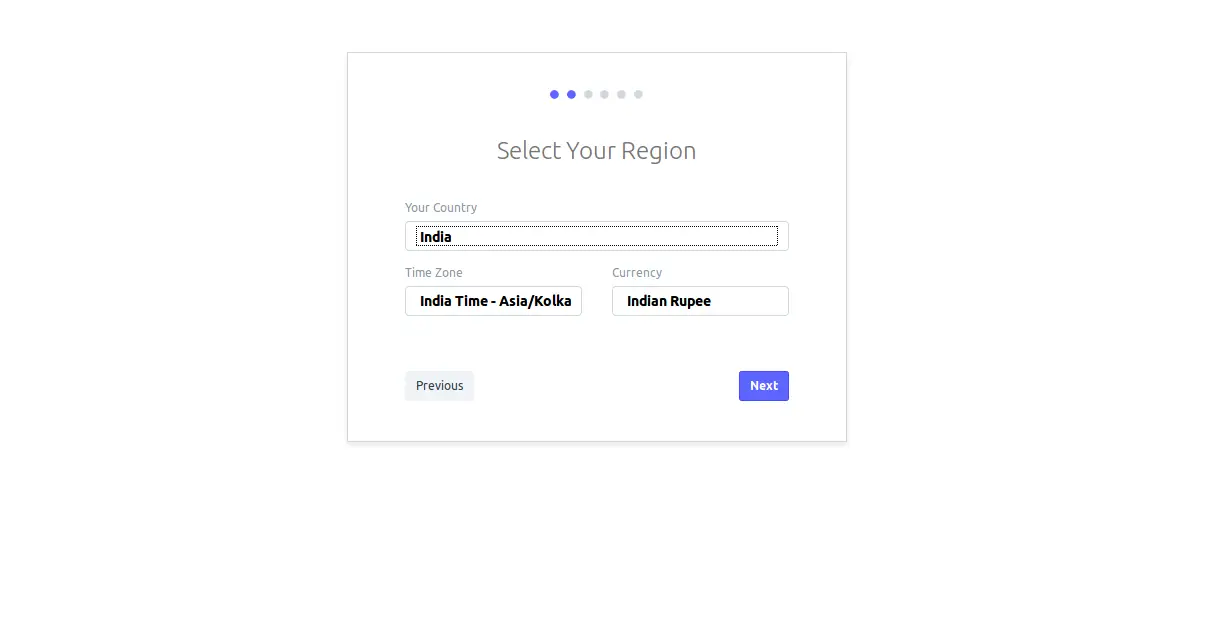
在这里,选择您的国家、时区和货币,然后单击下一步按钮,您应该会看到以下页面:

在这里,提供您的姓名、电子邮件和密码,然后单击下一步按钮,您应该会看到以下页面:
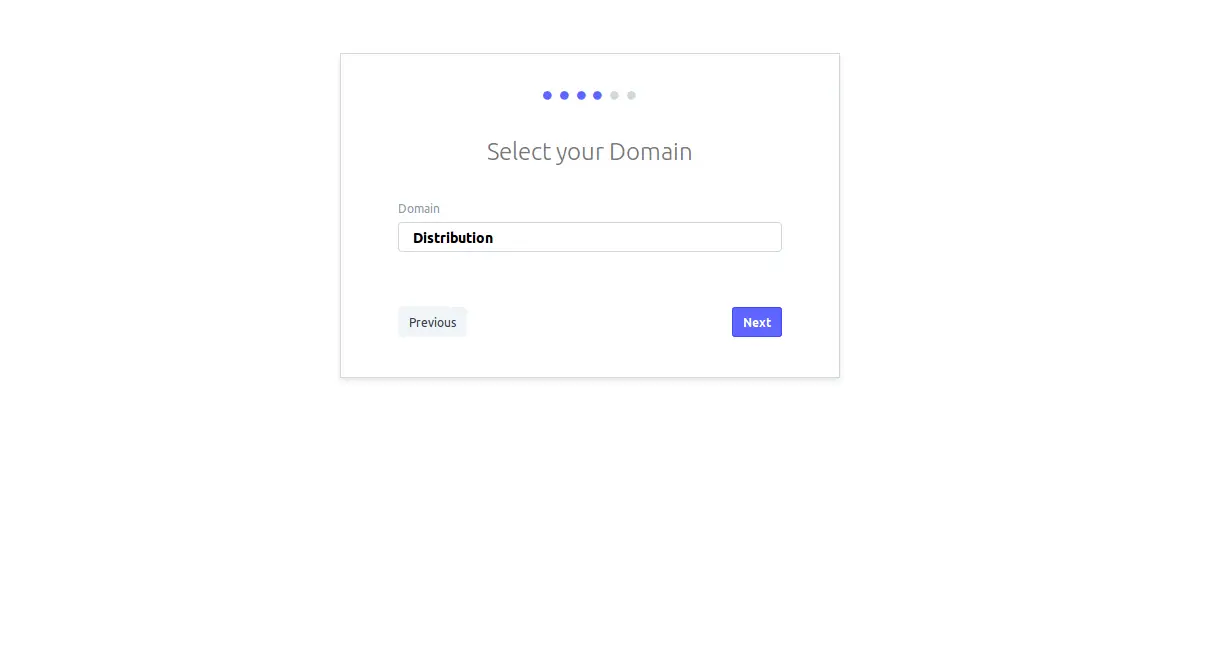
在这里,根据需要选择您的域,然后单击下一步按钮,您应该会看到以下页面:

在这里,提供您的公司名称和缩写,然后单击下一步按钮,您应该会看到以下页面:
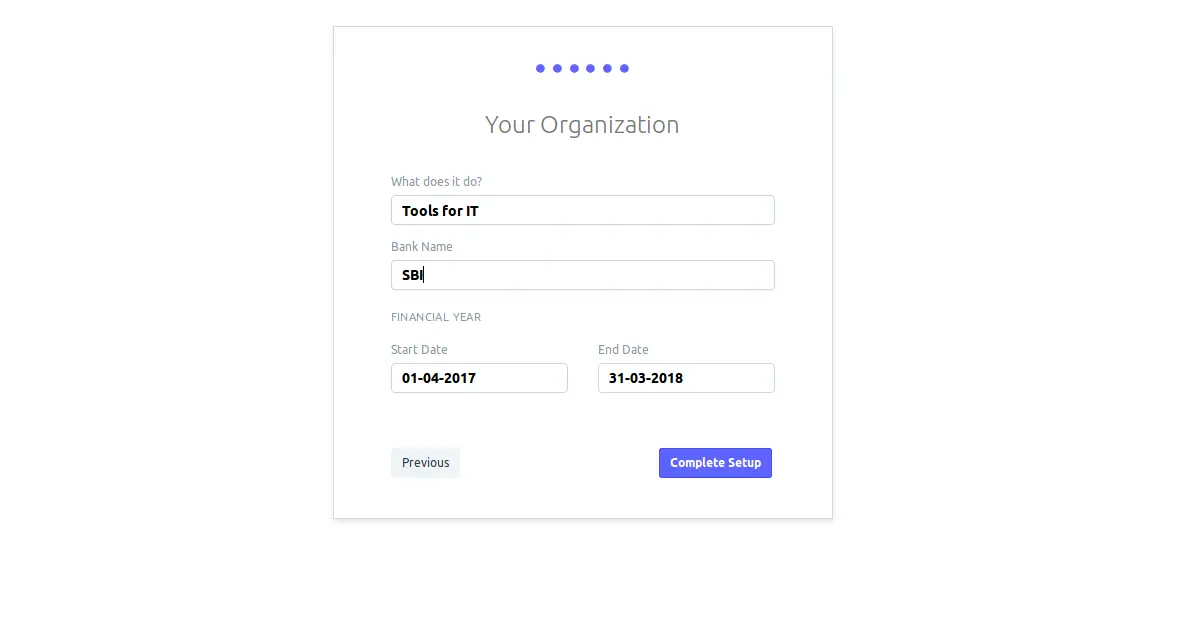
在这里,提供您的组织详细信息并单击“完成设置”按钮,您应该会看到以下页面:

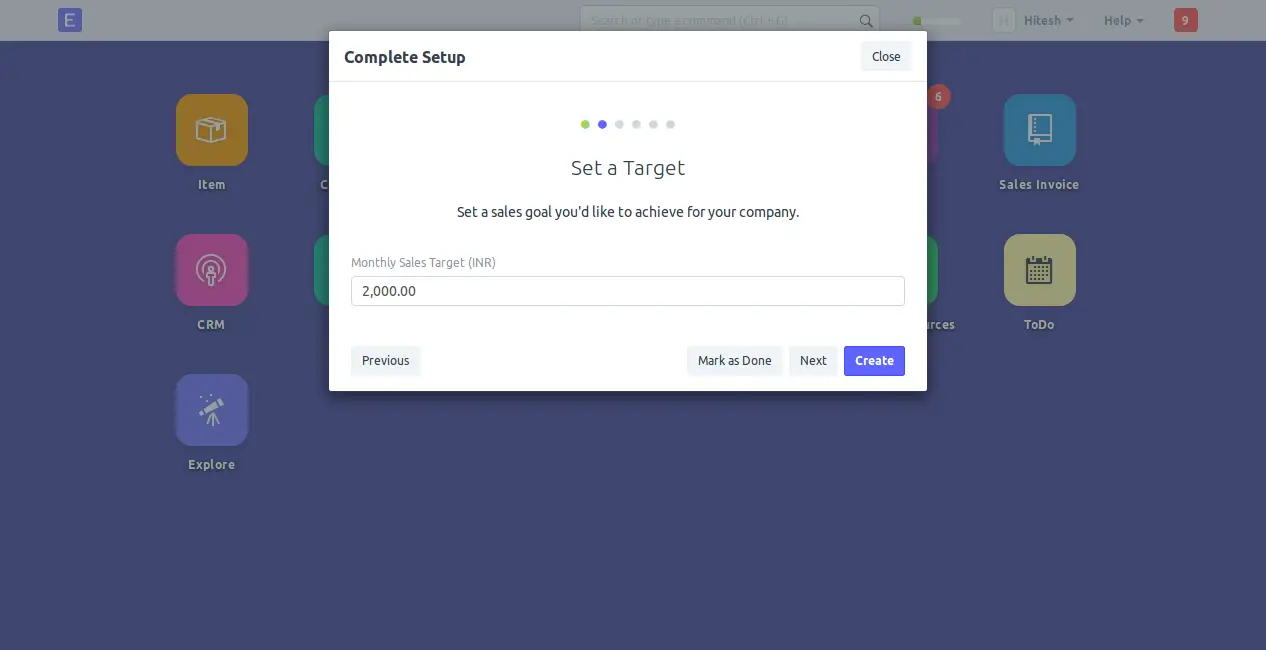
在这里,设置一个你想为你的公司实现的目标,然后点击创建按钮,你应该会看到以下页面:
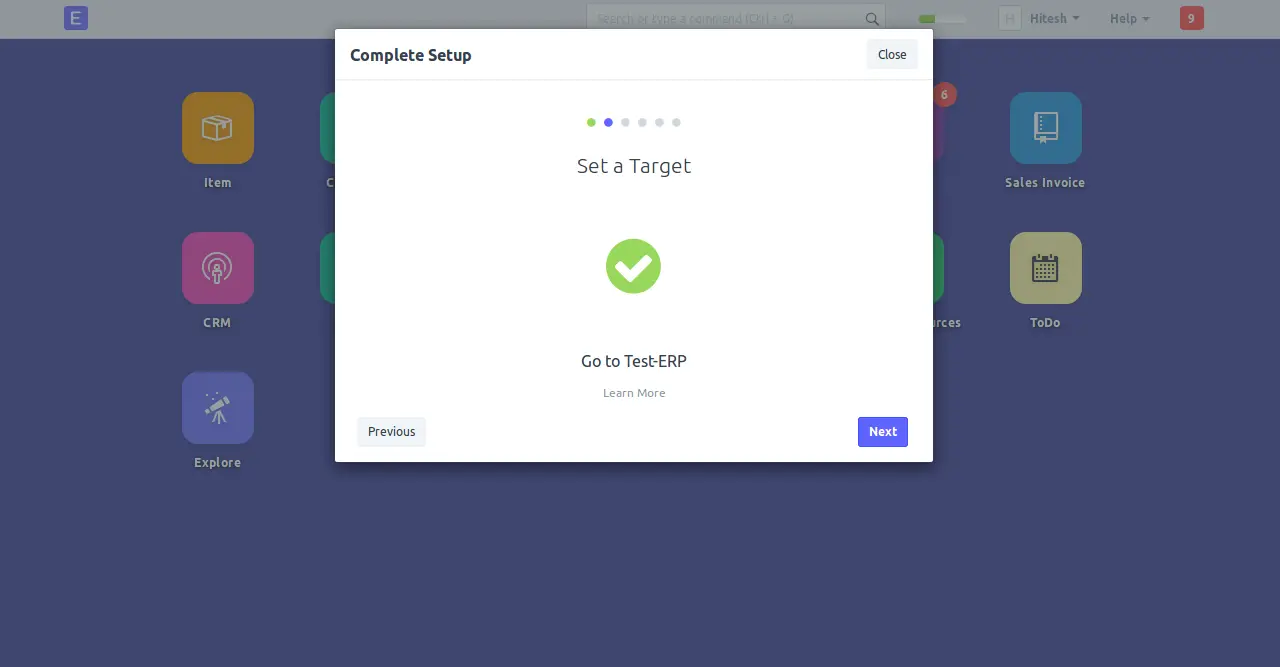
在这里,单击下一步按钮继续,您应该看到以下页面:
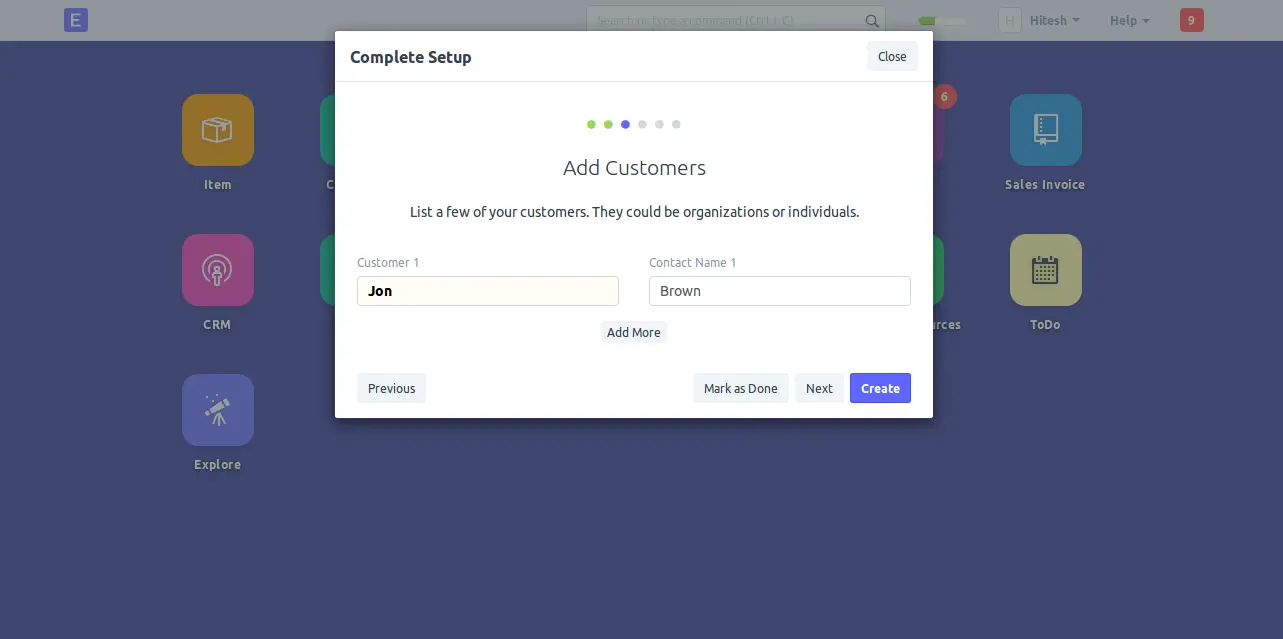
在这里,添加你想添加的客户,然后点击创建按钮,你应该看到以下页面:
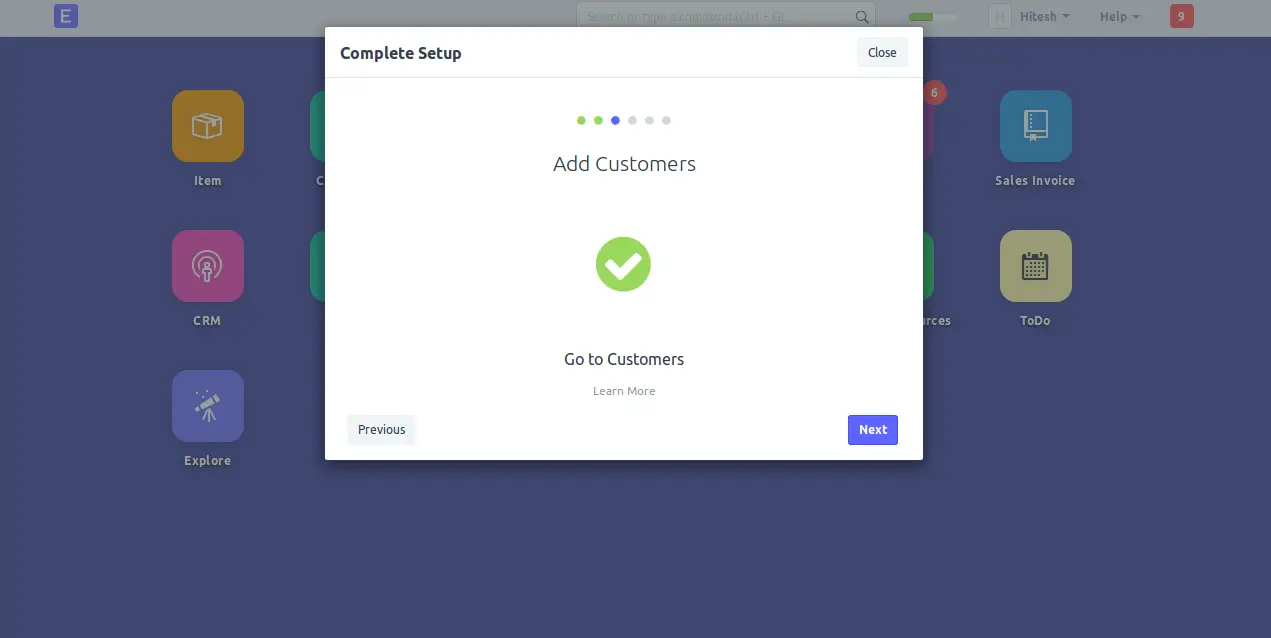
在这里,单击下一步按钮继续,您应该看到以下页面:
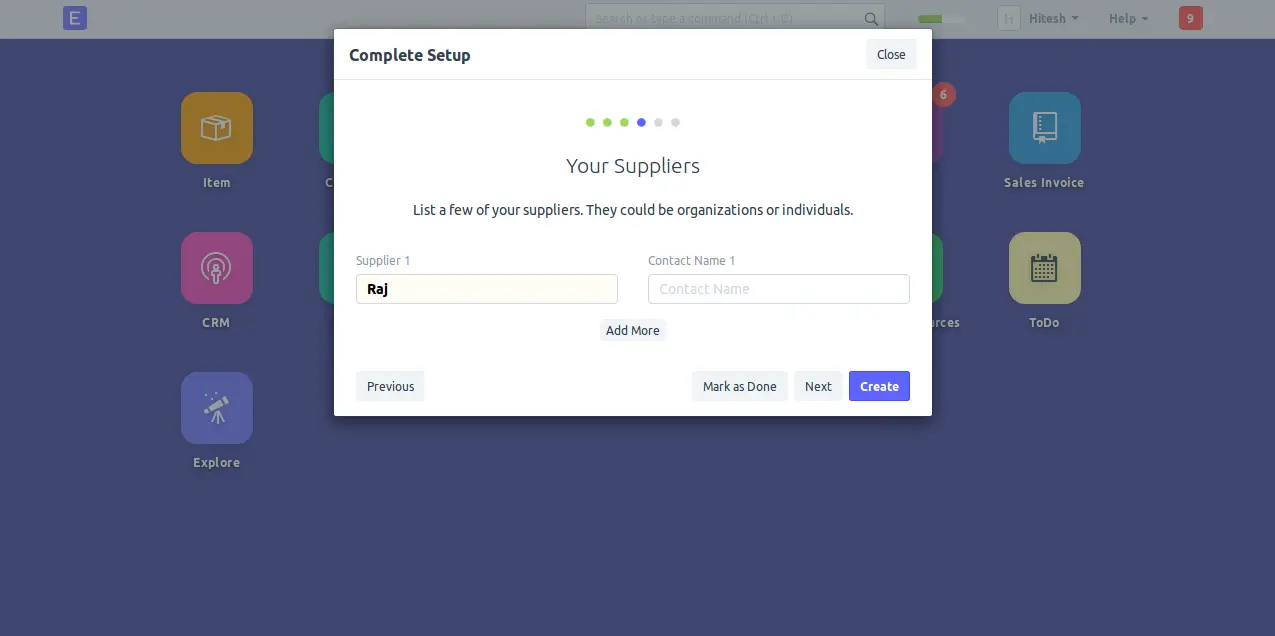
在这里,添加您要添加的供应商,然后单击“创建”按钮,您应该会看到以下页面:
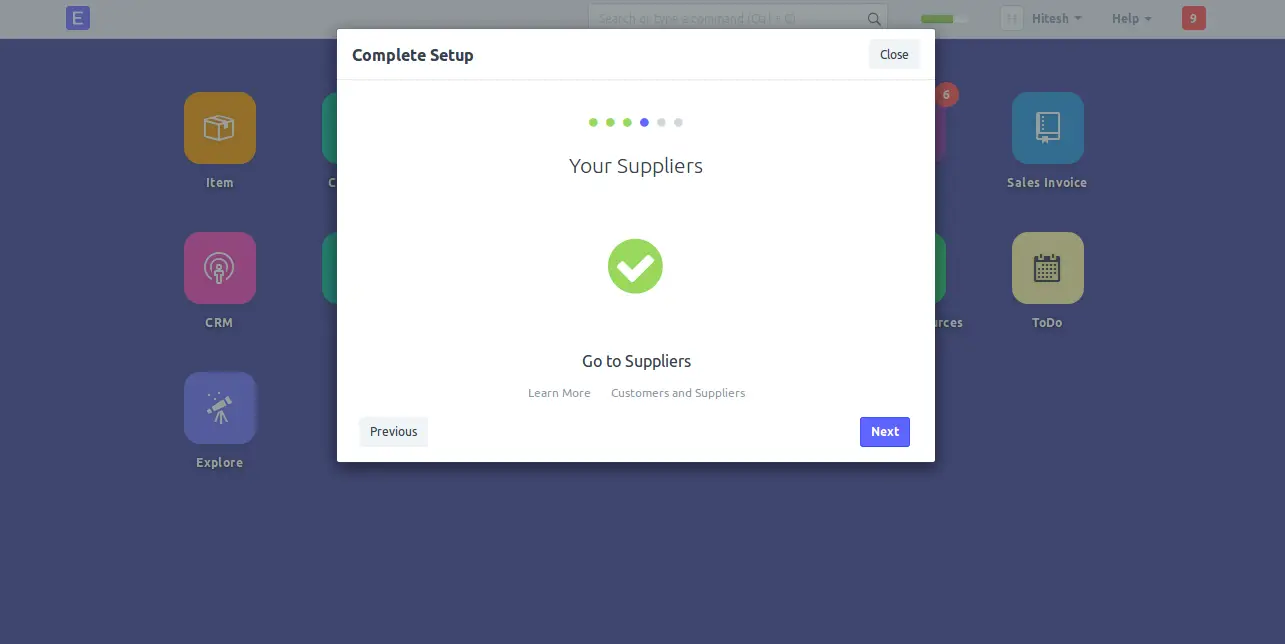
在这里,单击下一步按钮继续,您应该看到以下页面:

在这里,添加您想要购买或出售的产品和服务,然后单击“创建”按钮,您应该会看到以下页面:
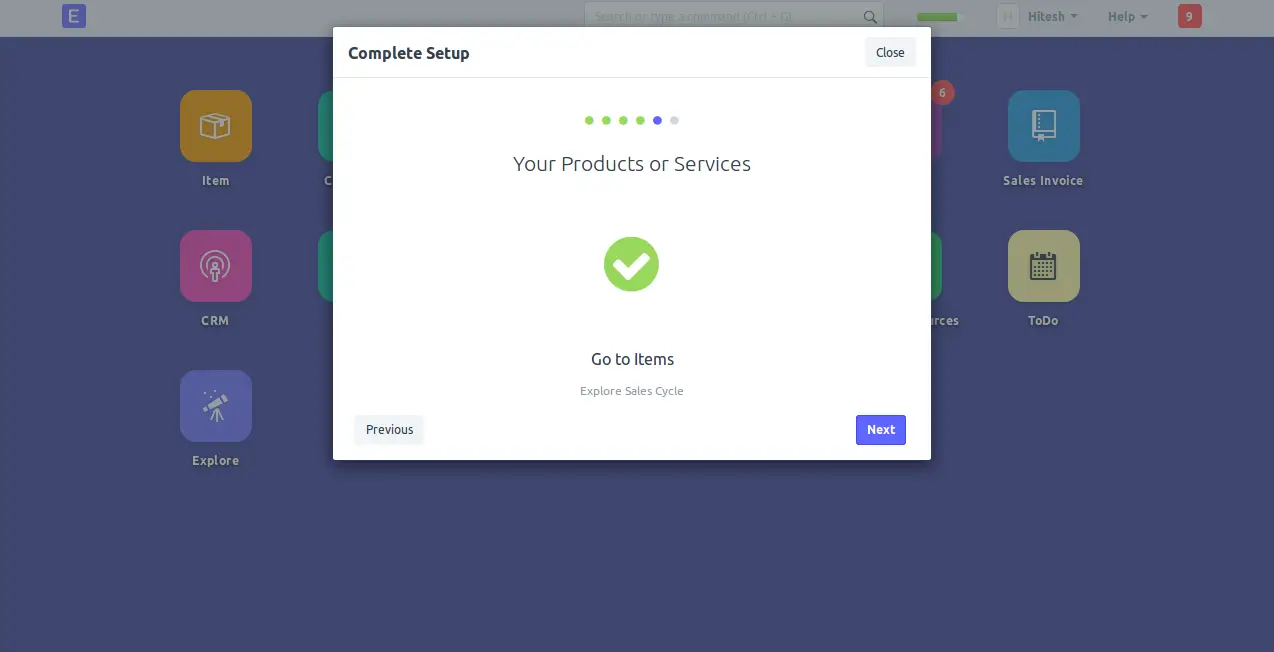
在这里,单击下一步按钮继续,您应该看到以下页面:
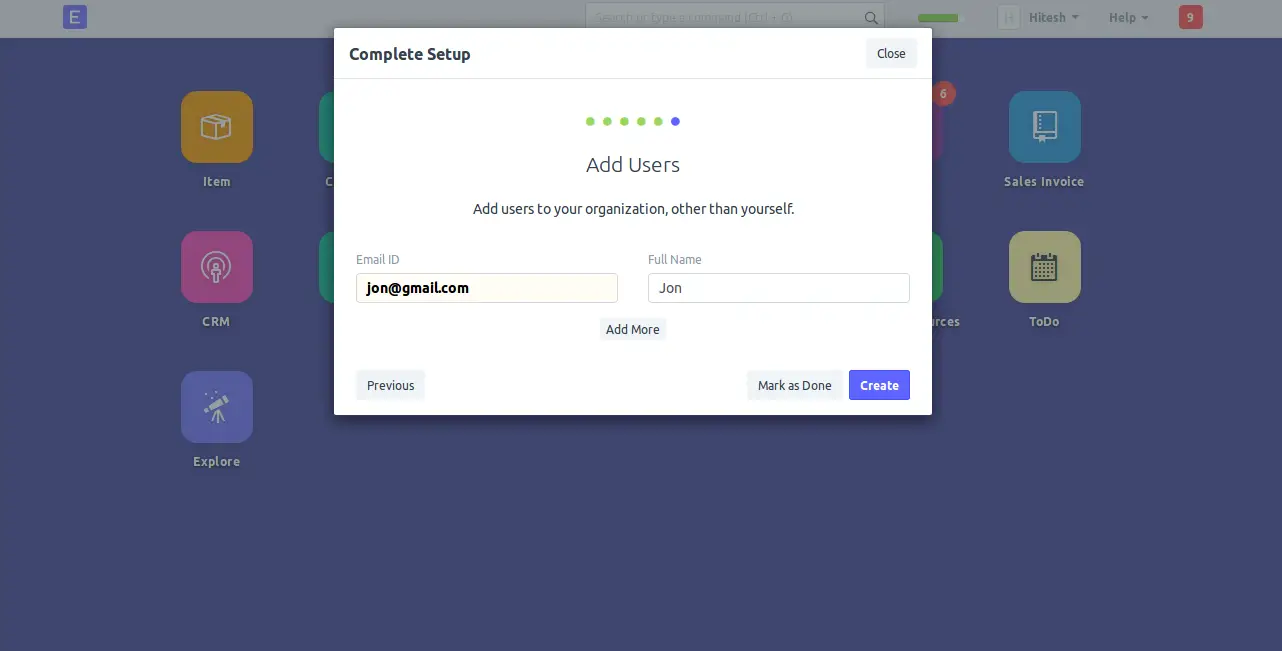
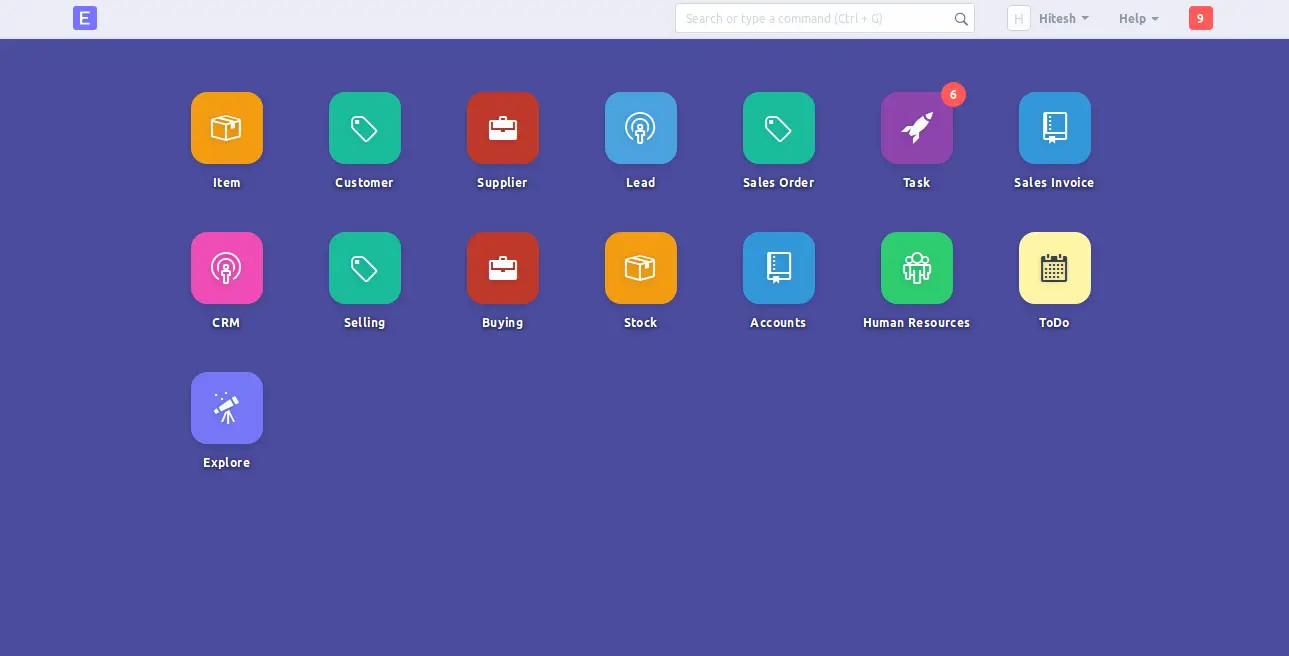
在这里,将用户添加到您的组织,然后单击“创建”按钮,您应该会看到 ERPNext 仪表板页面如下:
结论
恭喜!您已在 Debian 9 服务器上成功安装和配置 ERPNext。您现在可以轻松地使用该应用程序来管理您的公司。有关详细信息,请参阅 Doc 上的官方 ERPNext 文档页面。