如何在 Ubuntu 16.04 上安装 nginx 作为 Apache 的反向代理
本教程适用于这些操作系统版本
- Ubuntu 16.04(Xenial Xerus)
- Ubuntu 12.04 LTS(Precise Pangolin)
在此页
- 1 条初步说明
- 2 配置阿帕奇
- 3 配置 nginx
- 4 个链接
本教程展示了如何在 Ubuntu 16.04 上将 nginx 设置为 Apache2 Web 服务器前的反向代理。 nginx(发音为“engine x”)是一个免费、开源、高性能的 HTTP 服务器。 nginx 以其稳定性、丰富的功能集、简单的配置和低资源消耗而闻名。
1 初步说明
在本教程中,我使用 IP 地址为 192.168.1.100 的主机名 server1.example.com。这些设置可能因您而异,因此您必须在适当的地方替换它们。
我假设你有一个现有的 Apache 虚拟主机(我将在本教程中使用 apache 默认虚拟主机),它正在侦听你想要通过 nginx 代理的 IP 地址 192.168.1.100 上的端口 80。我将使用 Ubuntu LAMP 教程作为基础。请注意,本教程仅涵盖 http,不涵盖 https (SSL)。
2 配置阿帕奇
我们要做的第一件事是将我们的 Apache 虚拟主机配置为在 80 以外的未使用端口(例如 8000)上侦听本地主机 (127.0.0.1)。打开 /etc/apache2/ports.conf...
nano /etc/apache2/ports.conf...并修改端口 80 的 NameVirtualHost 和 Listen 行以使用端口 8000:
# If you just change the port or add more ports here, you will likely also
# have to change the VirtualHost statement in
# /etc/apache2/sites-enabled/000-default.conf

Listen 8000

<IfModule ssl_module>
 Listen 443
</IfModule>

<IfModule mod_gnutls.c>
 Listen 443
</IfModule>
接下来打开 vhost 配置文件(例如 /etc/apache2/sites-available/000-default.conf)...
nano /etc/apache2/sites-available/000-default.conf...并更改
<VirtualHost 127.0.0.1:8000>
[...]
我们将 nginx 配置为透明代理,即它将原始用户 IP 地址在一个名为 X-Forwarded-For 的字段中传递给后端 Apache。当然,后端Apache应该在他们的访问日志中记录原始用户的IP地址而不是nginx的IP地址(127.0.0.1)。有两种方法可以实现这一点:
1) 我们可以修改 /etc/apache2/apache2.conf 中的 LogFormat 行,将 %h 替换为 %{X-Forwarded-For}i:
nano /etc/apache2/apache2.conf[...]
#LogFormat "%h %l %u %t \"%r\" %>s %O \"%{Referer}i\" \"%{User-Agent}i\"" combined
LogFormat "%{X-Forwarded-For}i %l %u %t \"%r\" %>s %b \"%{Referer}i\" \"%{User-Agent}i\"" combined
[...]2) 在 Debian/Ubuntu 上,我们可以安装 Apache 模块 libapache2-mod-rpaf,它负责记录正确的 IP 地址:
apt-get -y install libapache2-mod-rpaf完成所有这些更改后,重新启动 Apache:
service apache2 restart3 配置nginx
如果 nginx 尚未安装,请按如下方式安装:
apt-get -y install nginx创建其系统启动链接并确保它已启动:
systemctl enable nginx.service
service nginx restart
它现在应该在端口 80 上侦听。
一些标准代理参数在文件 /etc/nginx/proxy_params 中:
nano /etc/nginx/proxy_paramsproxy_set_header Host $http_host;
proxy_set_header X-Real-IP $remote_addr;
proxy_set_header X-Forwarded-For $proxy_add_x_forwarded_for;
proxy_set_header X-Forwarded-Proto $scheme;由于稍后我们将在 example.com 的 nginx 虚拟主机的代理部分包含该文件,因此如果您愿意,您可能希望向该文件添加更多代理指令,例如如下:
proxy_set_header Host $http_host;
proxy_set_header X-Real-IP $remote_addr;
proxy_set_header X-Forwarded-For $proxy_add_x_forwarded_for;
proxy_set_header X-Forwarded-Proto $scheme;
client_max_body_size 100M;
client_body_buffer_size 1m;
proxy_intercept_errors on;
proxy_buffering on;
proxy_buffer_size 128k;
proxy_buffers 256 16k;
proxy_busy_buffers_size 256k;
proxy_temp_file_write_size 256k;
proxy_max_temp_file_size 0;
proxy_read_timeout 300;现在修改 nginx 的默认虚拟主机 - 确保它使用与 example.com 的 Apache 虚拟主机相同的文档根目录(例如 /var/www/html),以便 nginx 可以直接传送静态文件,而无需将请求传递给 Apache:
nano /etc/nginx/sites-available/defaultserver {
listen 80 default_server;
listen [::]:80 default_server;
root /var/www/html;
# Add index.php to the list if you are using PHP
index index.html index.htm index.nginx-debian.html;
server_name _;
location / {
proxy_pass http://localhost:8000;
include /etc/nginx/proxy_params;
}
}这是一个非常简单的配置,它将所有请求代理到 Apache。
重新加载 nginx 以使更改生效:
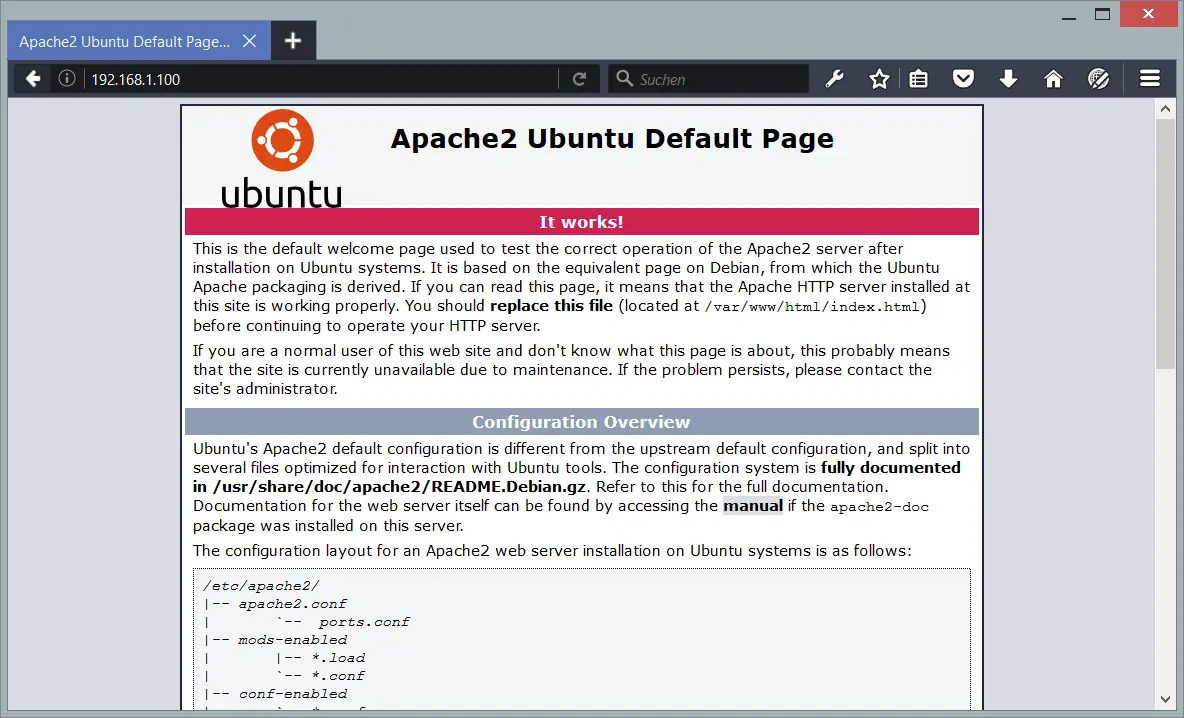
service nginx reload您现在可以在浏览器中输入服务器主机名或 IP 192.168.1.100,您应该会看到 apache 默认网站,但这次是通过 nginx 提供的。
正如我之前所说,这是一个非常简单的配置,它将所有请求代理到 Apache。但是因为 nginx 比 Apache 更快地提供静态文件(如 JavaScript、CSS、图像、PDF 文件、静态 HTML 文件等),所以让 nginx 直接提供这些文件是个好主意。这可以通过为这些文件添加一个新位置来完成,例如如下:
server {
       listen 80 default_server;
       listen [::]:80 default_server;

       root /var/www/html;

       # Add index.php to the list if you are using PHP
       index index.html index.htm index.nginx-debian.html;

       server_name _;

       location / {
         proxy_pass http://localhost:8000;
         include /etc/nginx/proxy_params;
       }
       location ~* \.(js|css|jpg|jpeg|gif|png|svg|ico|pdf|html|htm)$ {
       }
}
重新加载 nginx:
service nginx reload您甚至可以为这些文件设置 Expires HTTP 标头,以便浏览器缓存这些文件(有关更多详细信息,请参阅让浏览器在 nginx 上缓存静态文件):
server {
       listen 80 default_server;
       listen [::]:80 default_server;

       root /var/www/html;

       # Add index.php to the list if you are using PHP
       index index.html index.htm index.nginx-debian.html;

       server_name _;

       location / {
       proxy_pass http://localhost:8000;
       include /etc/nginx/proxy_params;
       }
       location ~* \.(js|css|jpg|jpeg|gif|png|svg|ico|pdf|html|htm)$ {
                expires      30d;
       }
}
我们现在可以让 nginx 处理尽可能多的请求,并只将剩余的请求和 PHP 文件传递给 Apache,从而使此设置更进一步:
server {
       listen 80 default_server;
       listen [::]:80 default_server;

       root /var/www/html;

       # Add index.php to the list if you are using PHP
       index index.html index.htm index.nginx-debian.html;

       server_name _;

       location / {
                proxy_pass http://localhost:8000;
                include /etc/nginx/proxy_params;
       }
       location ~* \.(js|css|jpg|jpeg|gif|png|svg|ico|pdf|html|htm)$ {
                expires      30d;
       }
       location @proxy {
                proxy_pass http://127.0.0.1:8000;
                include /etc/nginx/proxy_params;
       }
       location ~* \.php$ {
                proxy_pass http://127.0.0.1:8000;
                include /etc/nginx/proxy_params;
       }
}
重新加载 nginx:
service nginx reload当然,您可以进一步微调此设置,例如通过使用 nginx proxy_cache(如果您的应用程序允许 - 例如,您必须确保验证码或购物车不被缓存,并且登录用户始终获得页面的新副本)或者如果您的应用程序具有完整页面缓存 - 在这种情况下 nginx 可以直接访问完整页面缓存(您可以在本教程中找到一个示例:如何使用 Boost 和 nginx 加速 Drupal 7.7( Debian 挤压))。
4个链接
- nginx:http://nginx.net/
- 阿帕奇:http://httpd.apache.org/
- Ubuntu:http://www.ubuntu.com/