如何在 Ubuntu 16.04 上安装和配置 Solr 6
本教程适用于这些操作系统版本
- Ubuntu 14.04 LTS (Trusty Tahr)
在此页
- 更新您的系统
- 设置 Java 运行时环境
- 安装 Solr 应用程序
- 创建 Solr 搜索集合:
- 使用 Solr Web 界面
- 本教程虚拟机镜像下载
- 结论
什么是 Apache Solr? Apache Solr 是一个用 Java 编写的开源企业级搜索平台,使您能够创建自定义搜索引擎来索引数据库、文件和网站。它具有对 Apache Lucene 的后端支持。它可以例如用于在多个网站中进行搜索,并可以显示对搜索内容的推荐。 Solr 使用基于 XML(可扩展标记语言)的查询和结果语言。有适用于 Python、Ruby 和 JSON(Javascript 对象表示法)的 API(应用程序程序接口)。
Solr 提供的一些其他功能是:
- 全文搜索。
- 代码段生成和突出显示。
- 自定义文档排序/排名。
- 拼写建议。
本教程将向您展示如何在 Ubuntu 16.04 LTS 上安装最新的 Solr 版本。这些步骤很可能也适用于更高版本的 Ubuntu。
更新您的系统
使用非 root sudo 用户登录到您的 Ubuntu 服务器。通过此用户,您将必须执行所有步骤并稍后使用 Solr。
要更新您的系统,请执行以下命令以使用最新的补丁和更新更新您的系统。
sudo apt-get update && apt-get upgrade -y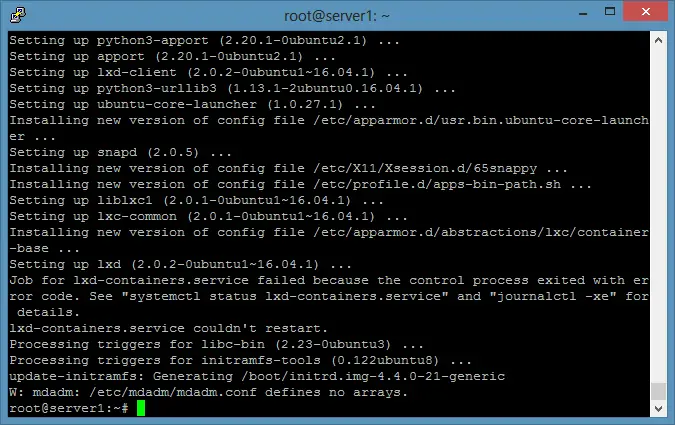
设置 Java 运行时环境
Solr是一个Java应用程序,所以需要先安装Java运行环境才能设置Solr。
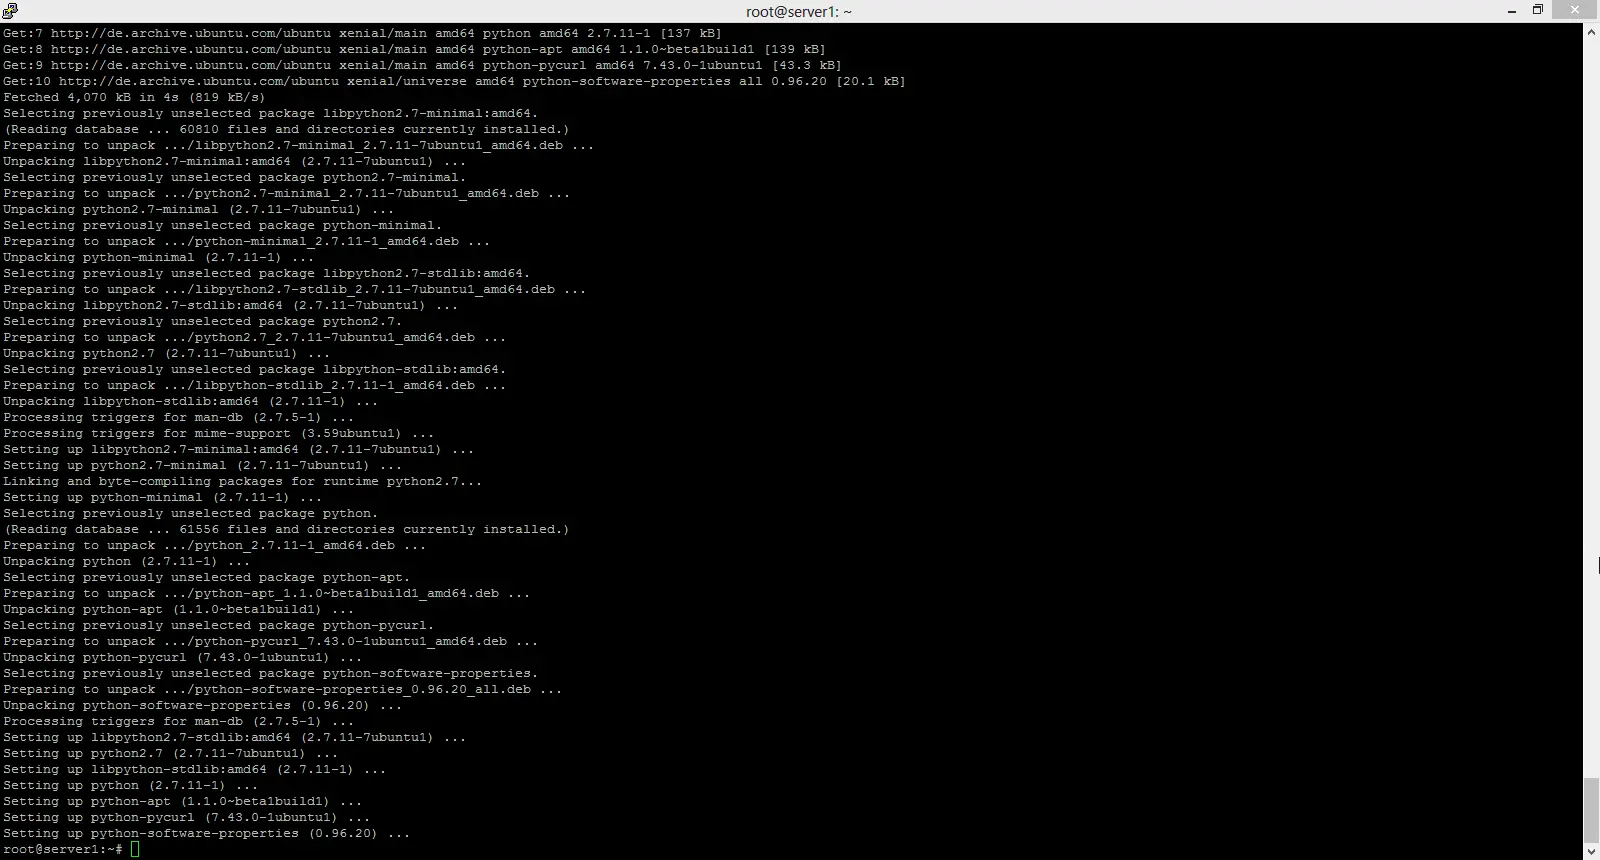
我们必须安装 Python 软件属性才能安装最新的 Java 8。运行以下命令来安装软件。
:~# sudo apt-get install python-software-properties
Reading package lists... Done
Building dependency tree
Reading state information... Done
The following additional packages will be installed:
libpython-stdlib libpython2.7-minimal libpython2.7-stdlib python python-apt
python-minimal python-pycurl python2.7 python2.7-minimal
Suggested packages:
python-doc python-tk python-apt-dbg python-apt-doc libcurl4-gnutls-dev
python-pycurl-dbg python-pycurl-doc python2.7-doc binutils binfmt-support
The following NEW packages will be installed:
libpython-stdlib libpython2.7-minimal libpython2.7-stdlib python python-apt
python-minimal python-pycurl python-software-properties python2.7
python2.7-minimal
0 upgraded, 10 newly installed, 0 to remove and 3 not upgraded.
Need to get 4,070 kB of archives.
After this operation, 17.3 MB of additional disk space will be used.
Do you want to continue? [Y/n]
按 Y 继续。
执行命令后,通过运行以下命令在您的系统中添加 webupd8team Java PPA 存储库:
sudo add-apt-repository ppa:webupd8team/java需要时按 [ENTER]。现在,您可以使用 apt 轻松安装最新版本的 Java 8。
首先,更新包列表以从新的 PPA 中获取可用的包:
sudo apt-get update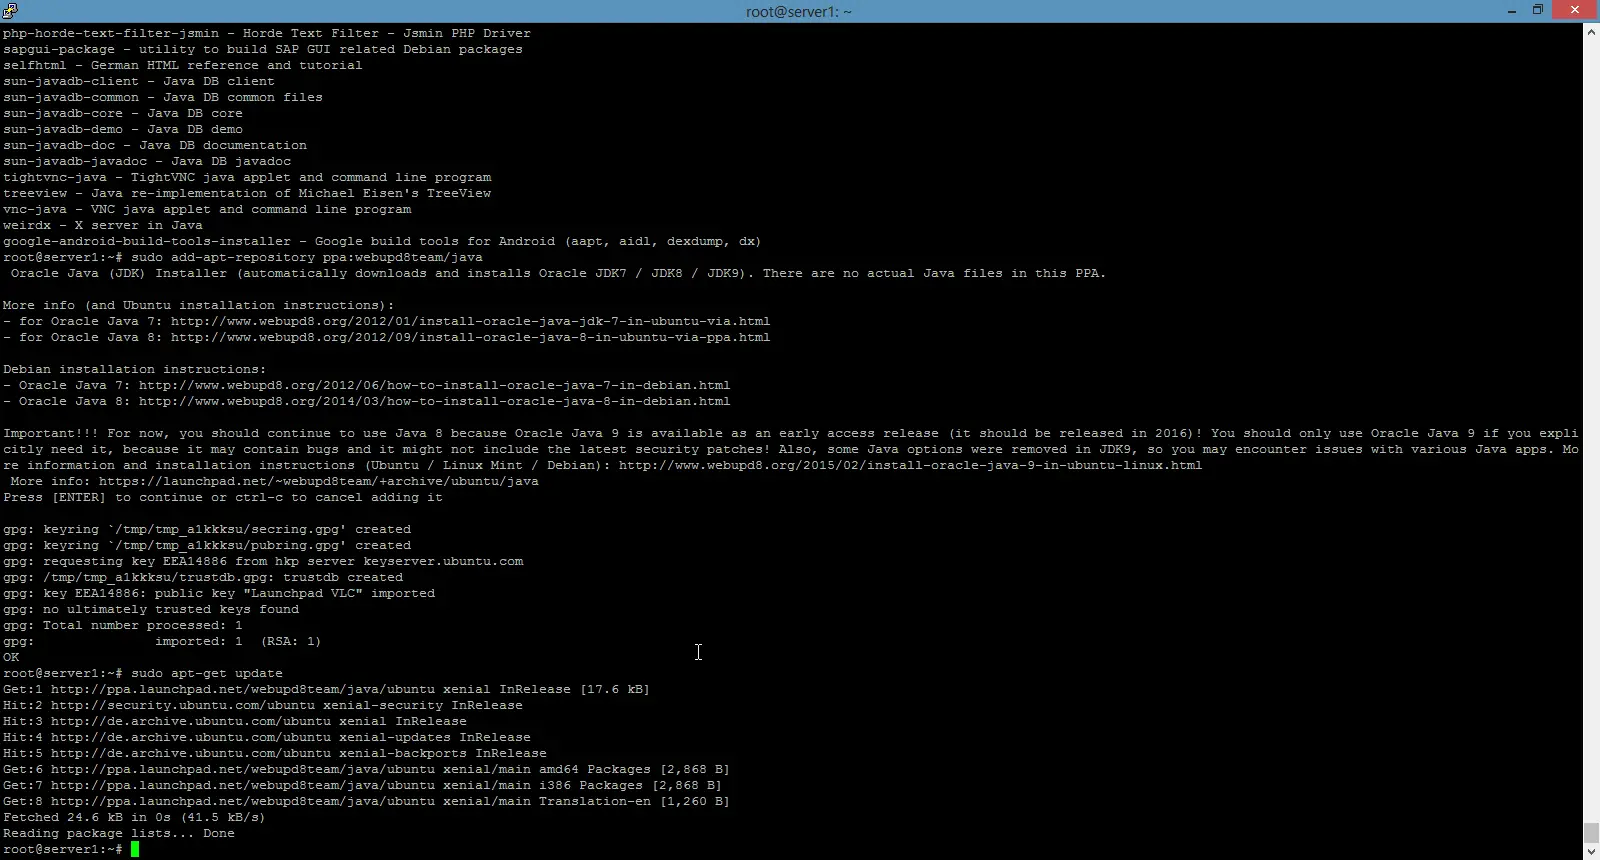
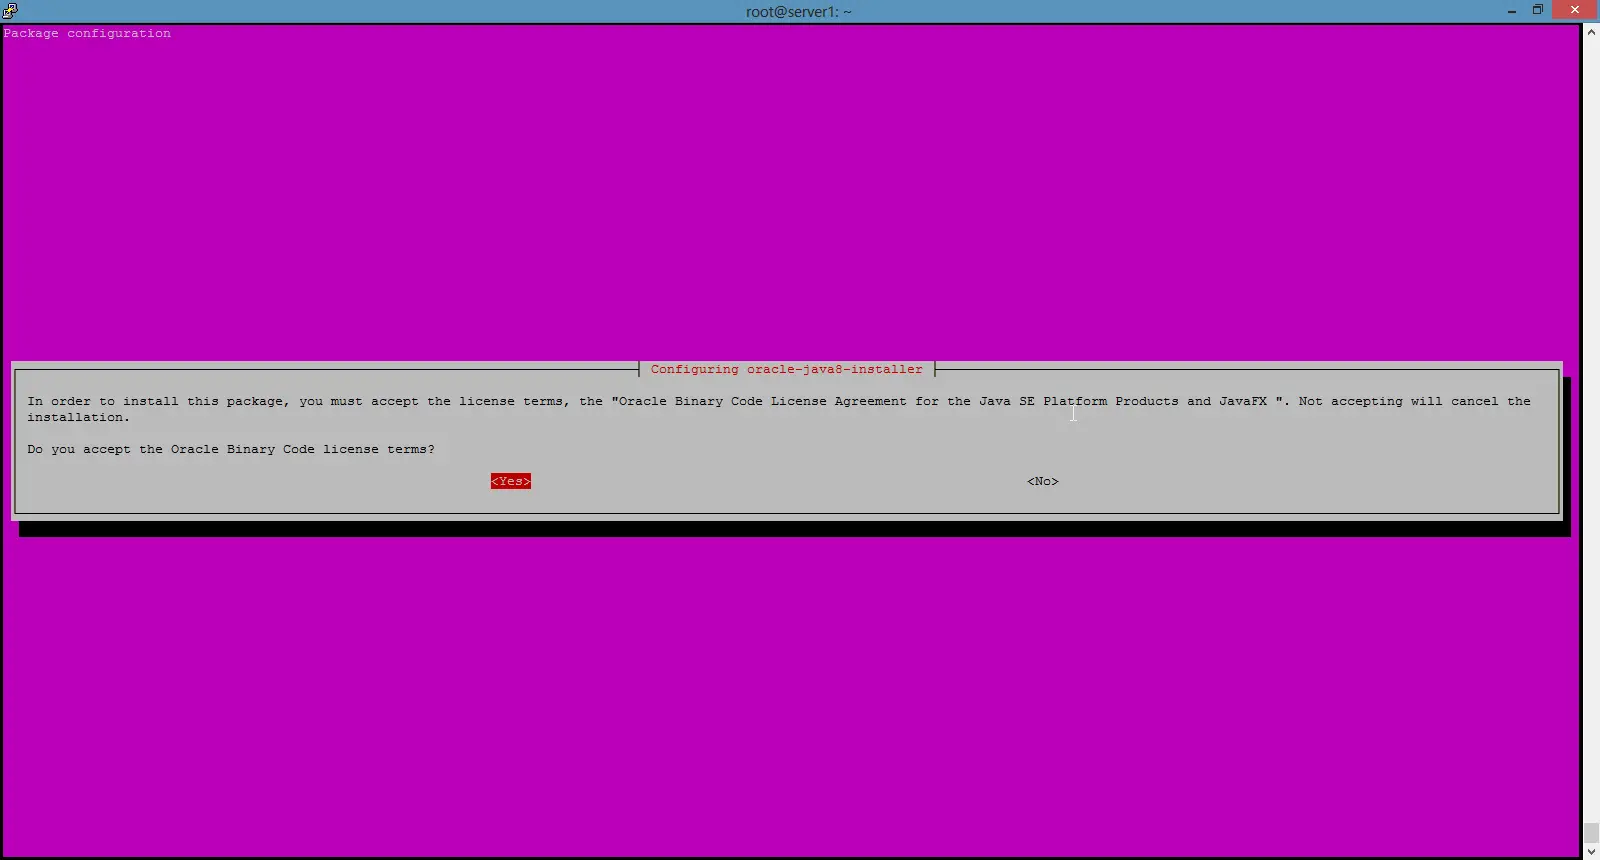
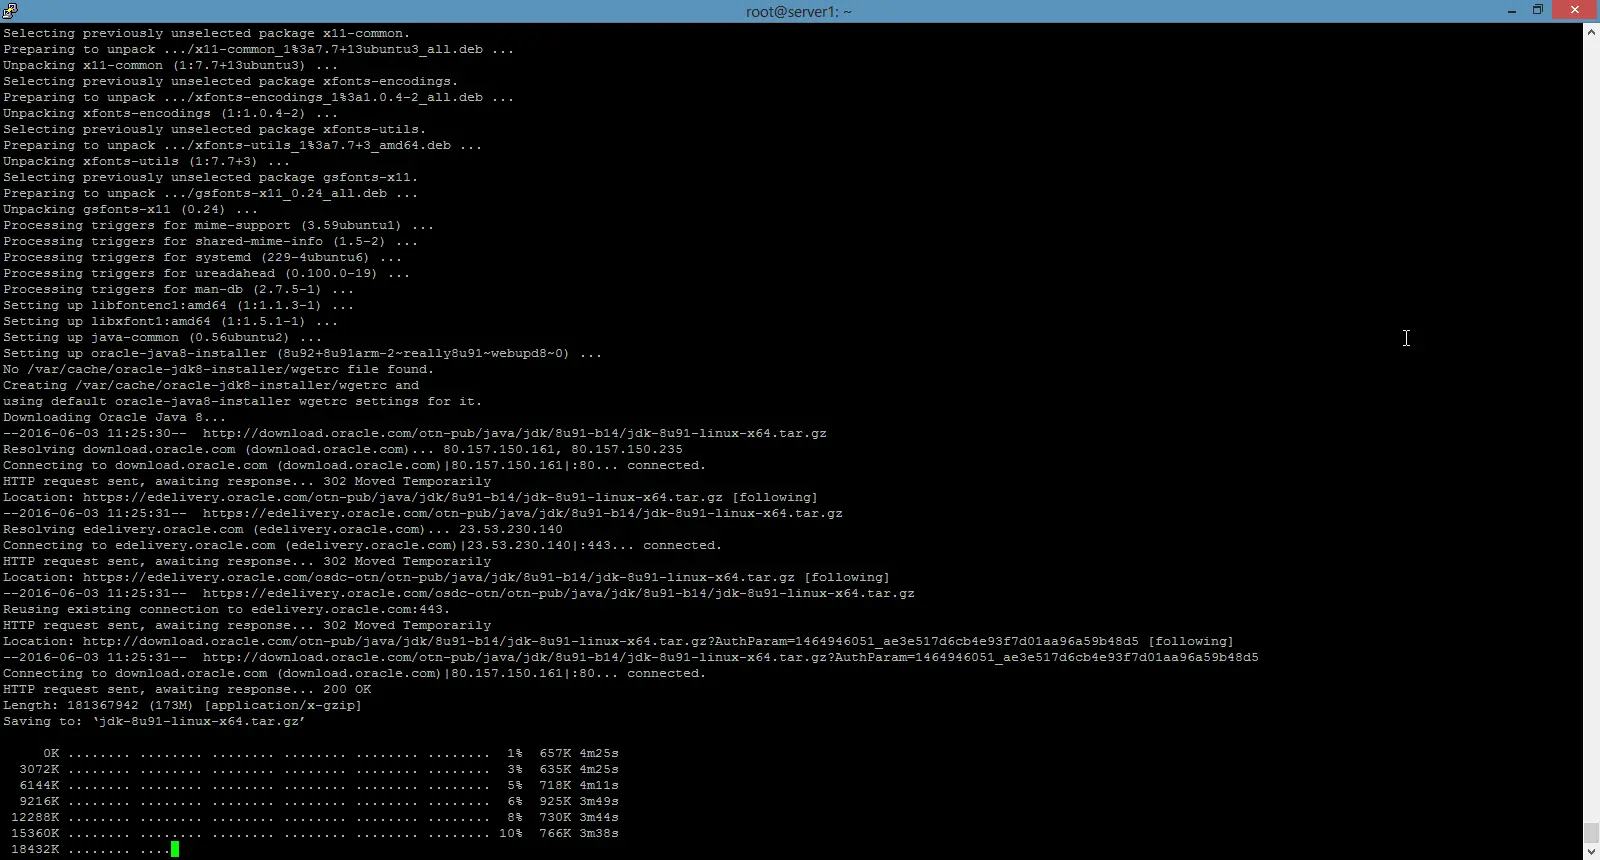
然后使用以下命令安装最新版本的 Oracle Java 8:
sudo apt-get install oracle-java8-installer:~# sudo apt-get install oracle-java8-installer
Reading package lists... Done
Building dependency tree
Reading state information... Done
The following additional packages will be installed:
binutils gsfonts gsfonts-x11 java-common libfontenc1 libxfont1 x11-common xfonts-encodings xfonts-utils
Suggested packages:
binutils-doc binfmt-support visualvm ttf-baekmuk | ttf-unfonts | ttf-unfonts-core ttf-kochi-gothic | ttf-sazanami-gothic ttf-kochi-mincho | ttf-sazanami-mincho ttf-arphic-uming firefox
| firefox-2 | iceweasel | mozilla-firefox | iceape-browser | mozilla-browser | epiphany-gecko | epiphany-webkit | epiphany-browser | galeon | midbrowser | moblin-web-browser | xulrunner
| xulrunner-1.9 | konqueror | chromium-browser | midori | google-chrome
The following NEW packages will be installed:
binutils gsfonts gsfonts-x11 java-common libfontenc1 libxfont1 oracle-java8-installer x11-common xfonts-encodings xfonts-utils
0 upgraded, 10 newly installed, 0 to remove and 3 not upgraded.
Need to get 6,498 kB of archives.
After this operation, 20.5 MB of additional disk space will be used.
Do you want to continue? [Y/n]按 Y 继续。
如果您想使用 Oracle JDK,您必须同意 http://java.com/license 中提供的许可证,单击“确定”按钮。
该软件包安装了一种元安装程序,然后直接从 Oracle 下载二进制文件。安装过程完成后,通过运行以下命令检查安装的 Java 版本
java -versionjava version "1.8.0_91"
Java(TM) SE Runtime Environment (build 1.8.0_91-b14)
Java HotSpot(TM) 64-Bit Server VM (build 25.91-b14, mixed mode)现在您已经安装了 Java 8,我们将进入下一步。
安装 Solr 应用程序
Solr 可以通过不同的方式安装在 Ubuntu 上,在本文中,我将向您展示如何从源代码安装最新的包。
我们将从下载 Solr 发行版开始。首先从他们的网页上找到可用包的最新版本,复制链接并使用 wget 命令下载
对于此设置,我们将使用 http://www.us.apache.org/dist/lucene/solr/6.0.1/
cd /tmp
wget http://www.us.apache.org/dist/lucene/solr/6.0.1/solr-6.0.1.tgz
:/tmp# wget http://www.us.apache.org/dist/lucene/solr/6.0.1/solr-6.0.1.tgz
--2016-06-03 11:31:54-- http://www.us.apache.org/dist/lucene/solr/6.0.1/solr-6.0.1.tgz
Resolving www.us.apache.org (www.us.apache.org)... 140.211.11.105
Connecting to www.us.apache.org (www.us.apache.org)|140.211.11.105|:80... connected.
HTTP request sent, awaiting response... 200 OK
Length: 137924507 (132M) [application/x-gzip]
Saving to: ‘solr-6.0.1.tgz’现在,运行下面给出的命令来提取服务安装文件:
tar xzf solr-6.0.1.tgz solr-6.0.1/bin/install_solr_service.sh --strip-components=2并使用脚本将 Solr 安装为服务:
sudo ./install_solr_service.sh solr-6.0.1.tgz输出将类似于:
 :/tmp# sudo ./install_solr_service.sh solr-6.0.1.tgz
id: ‘solr’: no such user
Creating new user: solr
Adding system user `solr' (UID 111) ...
Adding new group `solr' (GID 117) ...
Adding new user `solr' (UID 111) with group `solr' ...
Creating home directory `/var/solr' ...

Extracting solr-6.0.1.tgz to /opt


Installing symlink /opt/solr -> /opt/solr-6.0.1 ...


Installing /etc/init.d/solr script ...


Installing /etc/default/solr.in.sh ...

? solr.service - LSB: Controls Apache Solr as a Service
 Loaded: loaded (/etc/init.d/solr; bad; vendor preset: enabled)
 Active: active (exited) since Fri 2016-06-03 11:37:05 CEST; 5s ago
 Docs: man:systemd-sysv-generator(8)
 Process: 20929 ExecStart=/etc/init.d/solr start (code=exited, status=0/SUCCESS)

Jun 03 11:36:43 server1 systemd[1]: Starting LSB: Controls Apache Solr as a Service...
Jun 03 11:36:44 server1 su[20934]: Successful su for solr by root
Jun 03 11:36:44 server1 su[20934]: + ??? root:solr
Jun 03 11:36:44 server1 su[20934]: pam_unix(su:session): session opened for user solr by (uid=0)
Jun 03 11:37:05 server1 solr[20929]: [313B blob data]
Jun 03 11:37:05 server1 solr[20929]: Started Solr server on port 8983 (pid=20989). Happy searching!
Jun 03 11:37:05 server1 solr[20929]: [14B blob data]
Jun 03 11:37:05 server1 systemd[1]: Started LSB: Controls Apache Solr as a Service.
Service solr installed.
使用此命令检查服务的状态
service solr status您应该看到以此开头的输出:
:/tmp# service solr status
? solr.service - LSB: Controls Apache Solr as a Service
 Loaded: loaded (/etc/init.d/solr; bad; vendor preset: enabled)
 Active: active (exited) since Fri 2016-06-03 11:37:05 CEST; 39s ago
 Docs: man:systemd-sysv-generator(8)
 Process: 20929 ExecStart=/etc/init.d/solr start (code=exited, status=0/SUCCESS)

Jun 03 11:36:43 server1 systemd[1]: Starting LSB: Controls Apache Solr as a Service...
Jun 03 11:36:44 server1 su[20934]: Successful su for solr by root
Jun 03 11:36:44 server1 su[20934]: + ??? root:solr
Jun 03 11:36:44 server1 su[20934]: pam_unix(su:session): session opened for user solr by (uid=0)
Jun 03 11:37:05 server1 solr[20929]: [313B blob data]
Jun 03 11:37:05 server1 solr[20929]: Started Solr server on port 8983 (pid=20989). Happy searching!
Jun 03 11:37:05 server1 solr[20929]: [14B blob data]
Jun 03 11:37:05 server1 systemd[1]: Started LSB: Controls Apache Solr as a Service.
创建 Solr 搜索集合:
使用 Solr,我们可以创建多个集合。运行给定的命令,提及集合的名称(此处为 gettingstarted)并指定其配置。
sudo su - solr -c "/opt/solr/bin/solr create -c gettingstarted -n data_driven_schema_configs":/tmp# sudo su - solr -c "/opt/solr/bin/solr create -c gettingstarted -n data_driven_schema_configs"
Copying configuration to new core instance directory:
/var/solr/data/gettingstarted
Creating new core 'gettingstarted' using command:
http://localhost:8983/solr/admin/cores?action=CREATE&name=gettingstarted&instanceDir=gettingstarted
{
"responseHeader":{
"status":0,
"QTime":4427},
"core":"gettingstarted"}我们第一个集合的新核心目录已经创建。要查看默认架构文件,请执行以下操作:
/opt/solr/server/solr/configsets/data_driven_schema_configs/conf使用 Solr Web 界面
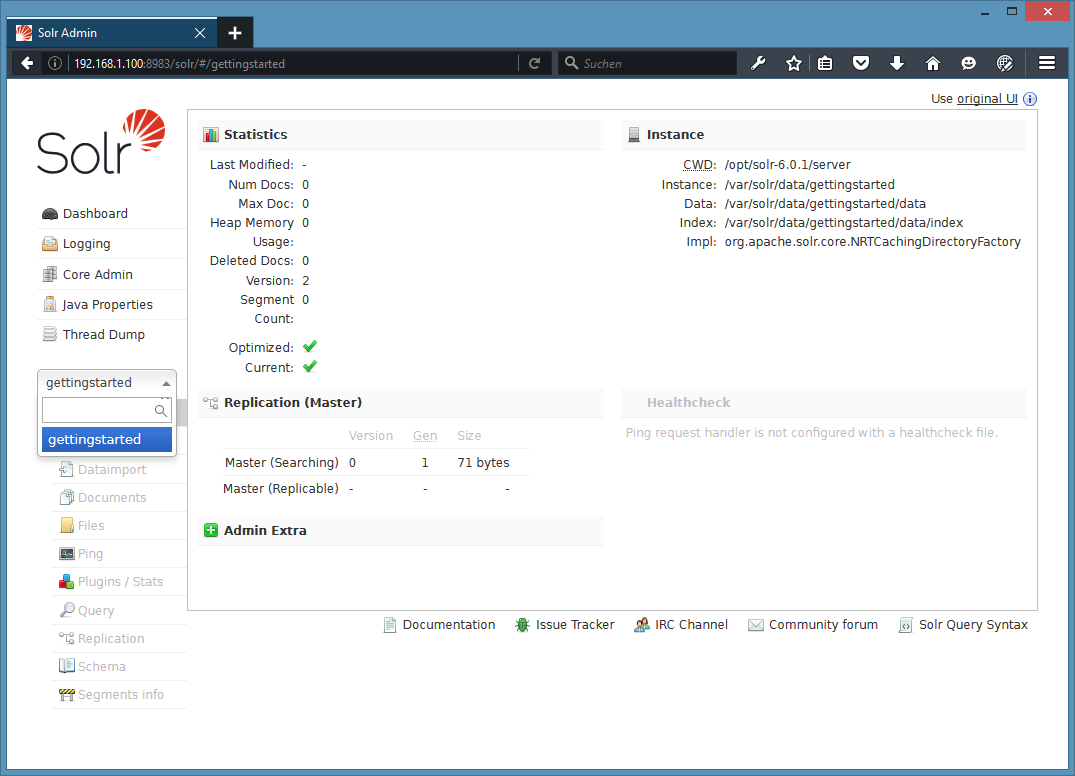
Apache Solr 现在可以在默认端口 8983 上访问。管理 UI 应该可以在 http://your_server_ip:8983/solr 上访问。您的防火墙应允许该端口运行链接。
例如:
http://192.168.1.100:8983/solr/
要查看我们之前创建的第一个集合的详细信息,请在左侧菜单中选择“gettingstarted”集合。
选择“入门”集合后,在左侧菜单中选择“文档”。您可以在那里输入 JSON 格式的真实数据,Solr 可以搜索这些数据。要添加更多数据,请将以下示例 JSON 复制并粘贴到文档字段中:
{
 "id": 1,
 "book_title": "My First Book",
 "published": 1985,
 "description": "All about Linux"
}
添加数据后点击提交文档按钮。

Status: success
Response:

{
 "responseHeader": {
 "status": 0,
 "QTime": 189
 }
}
现在我们可以点击左侧的查询,然后点击执行查询,
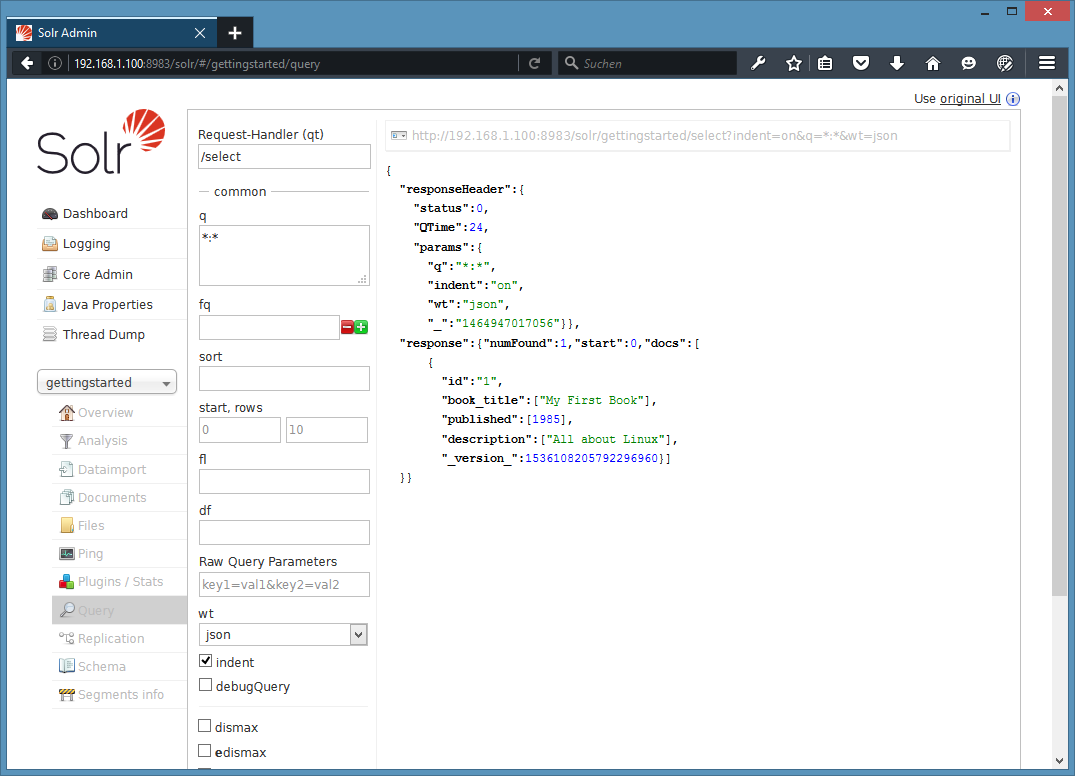
我们会看到这样的东西:
{
  "responseHeader":{
    "status":0,
    "QTime":24,
    "params":{
      "q":"*:*",
      "indent":"on",
      "wt":"json",
      "_":"1464947017056"}},
  "response":{"numFound":1,"start":0,"docs":[
      {
        "id":"1",
        "book_title":["My First Book"],
        "published":[1985],
        "description":["All about Linux"],
        "_version_":1536108205792296960}]
  }}
本教程虚拟机镜像下载
本教程可随时使用 ovf/ova 格式的虚拟机映像,供 Howtoforge 订阅者使用。 VM 格式与 VMWare 和 Virtualbox 兼容。虚拟机映像使用以下登录详细信息:
SSH/外壳登录
用户名:管理员
密码:howtoforge
此用户具有 sudo 权限。
请更改以上所有密码以保护虚拟机。
结论
在 Ubuntu 上成功安装 Solr Web Interface 后,您现在可以使用 Solr API 和 Web Interface 插入数据或查询数据。