如何在 CentOS 7 上安装 LiteSpeed 网络服务器
在此页
- 安装 LiteSpeed 的开发者工具
- 使用 wget 下载 LiteSpeed 包
- 安装 LiteSpeed
- 防火墙配置
LiteSpeed 网络服务器是替代 Apache 网络服务器的流行选择。它的功能包括优化网络内容和内容交付,最大限度地提高下载速度,并将更好的性能与更小的内存占用结合起来。与 Apache 功能兼容也是一个额外的好处,这有助于减少从 Apache 迁移到 LiteSpeed 期间的停机时间。此安装假定您已经安装了干净的 CentOS 7 服务器。
此软件有 3 个版本:
- OpenLiteSpeed 是 LiteSpeed 服务器的开源版本。
- LiteSpeed 标准版和 OpenLiteSpeed 都是免费提供的。
- LiteSpeed 还提供高级商业网络服务器包。
在安装任何服务器包之前,必须检查服务器是否有更新,并且必须安装这些更新。所以我们从命令 yum update 开始。
yum update -y输出应类似于以下内容:
这可能需要一些时间,具体取决于服务器更新的频率。不要中断更新。
安装 LiteSpeed 的开发者工具
使用这些 yum 命令首先安装开发工具,然后安装 LiteSpeed 的库。
sudo yum groupinstall 'Development Tools'sudo yum install libxml2-devel.x86_64 openssl-devel.x86_64 bzip2-devel.x86_64 libcurl-devel.x86_64 db4-devel.x86_64 \
libjpeg-devel.x86_64 libpng-devel.x86_64 libXpm-devel.x86_64 freetype-devel.x86_64 gmp-devel.x86_64 \
libc-client-devel.x86_64 openldap-devel.x86_64 libmcrypt-devel.x86_64 mhash-devel.x86_64 freetds-devel.x86_64 \
zlib-devel.x86_64 mysql-devel.x86_64 ncurses-devel.x86_64 pcre-devel.x86_64 unixODBC-devel.x86_64 postgresql-devel.x86_64 \
sqlite-devel.x86_64 aspell-devel.x86_64 readline-devel.x86_64 recode-devel.x86_64 net-snmp-devel.x86_64 \
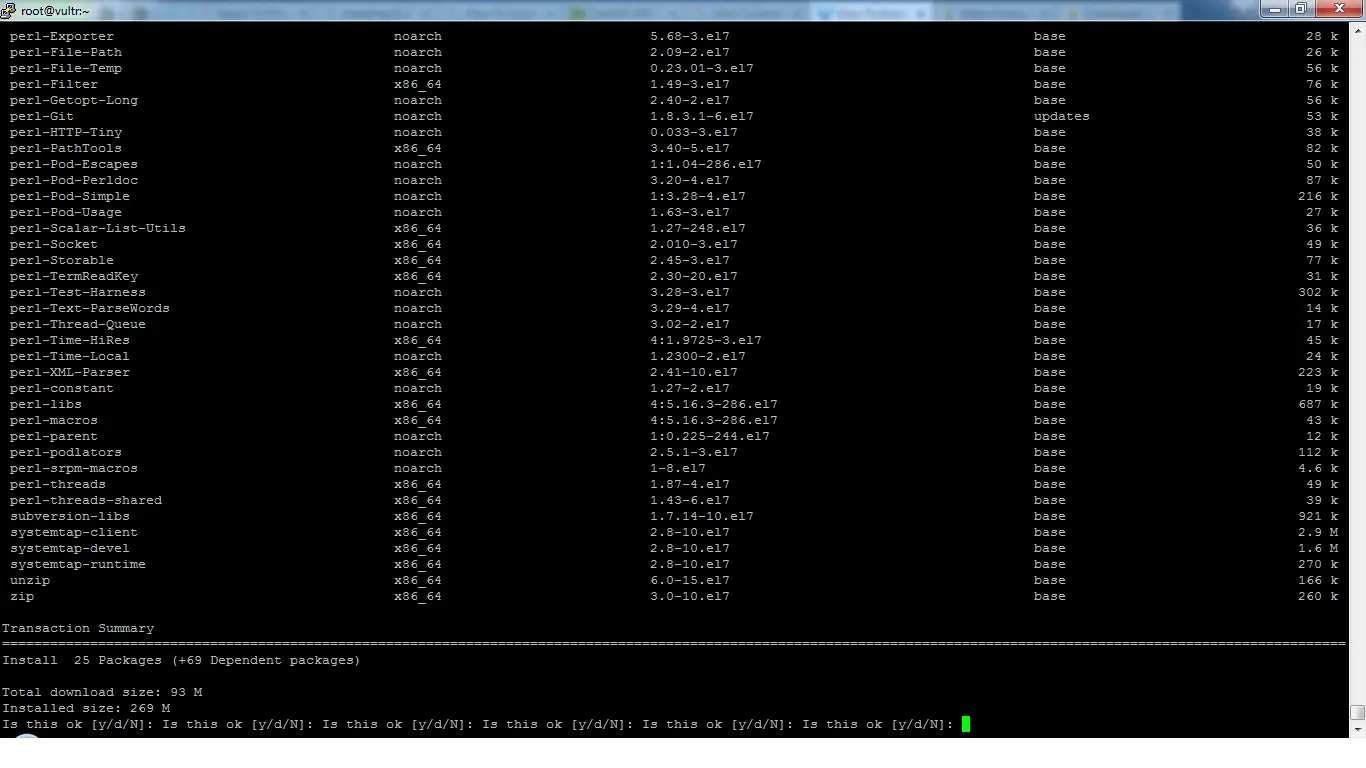
libtidy-devel.x86_64 libxslt-devel.x86_64 t1lib-devel.x86_64安装输出应类似于以下内容:
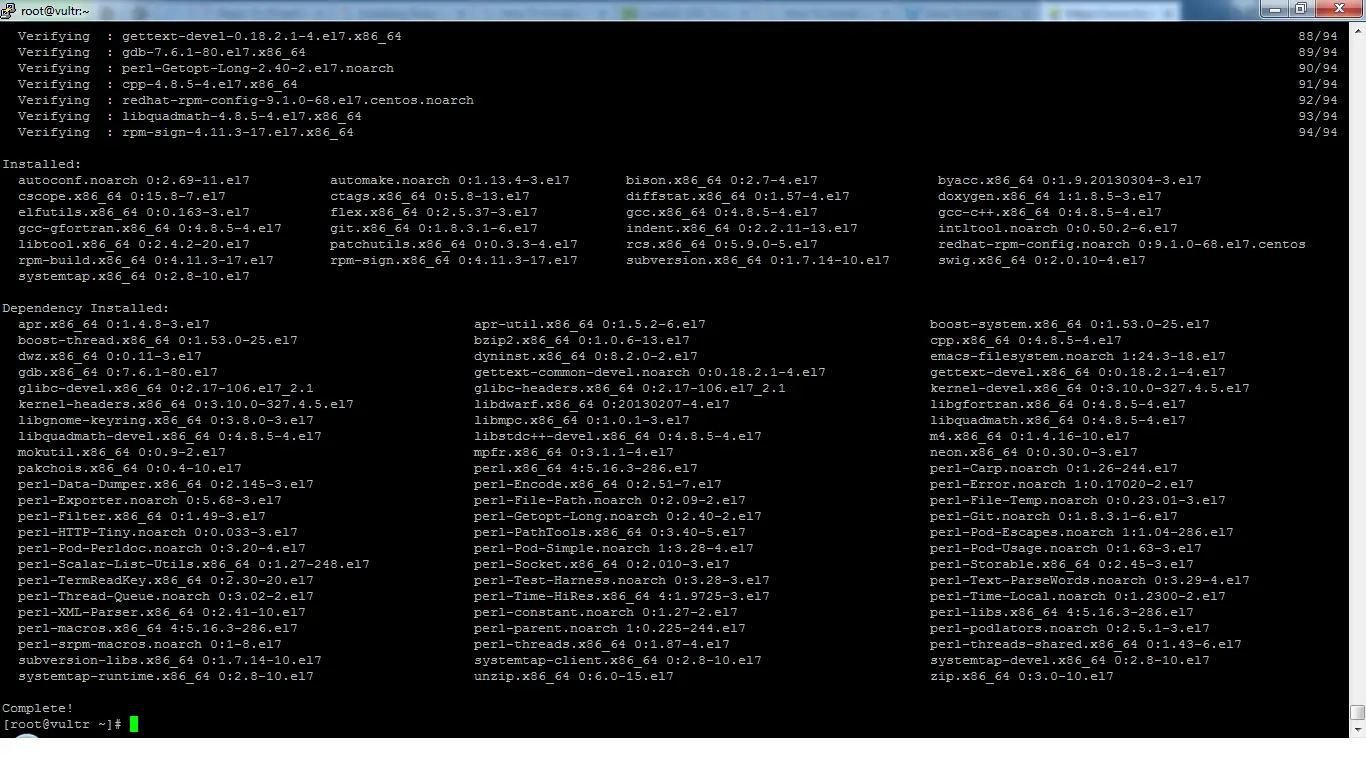
安装上述开发者工具后,可以继续从 LiteSpeed 下载免费的标准包。
使用 wget 下载 LiteSpeed 包
要获取 LiteSpeed 标准版包文件,必须获取可用的 Web 链接。为此,可以访问 LiteSpeed 网站并搜索 Linux (x86_64) LiteSpeed Standard 版本,这是 64 位 Linux 系统的版本,应该是当今服务器上的默认版本。
如果不确定,请运行命令:
uname -a返回内核版本。如果它包含单词“x86_64”,那么您运行的是 64 位内核。
要复制链接,请右键单击它并选择复制链接地址。链接地址可能类似于:
现在使用 wget 命令并将链接地址附加到它。使用 wget 的格式是:
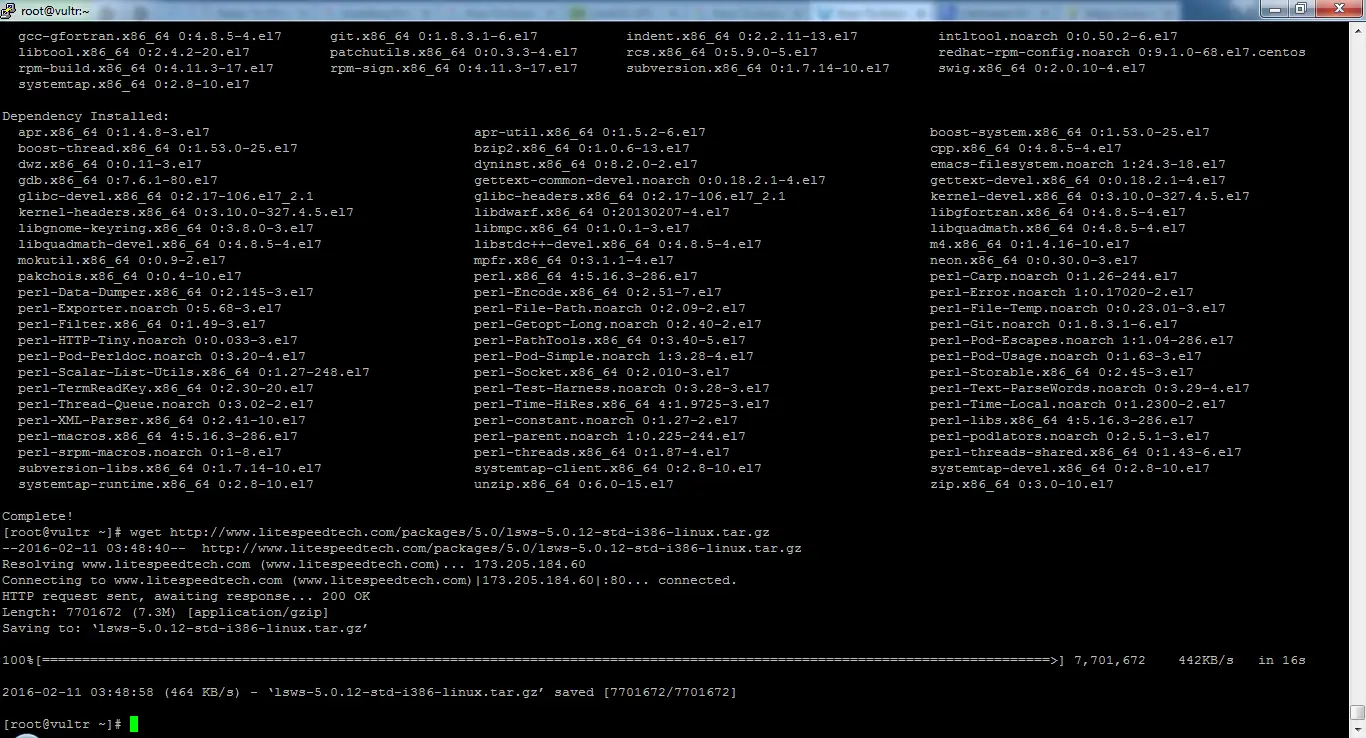
wget URL 按照上面的例子,下载 LiteSpeed Standard Edition 的命令是:
wget http://www.litespeedtech.com/packages/5.0/lsws-5.0.12-ent-x86_64-linux.tar.gz示例输出:
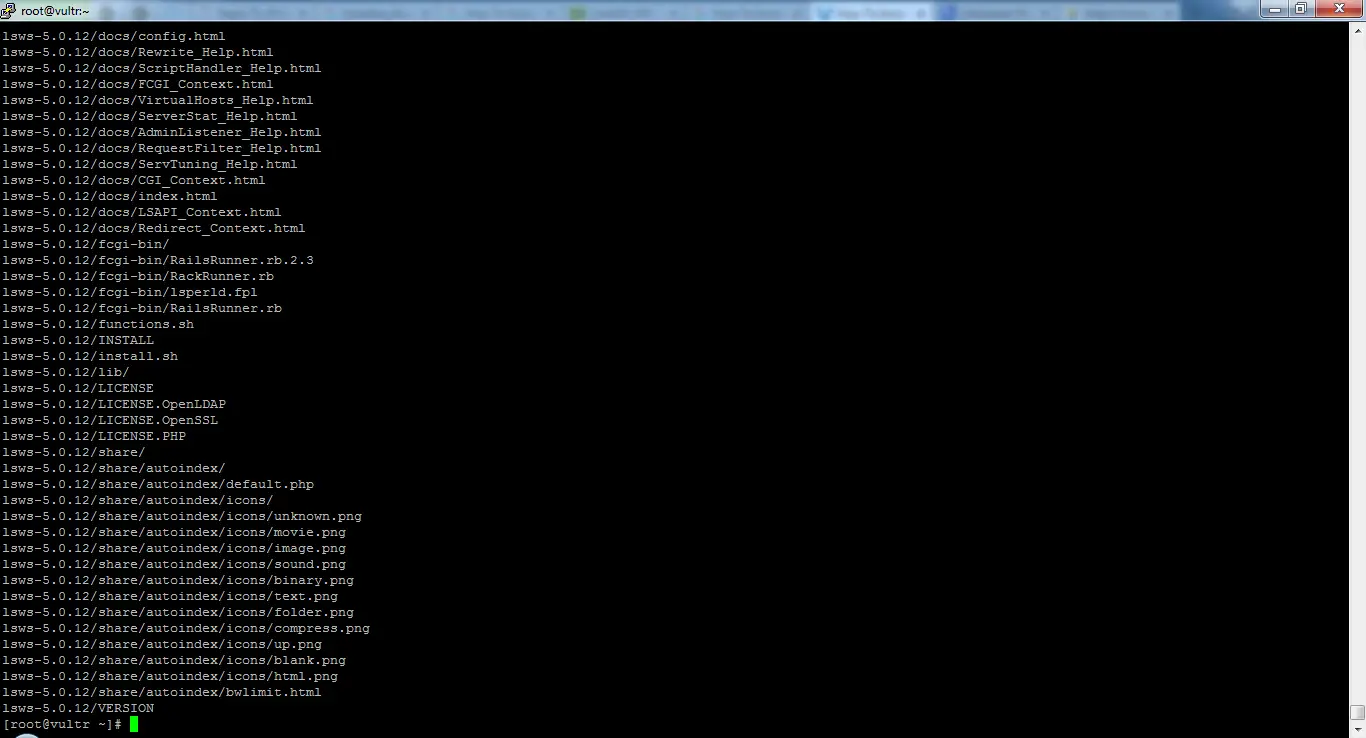
下一步是解压缩 tar 文件。执行以下命令来执行相同的操作。
tar -zxvf lsws*示例输出:
安装 LiteSpeed
通过运行位于 LiteSpeed 文件夹中的 install.sh 文件开始安装。为此,将目录更改为 LiteSpeed,然后执行如下所示的执行命令:
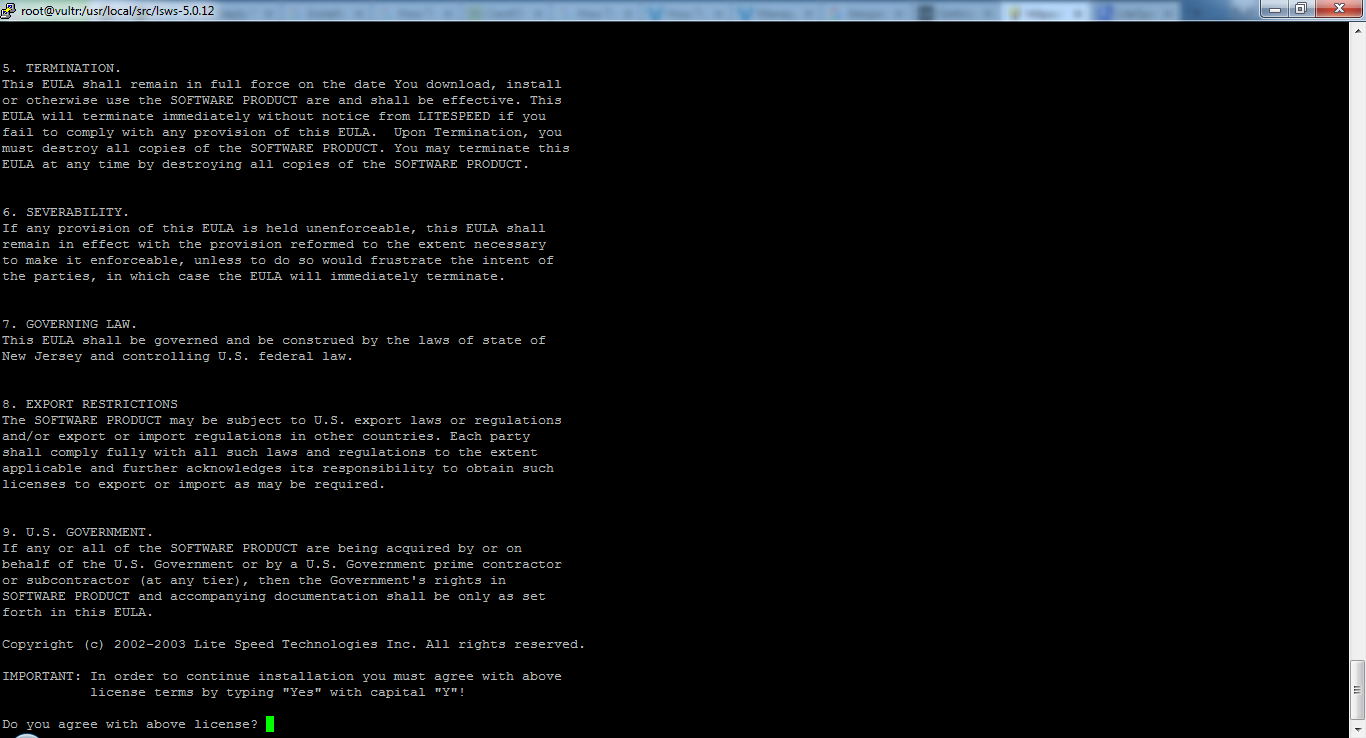
./install.sh运行此命令后,将显示用户协议条款。可以通过按空格键向下滚动条款和条件协议,并到达最后显示的声明:
IMPORTANT: In order to continue installation you must agree with above
           license terms by typing "Yes" with capital "Y"!
示例输出:
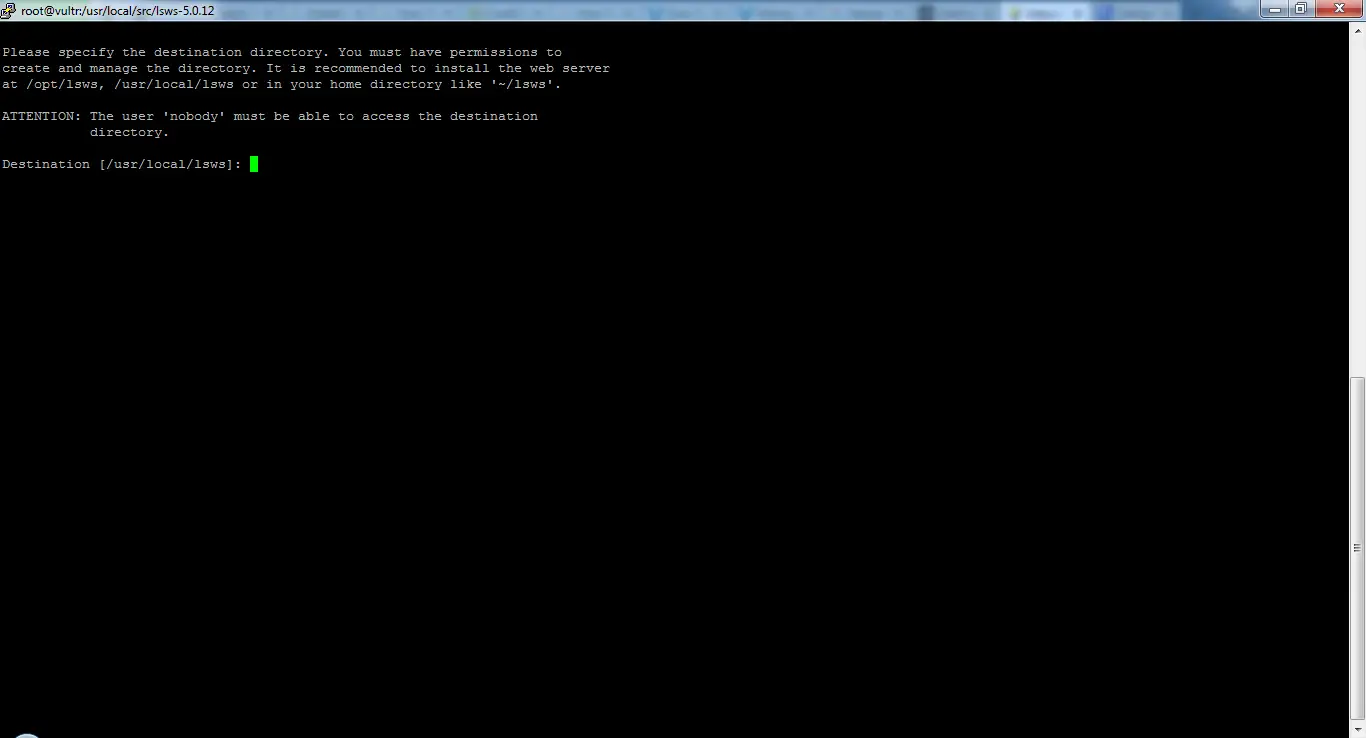
同意后,按 Y,提示用户选择安装目录。要继续在默认目录中安装,只需在屏幕上出现以下内容时按回车键。
Please specify the destination directory. You must have permissions to
create and manage the directory. It is recommended to install the web server
at /opt/lsws, /usr/local/lsws or in your home directory like '~/lsws'.
ATTENTION: The user 'nobody' must be able to access the destination
           directory.
Destination [/usr/local/lsws]:
示例输出:
出现要求输入管理员用户名和密码详细信息的提示。密码是以后登录网页界面所必需的。继续提供适当的详细信息并按回车键。屏幕将如下所示:
Please specify the user name of the administrator.
This is the user name required to log into the administration web interface.
User name [admin]:
示例输出:
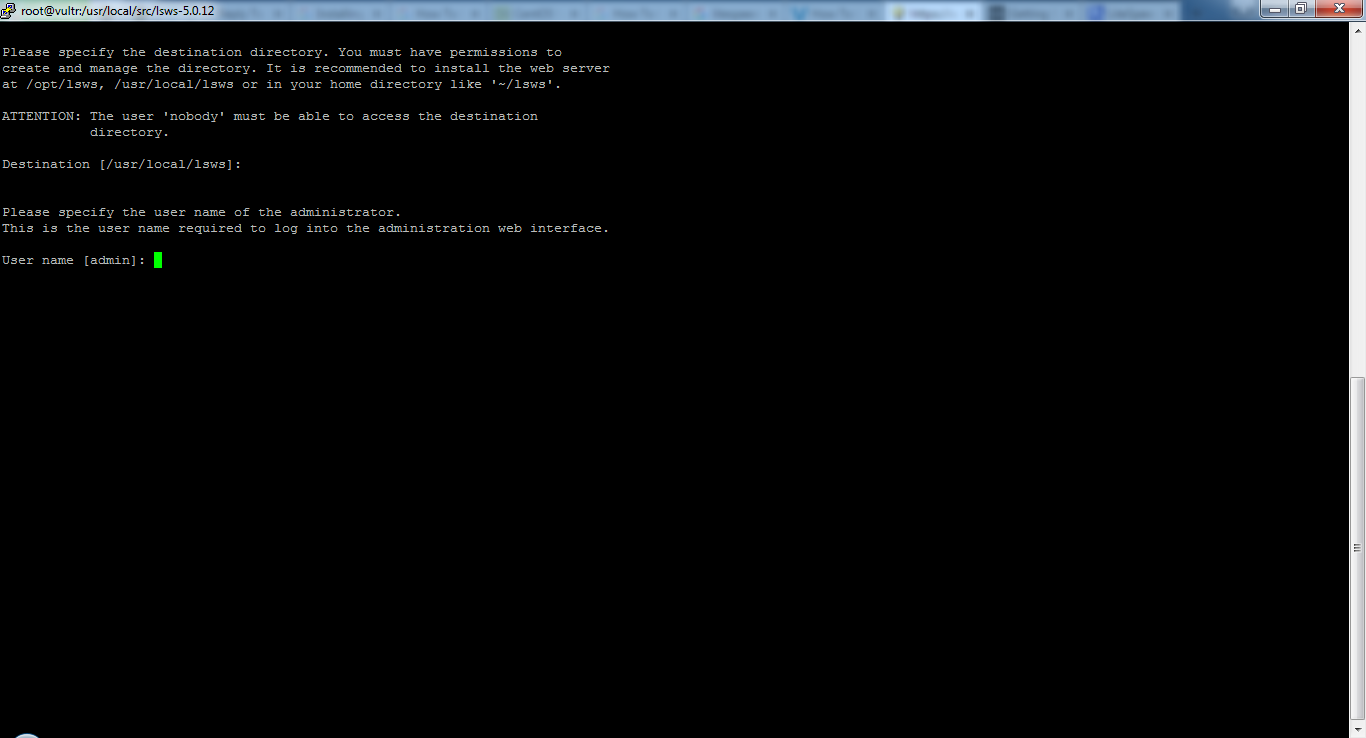
如果您想使用名称“admin”,只需按回车键。出于安全原因,我建议您更改名称。输入您的自定义管理员用户名,然后按回车键。
现在将要求您输入管理员用户的密码。稍后您将需要使用此密码来访问 Web 界面。
Please specify the administrator's password.
This is the password required to log into the administration web interface.
Password:
示例输出:
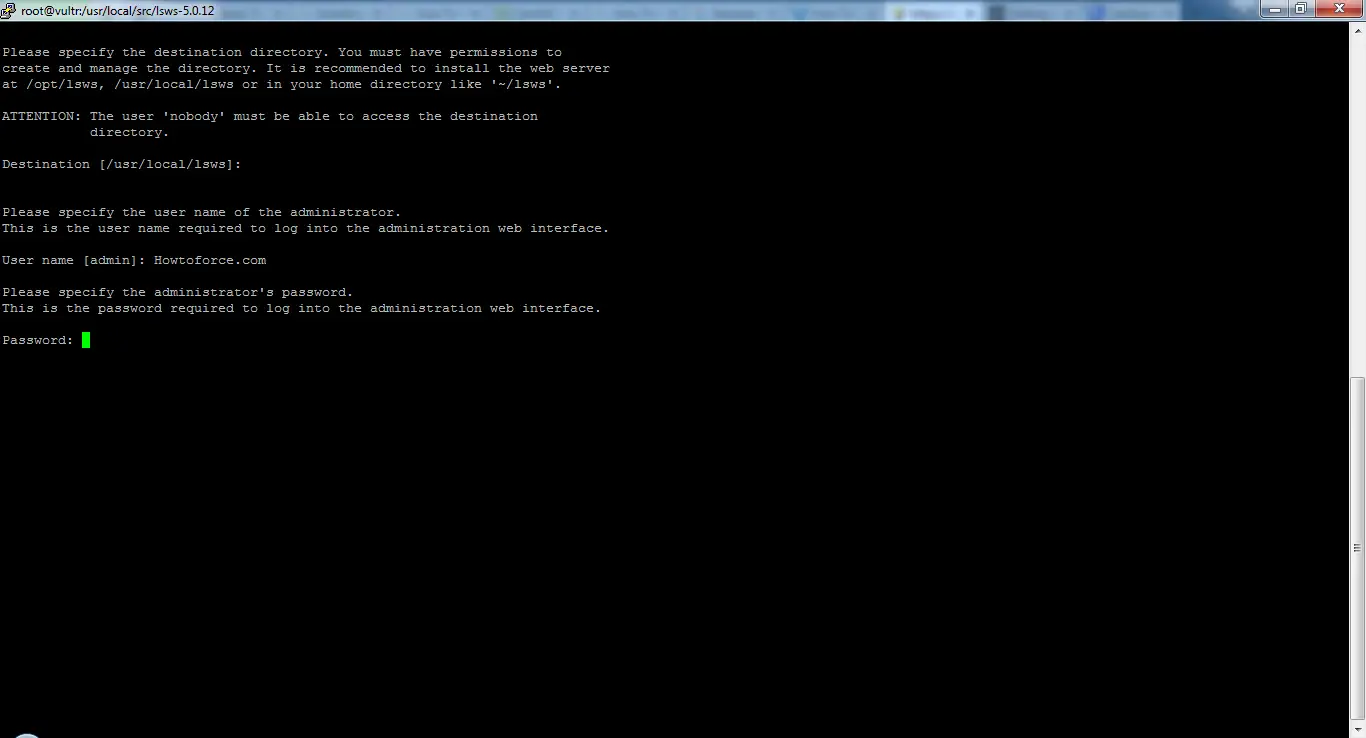
您使用的密码必须是安全的,这样任何人都无法猜测或通过随机方法访问它。否则,他们可能能够管理和访问您的服务器。
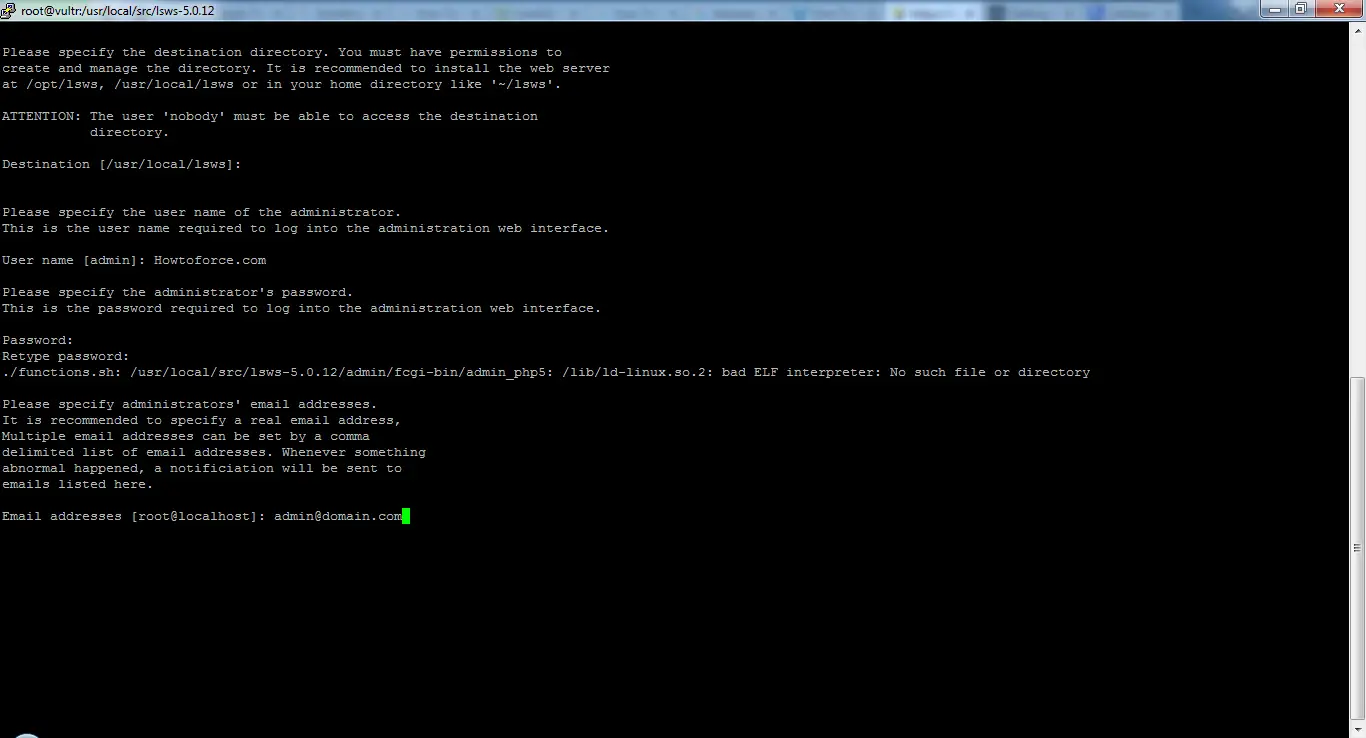
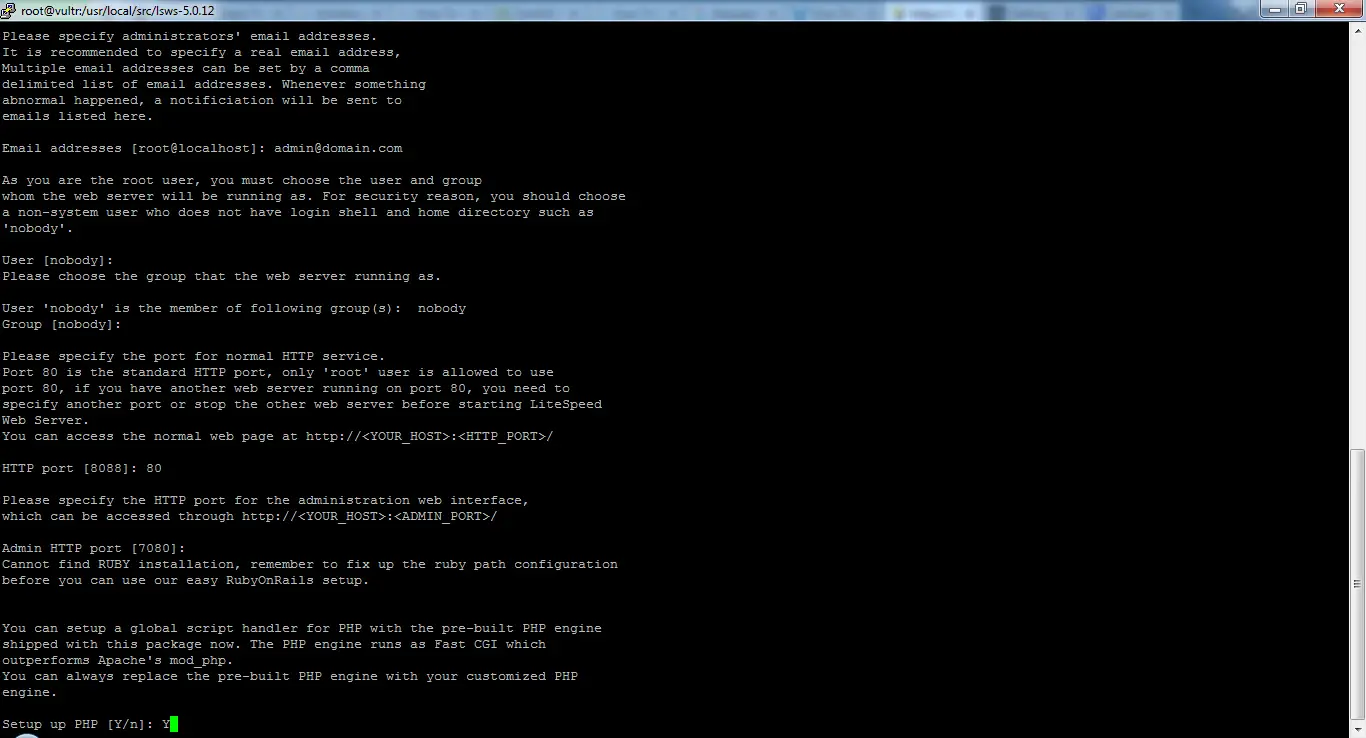
然后提示将要求提供电子邮件地址,以邮寄与安装或服务器性能和维护相关的任何重要或紧急通知。您可以添加以逗号分隔的电子邮件地址列表。
Please specify administrators' email addresses.
It is recommended to specify a real email address,
Multiple email addresses can be set by a comma
delimited list of email addresses. Whenever something
abnormal happened, a notificiation will be sent to
emails listed here.
Email addresses []:
例如:
Email addresses [提供电子邮件地址列表时,必须遵循以下语法。
Email addresses [示例输出:
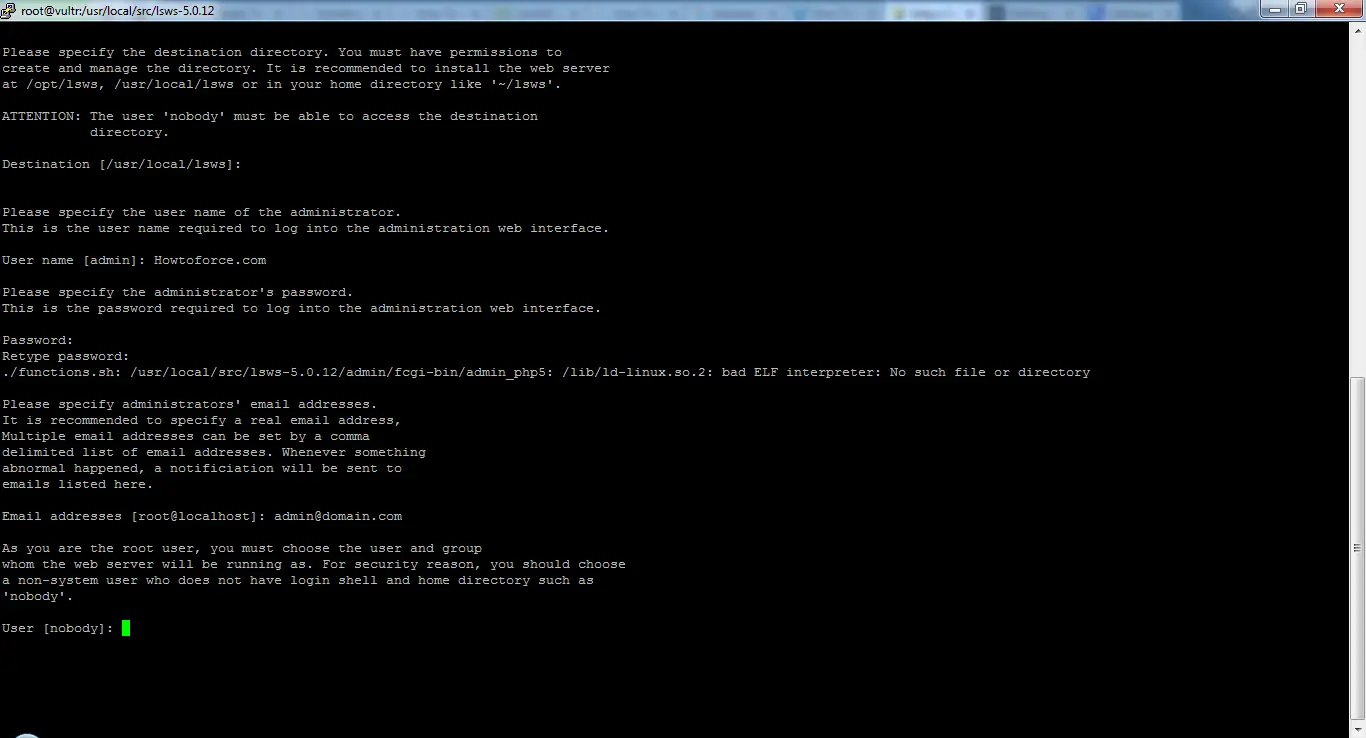
然后安装程序将提示提供运行此服务器的用户名。您可以创建一个具有非根权限的单独用户并在此处提供详细信息,或者选择默认用户“nobody”。 root 用户不应运行服务器,这一点很重要。它使服务器易受攻击且不安全。屏幕上显示以下内容,提示您输入用户名。
As you are the root user, you must choose the user and group
whom the web server will be running as. For security reason, you should choose
a non-system user who does not have login shell and home directory such as
'nobody'.
User [nobody]:
示例输出:
当您不确定输入什么时,最好将用户名保留为 nobody。在类似于以下内容的下一个提示中继续此操作:
Please choose the group that the web server running as.
User 'nobody' is the member of following group(s):  nobody
Group [nobody]: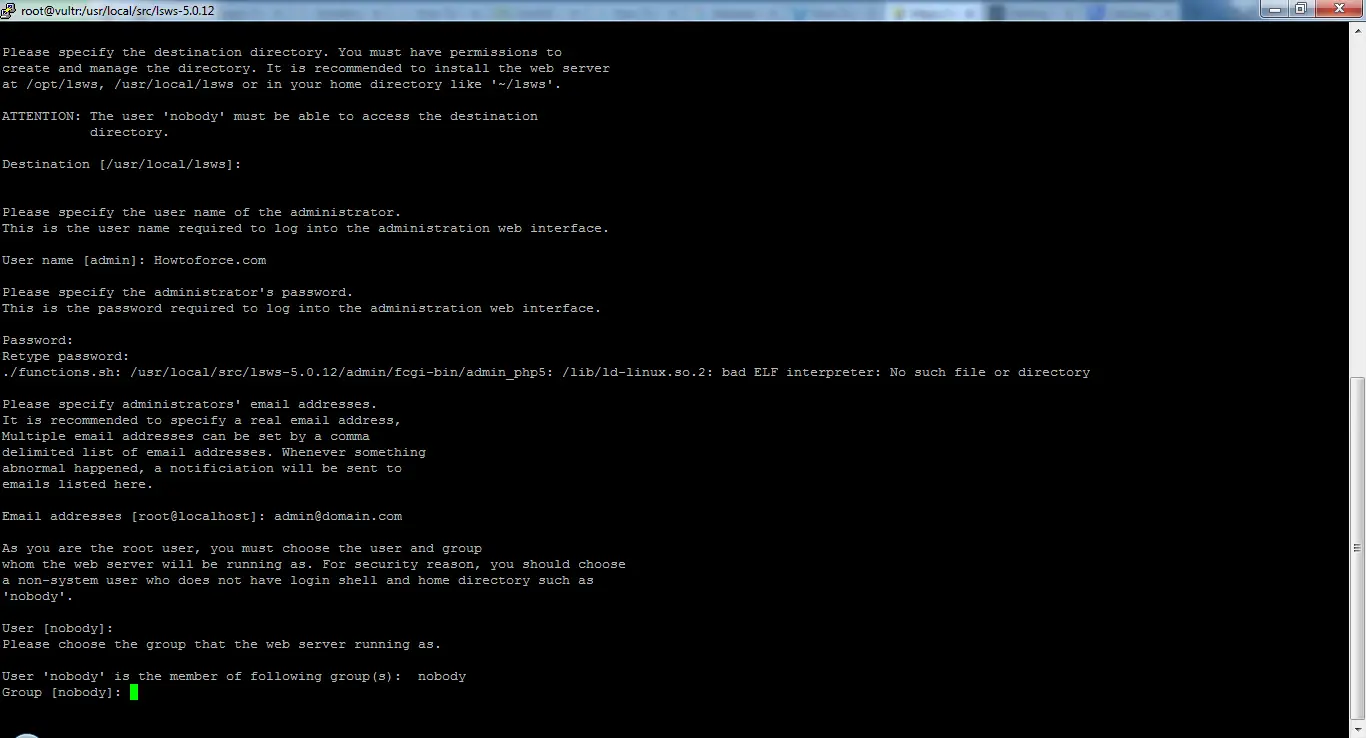
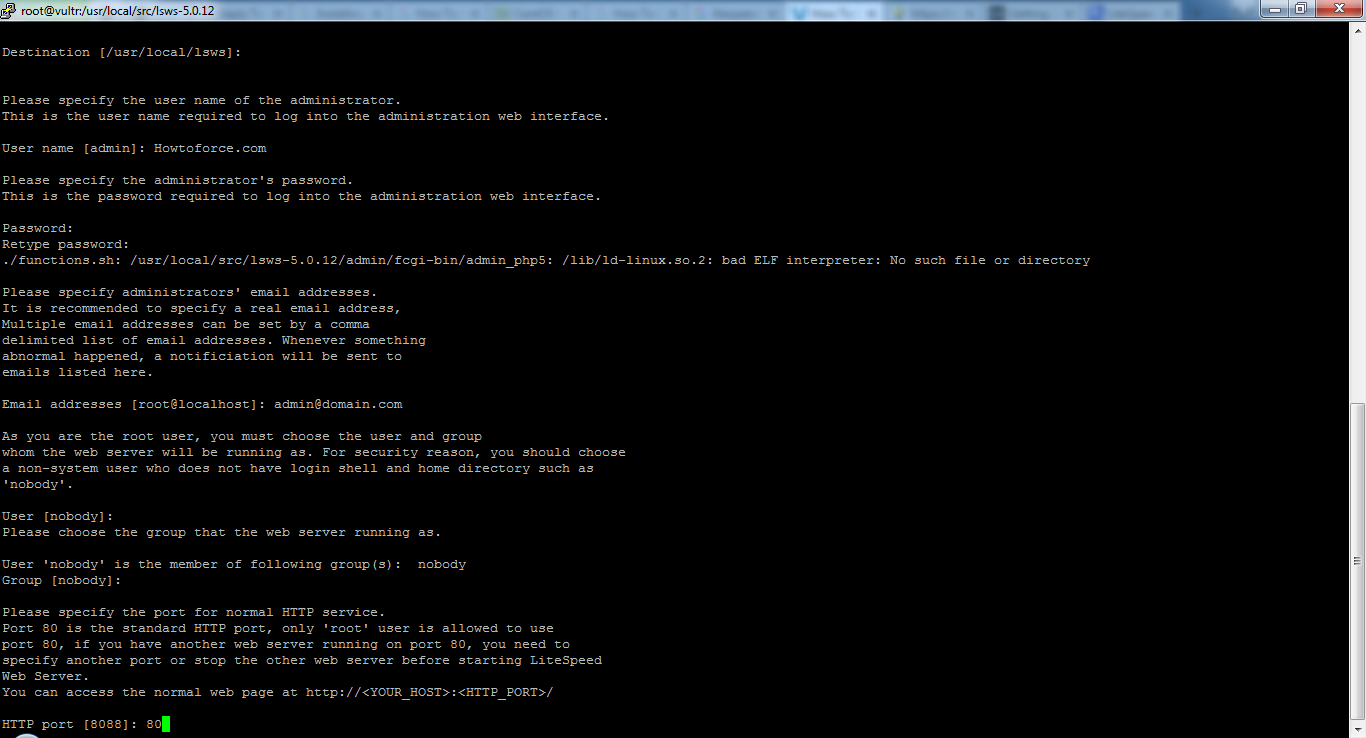
下一个提示是提供有关 LiteSpeed 应侦听哪个端口的详细信息。 Web 服务器的默认端口是端口 80,我建议保留该端口。这有助于为访问者简化 URL,否则需要在 URL 后提及端口号。对于专门的访问,可以将此端口号更改为适当的值。
Please specify the port for normal HTTP service.
Port 80 is the standard HTTP port, only 'root' user is allowed to use
port 80, if you have another web server running on port 80, you need to
specify another port or stop the other web server before starting LiteSpeed
Web Server.
You can access the normal web page at http://<YOUR_HOST>:<HTTP_PORT>/
HTTP port [8088]: 80
示例输出:
LiteSpeed 提供了一个单独的管理界面来简化网络服务器的管理。它运行的默认端口是 7080。如果您特定于侦听其他端口,则可以更改它。要打开管理 Web 界面,Web URL 必须为 http://domain.com:port。
Please specify the HTTP port for the administration web interface,
which can be accessed through http://<YOUR_HOST>:<ADMIN_PORT>/
Admin HTTP port [7080]:
示例输出:

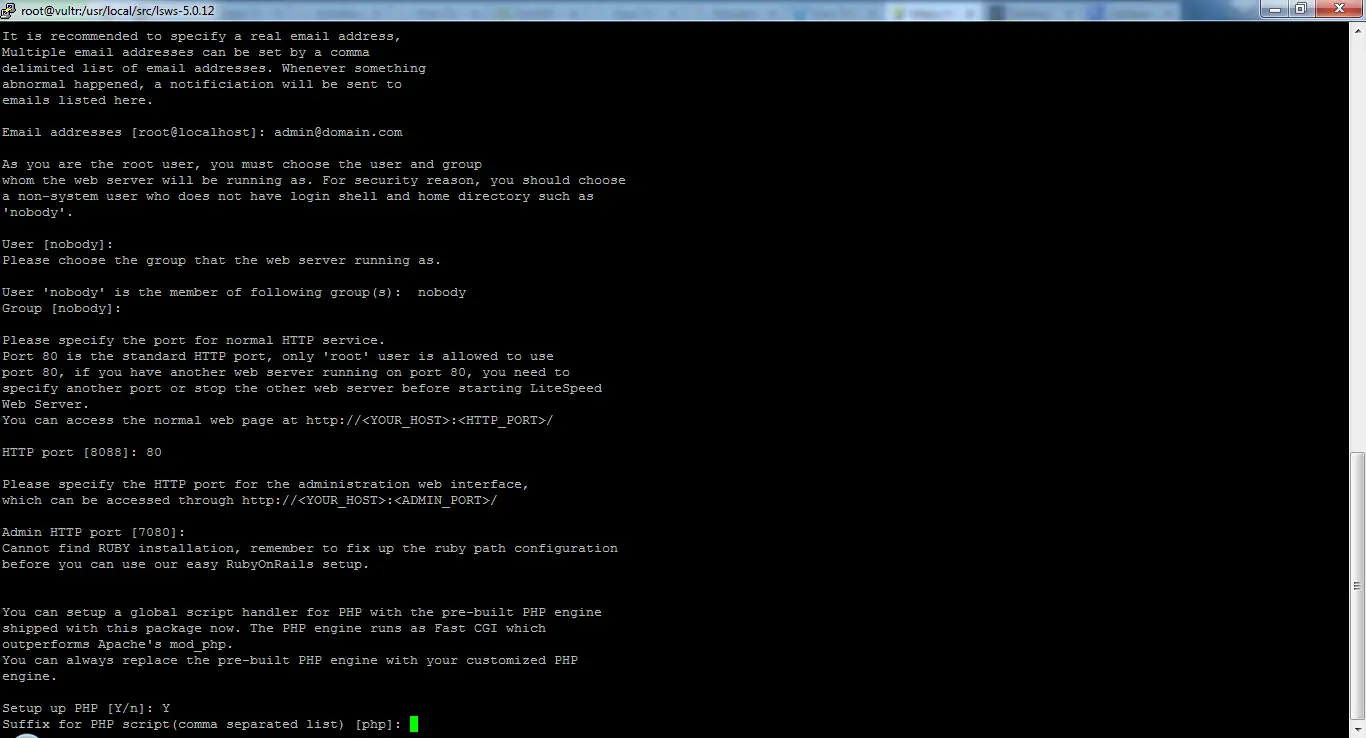
然后提示将询问有关 PHP 使用的详细信息。如果您使用的是 WordPress 或 Joomla 等 CMS,则需要启用 PHP。要启用 PHP,请输入 Y,否则输入 N。
You can setup a global script handler for PHP with the pre-built PHP engine
shipped with this package now. The PHP engine runs as Fast CGI which
outperforms Apache's mod_php.
You can always replace the pre-built PHP engine with your customized PHP engine.
Setup up PHP [Y/n]: Y
示例输出:
出现此提示后,您可以指定不同的 PHP 文件扩展名。通常没有必要在此处指定不同的扩展名,因此只需按回车键并继续。
Suffix for PHP script(comma separated list) [php]:示例输出:
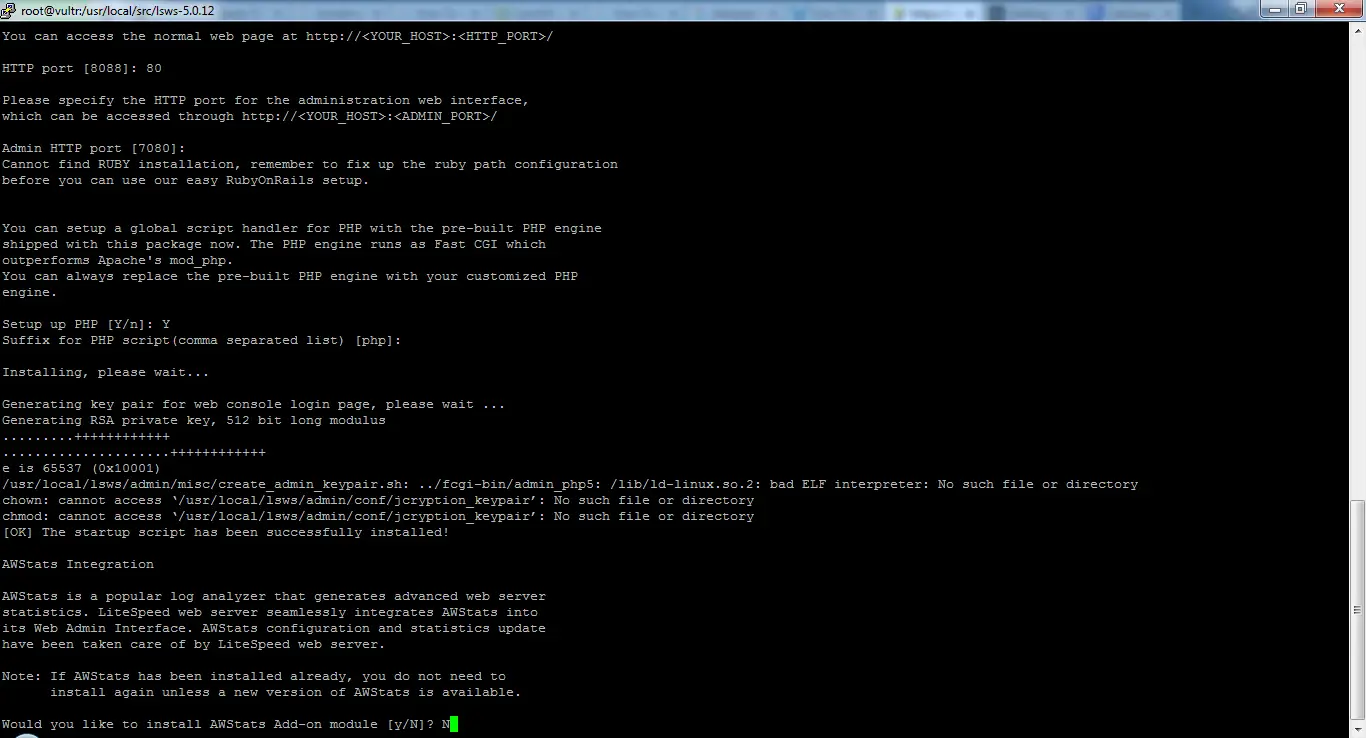
如果您有兴趣使用 AWStats,下一个提示会要求您提供详细信息。这是一个统计生成工具程序,用于检查访问者数量、页面浏览量等。要收集详细的访问者信息,请输入 Y,否则输入 N 并继续。
AWStats is a popular log analyzer that generates advanced web server
statistics. LiteSpeed web server seamlessly integrates AWStats into
its Web Admin Interface. AWStats configuration and statistics update
have been taken care of by LiteSpeed web server.
Note: If AWStats has been installed already, you do not need to
      install again unless a new version of AWStats is available.
Would you like to install AWStats Add-on module [y/N]? N
示例输出:
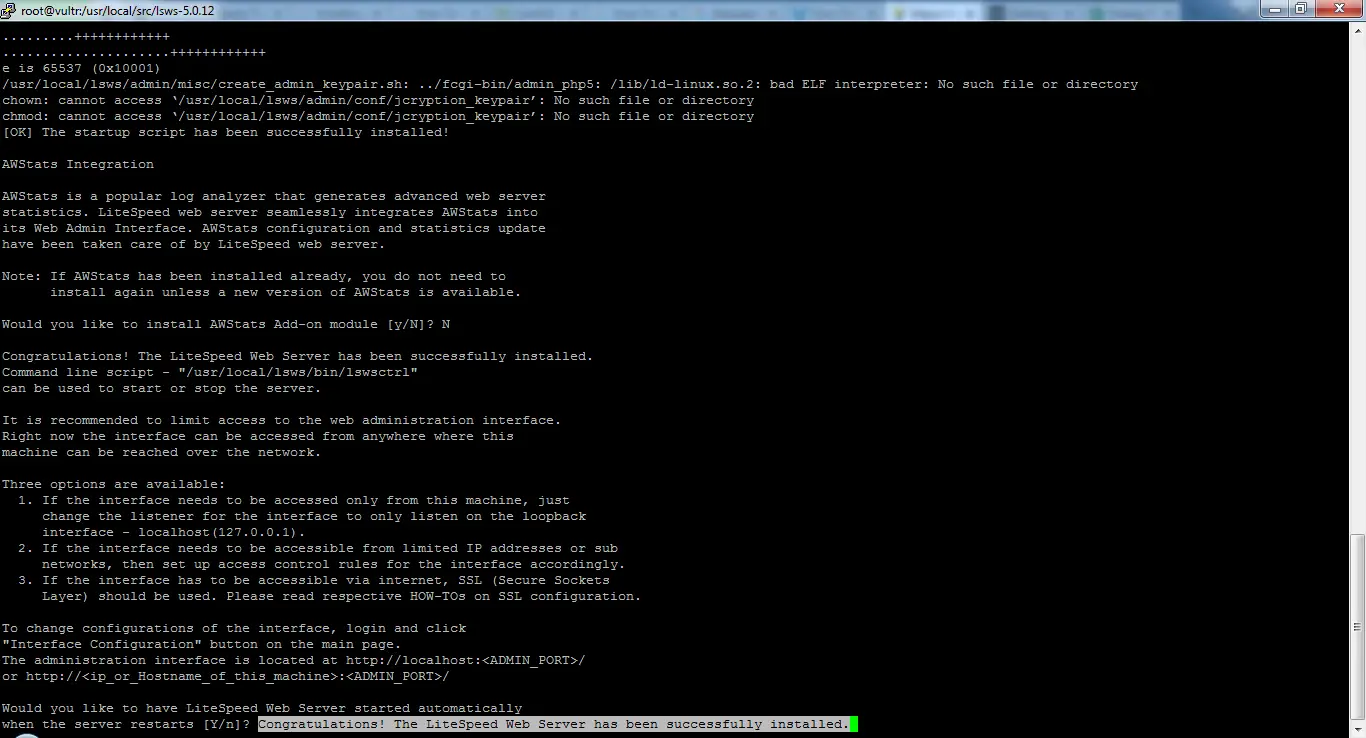
下一个提示将询问您是否希望 LiteSpeed 在服务器重新启动时自动运行。写 Y 以避免服务器停机。
Would you like to have LiteSpeed Web Server started automatically
when the server restarts [Y/n]? Y
这在执行时会通知 LiteSpeed 的成功启动脚本添加,并提示用户选择立即启动服务器。键入 Y 执行相同操作,或键入 N 以在稍后阶段手动启动它。我建议立即开始。
[OK] The startup script has been successfully installed!
Would you like to start it right now [Y/n]? Y
安装成功后,会显示以下消息。
LiteSpeed Web Server started successfully! Have fun!示例输出:
安装成功后,通过IP或域名访问服务器会打开一个默认的网页。现在,您可以开始构建您的网站了。
防火墙配置
为了让访客流量访问服务器,必须打开 80(服务器端口)和 7080(管理 Web 界面)的 Web 端口。大多数 CentOS 7 服务器使用 firewalld,这些命令打开 firewalld 中的端口:
firewall-cmd --permanent --zone=public --add-service=http
firewall-cmd --permanent --zone=public --add-port=7080/tcp
firewall-cmd --reload
如果您使用 IPTables firewalla 而不是 firewalld,请改用这些命令。
iptables -I INPUT -p tcp --dport 80 -j ACCEPT
iptables -I INPUT -p tcp --dport 7080 -j ACCEPT
service iptables save
如果您在脚本安装期间更改了端口号,请在 iptables 和 firewalld 规则中反映相同的内容。
祝贺您拥有新的功能性 LiteSpeed 服务器。