在 Debian 8 (Jessie) 上安装 RoundCube webmail
本教程展示了在 Debian 8 上安装最新的 RoundCube 网络邮件。Roundcube 是一个易于使用的网络邮件客户端,具有 IMAP 和 SMTP 支持,可以通过插件进行扩展。在 Debian 7 上,RoundCube 以 .deb 包的形式提供,它不是最新版本,但至少可以很容易地使用 apt 安装。对于当前的 Debian 版本,不再有可用的 RoundCube 软件包,所以我将在此处描述从源代码的安装。本教程包含一个可选章节,描述了将 RoundCube 与 ISPConfig 3 主机控制面板连接的步骤。
先决条件
- Debian 8 操作系统。
- 安装了 mod_php 的 Apache 网络服务器。如果还没有安装 apache,那么看看我们的 erfect Server setup 来安装一个合适的环境。
- Roundcube 应连接到的电子邮件服务器(SMTP + IMAP)。这可以是本地服务器(例如,当您使用完美的服务器设置之一时)或远程服务器。
- 我将在本教程中使用的服务器主机名是 server1.example.com,IP 地址为 192.168.1.100。请将其替换为您服务器的 IP 和主机名。
RoundCube 安装
我会将 RoundCube 安装到 /opt/roundcube 目录中,以确保此安装不会与任何 Debian 系统软件包发生冲突。第一步是安装 wget,创建目录 /opt/roundcube 并将带有 wget 的最新 RoundCube 版本下载到该目录中。在我编写本教程时,当前的 RoundCube 版本是 1.1.3,请查看 RoundCube 网站以检查是否有更高版本可以使用。
在服务器的 shell 上以 root 用户身份登录,然后安装 wget 和 nano 编辑器:
apt-get install wget nano创建目录并使用“cd”命令进入:
mkdir /opt/roundcube
cd /opt/roundcube
下载 RoundCube tar.gz 文件并解压:
wget https://downloads.sourceforge.net/project/roundcubemail/roundcubemail/1.1.3/roundcubemail-1.1.3-complete.tar.gz
tar xfz roundcubemail-1.1.3-complete.tar.gz
RoundCube 文件现在位于文件夹 /opt/roundcube/roundcubemail-1.1.3 中。下一步是将它们移动一个目录到 /opt/roundcube。
mv roundcubemail-1.1.3/* .
mv roundcubemail-1.1.3/.htaccess .
两条命令末尾的点是必须的,是命令的一部分,不要错过!删除空目录和 tar.gz 文件。
rmdir roundcubemail-1.1.3
rm roundcubemail-1.1.3-complete.tar.gz
并将所有文件的所有者更改为运行 Apache 服务器的用户。
chown -R www-data:www-data /opt/roundcube安装 RoundCube 数据库
Roundcube 需要一个数据库来存储邮箱设置、联系人等。我将在这里使用 MySQL(或 MariaDB)作为数据库后端。我们现在将在 MySQL 中创建一个名为 \roundcubemail\ 的数据库和一个名为 \roundcube\ 的用户。
使用以下命令登录到 MySQL 服务器:
mysql --defaults-file=/etc/mysql/debian.cnf然后在MySQl数据库shell中执行以下命令创建数据库和数据库用户。用您选择的密码替换以下命令中的单词“secretpassword”。
CREATE DATABASE roundcubemail;
GRANT ALL PRIVILEGES ON roundcubemail.* TO  IDENTIFIED BY 'secretpassword';
flush privileges;
quit
现在我们将 RoundCube 表从文件 mysql.initial.sql 导入到我们的新数据库中。
在 Linux shell 上运行以下命令:
mysql --defaults-file=/etc/mysql/debian.cnf roundcubemail < /opt/roundcube/SQL/mysql.initial.sql配置 RoundCube 和 Apache
在这一步中,我们将在 RoundCube 中配置数据库详细信息,并在 Apache 中添加一个 RoundCube 配置文件。
我将从 RoundCube 中的数据库配置开始。运行以下命令,根据示例配置文件创建一个新的config.inc.php 文件,并在nano 编辑器中打开它。
cd /opt/roundcube/config
cp -pf config.inc.php.sample config.inc.php
nano config.inc.php
找到以 $config[db_dsnw] 开头的数据库配置行,并将其替换为以下行:
$config['db_dsnw'] = 'mysql://roundcube:/roundcubemail';单词 \secretpassword\ 必须替换为您为数据库选择的密码。
接下来搜索“smtp_server”行并在此处设置您的 SMTP 服务器的主机名。在我的例子中,邮件服务器是本地服务器,所以我将服务器设置为 \localhost\。
$config['smtp_server'] = 'localhost';现在是配置 Apache 的时候了。我将在文件夹 /etc/apache2/conf-available/ 中创建一个新的配置文件 roundcube.conf。
nano /etc/apache2/conf-available/roundcube.conf将以下行添加到该文件并保存。
Alias /roundcube /opt/roundcube
Alias /webmail /opt/roundcube

<Directory /opt/roundcube>
 Options +FollowSymLinks
 # AddDefaultCharset UTF-8
 AddType text/x-component .htc

 <IfModule mod_php5.c>
 AddType application/x-httpd-php .php
 php_flag display_errors Off
 php_flag log_errors On
 # php_value error_log logs/errors
 php_value upload_max_filesize 10M
 php_value post_max_size 12M
 php_value memory_limit 64M
 php_flag zlib.output_compression Off
 php_flag magic_quotes_gpc Off
 php_flag magic_quotes_runtime Off
 php_flag zend.ze1_compatibility_mode Off
 php_flag suhosin.session.encrypt Off
 #php_value session.cookie_path /
 php_flag session.auto_start Off
 php_value session.gc_maxlifetime 21600
 php_value session.gc_divisor 500
 php_value session.gc_probability 1
 </IfModule>

 <IfModule mod_rewrite.c>
 RewriteEngine On
 RewriteRule ^favicon\.ico$ skins/larry/images/favicon.ico
 # security rules:
 # - deny access to files not containing a dot or starting with a dot
 # in all locations except installer directory
 RewriteRule ^(?!installer)(\.?[^\.]+)$ - [F]
 # - deny access to some locations
 RewriteRule ^/?(\.git|\.tx|SQL|bin|config|logs|temp|tests|program\/(include|lib|localization|steps)) - [F]
 # - deny access to some documentation files
 RewriteRule /?(README\.md|composer\.json-dist|composer\.json|package\.xml)$ - [F]
 </IfModule>

 <IfModule mod_deflate.c>
 SetOutputFilter DEFLATE
 </IfModule>

 <IfModule mod_expires.c>
 ExpiresActive On
 ExpiresDefault "access plus 1 month"
 </IfModule>

 FileETag MTime Size

 <IfModule mod_autoindex.c>
 Options -Indexes
 </ifModule>

 AllowOverride None
 Require all granted
</Directory>

<Directory /opt/roundcube/plugins/enigma/home>
 Options -FollowSymLinks
 AllowOverride None
 Require all denied
</Directory>

<Directory /opt/roundcube/config>
 Options -FollowSymLinks
 AllowOverride None
 Require all denied
</Directory>

<Directory /opt/roundcube/temp>
 Options -FollowSymLinks
 AllowOverride None
 Require all denied
</Directory>

<Directory /opt/roundcube/logs>
 Options -FollowSymLinks
 AllowOverride None
 Require all denied
</Directory>
前两行中的 2 行 Alias 使 RoundCube 在您的服务器上可用作 /roundcube 和 /webmail。
启用配置并重新加载 apache:
a2enconf roundcube
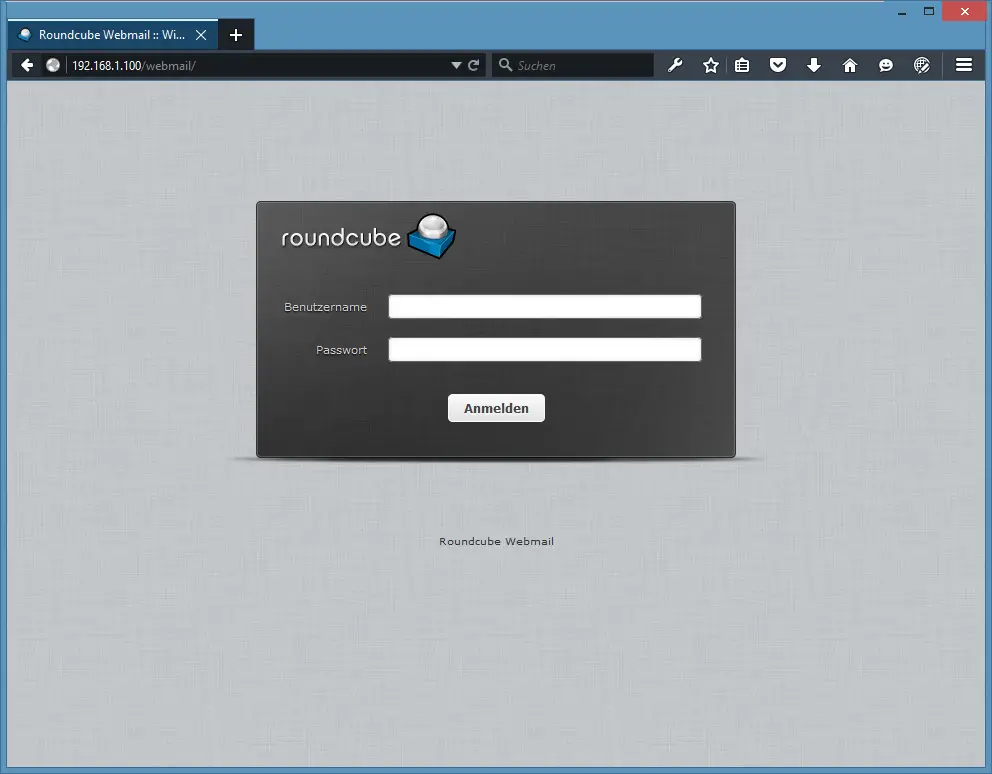
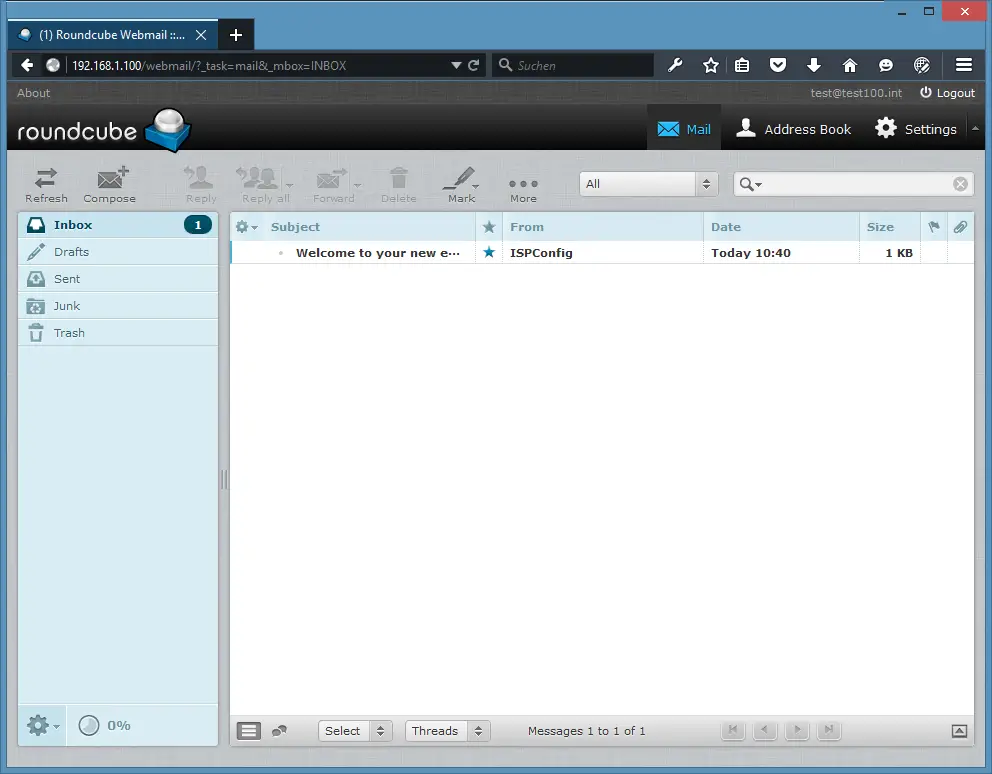
service apache2 reload就是这样,RoundCube 现在已完全安装在您的服务器上,您可以通过别名 /roundcube 和 /webmail 在服务器 IP 和主机名上访问它。我服务器的IP是192.168.1.100;为此,我可以使用 http://192.168.1.100/webmail 打开 RoundCube
安装 ISPConfig RoundCube 插件(可选)
当您的服务器安装了 iSPConfig 3 时,强烈建议安装 ISPConfig RoundCube 插件。这允许您的电子邮件用户从 RoundCube 中管理他们的自动回复、电子邮件过滤器和其他邮箱设置。
ISPConfig 3 RoundCube 插件通过 ISPConfig 远程 API 连接到 ISPConfig 3。要使用这个 API,我们需要一个远程用户。
以“管理员”用户身份登录 ISPConfig。
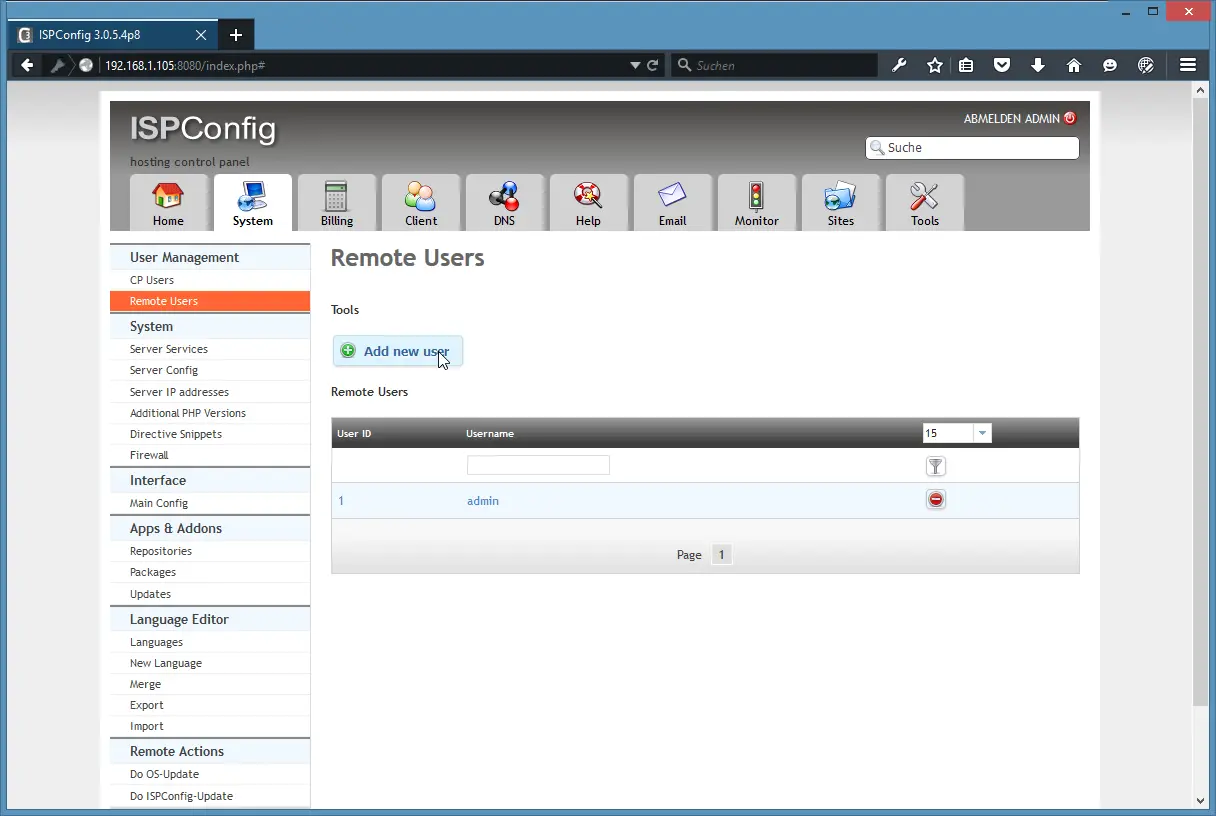
要创建这样的用户,请转到“系统”>“用户管理”>“远程用户”,然后单击“添加新用户”按钮:
输入新远程用户的用户名和密码。我将选择用户名“roundcube”和密码“!fdWEacBOG1d”。
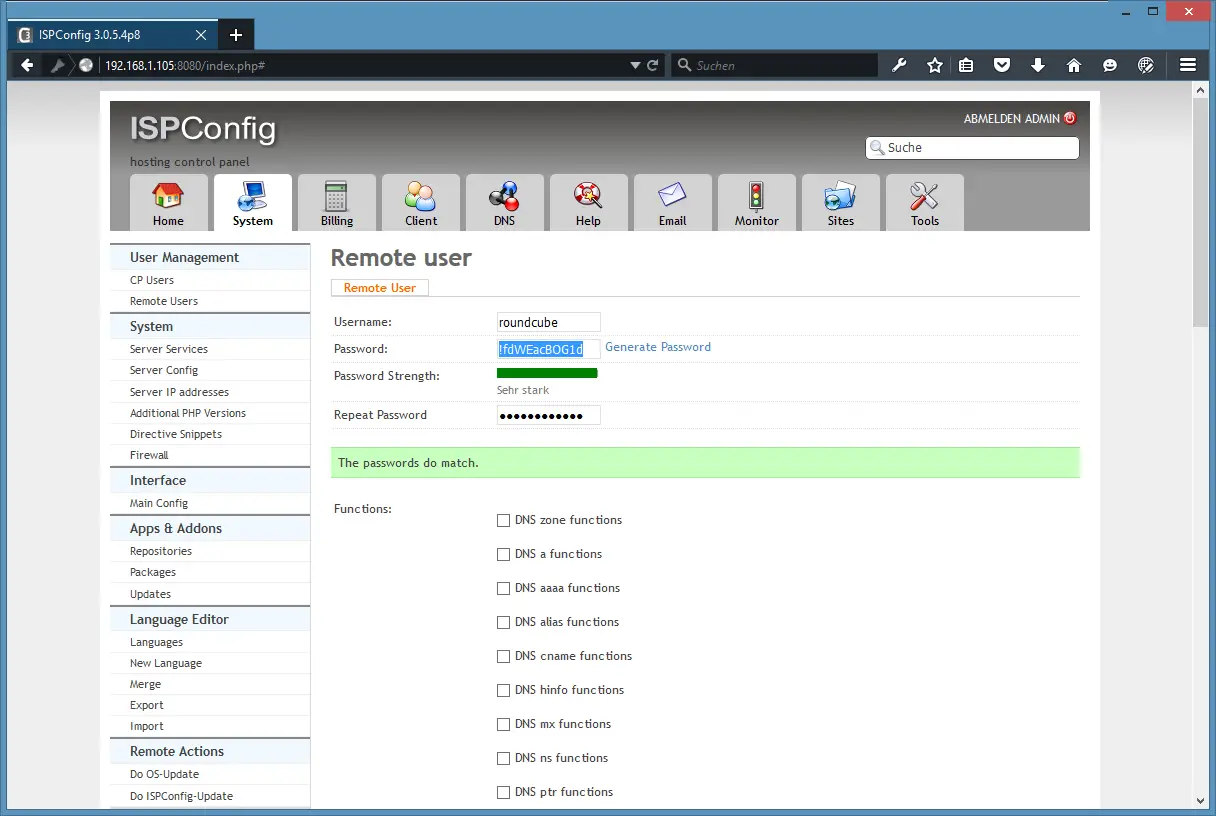
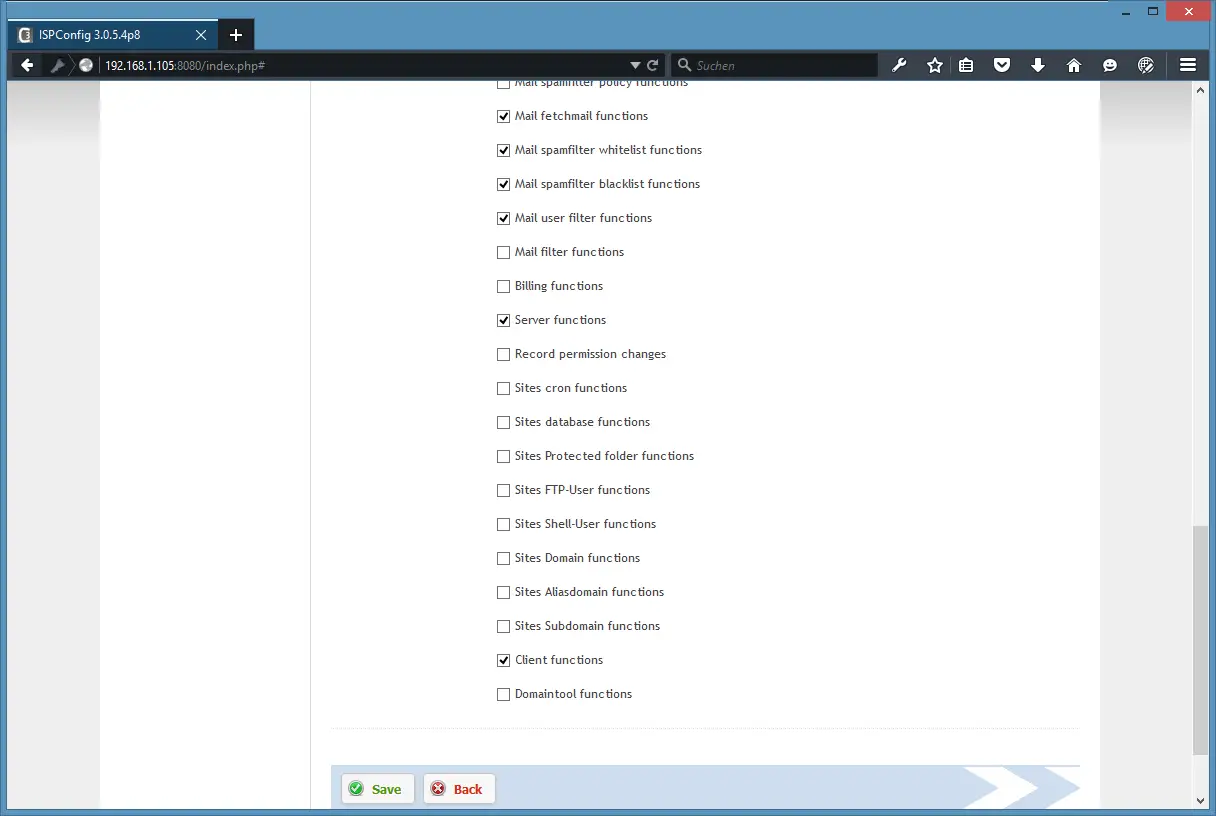
远程用户设置允许细粒度的访问控制;必须启用以下功能:
- 服务器功能
- 客户端函数
- 邮件用户函数
- 邮件别名功能
- 邮件垃圾邮件过滤器用户函数
- 邮件垃圾邮件过滤器策略功能
- 邮件获取邮件功能
- 邮件垃圾邮件过滤器白名单功能
- 邮件垃圾邮件过滤器黑名单功能
- 邮件用户过滤函数
最后点击保存。
接下来的步骤是在您的服务器的 shell 上执行的。以根用户身份登录。
我们现在将把 ISPConfig SSL 证书安装到 Debian 的 SSL 证书库中。
cp /usr/local/ispconfig/interface/ssl/ispserver.crt /usr/local/share/ca-certificates/
update-ca-certificates
打开 /etc/php5/cgi/php.ini 文件
nano /etc/php5/apache2/php.ini向下滚动直到看到文件的 [openssl] 部分,然后在其中添加以下行:
openssl.cafile=/etc/ssl/certs/ca-certificates.crt然后重新启动apache。
service apache2 restart要下载插件,请先安装 Git 客户端。
apt-get install git获取最新版本的 RoundCube ISPConfig 插件:
cd /tmp
git clone https://github.com/w2c/ispconfig3_roundcube.git
cd /tmp/ispconfig3_roundcube/
并将插件移动到 roundcube 插件目录中。
mv ispconfig3_* /opt/roundcube/plugins
cd /opt/roundcube/plugins
根据示例配置为插件创建一个新的 config.inc.php 文件,并在 nano 编辑器中打开该文件。
mv ispconfig3_account/config/config.inc.php.dist ispconfig3_account/config/config.inc.php
nano ispconfig3_account/config/config.inc.php
填写远程用户的详细信息并保存文件。
<?php
$rcmail_config['identity_limit'] = false;
$rcmail_config['remote_soap_user'] = 'roundcube';
$rcmail_config['remote_soap_pass'] = '!fdWEacBOG1d';
$rcmail_config['soap_url'] = 'https://server1.example.com:8080/remote/';
?>
将 server1.example.com 替换为服务器的主机名。当 SSL (HTTPS) 用于远程 API 连接时,RoundCube 配置中的主机名必须与 ISPConfig 接口的 SSL 证书的主机名相匹配。您可以使用以下命令检查 ISPConfig SSL 证书的主机名:
openssl x509 -in /usr/local/share/ca-certificates/ispserver.crt -text -noout | grep Subject:结果就我而言:
Subject: C=DE, ST=Niedersachsen, L=Lueneburg, O=ISPConfig UG, OU=IT, CN=server1.example.com/因此插件配置文件中的主机名“server1.example.com”与 SSL 证书中的主机名匹配。
现在激活 RoundCube 中的新插件。在编辑器中打开配置文件:
nano /opt/roundcube/config/config.inc.php并在文件末尾添加以下行:
$rcmail_config['plugins'] = array("jqueryui", "ispconfig3_account", "ispconfig3_autoreply", "ispconfig3_pass", "ispconfig3_spam", "ispconfig3_fetchmail", "ispconfig3_filter");现在您可以登录 RoundCube,可以在设置 > 帐户 下找到新选项。
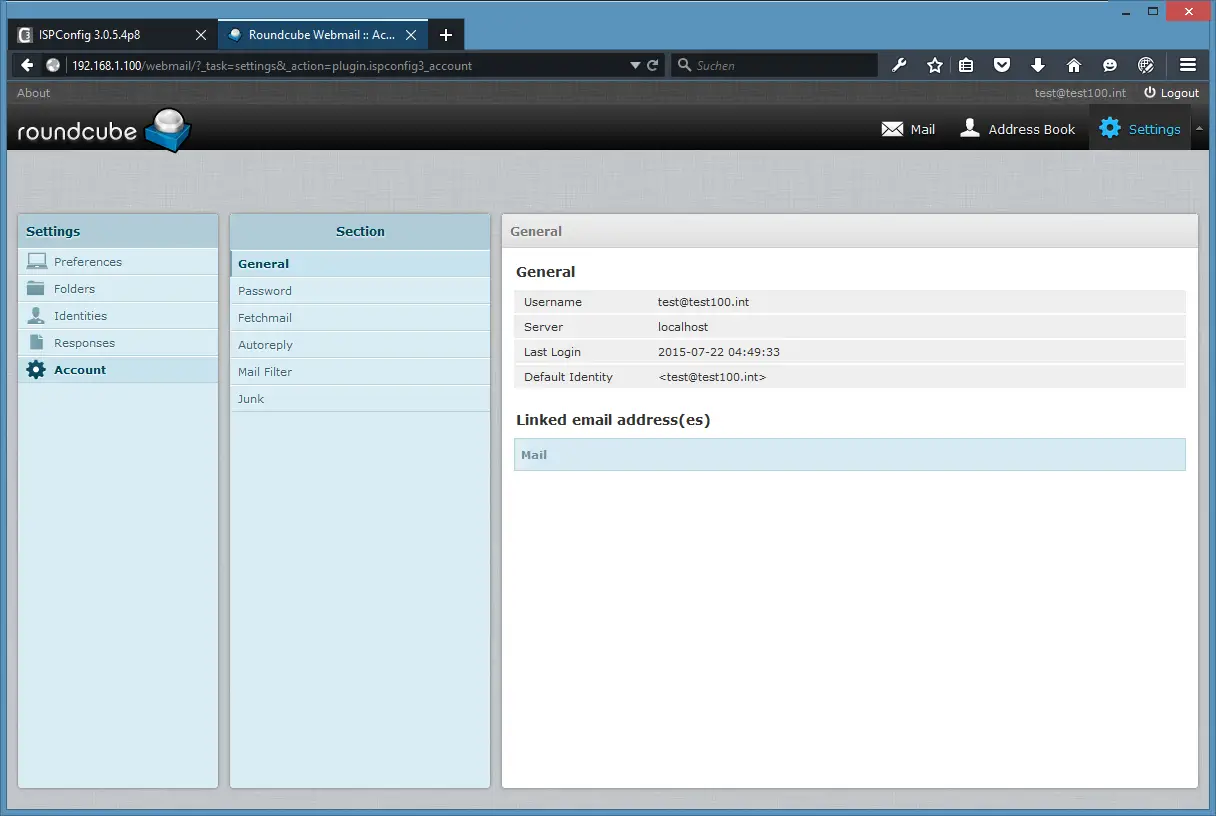
一般帐户。

邮件过滤器设置。
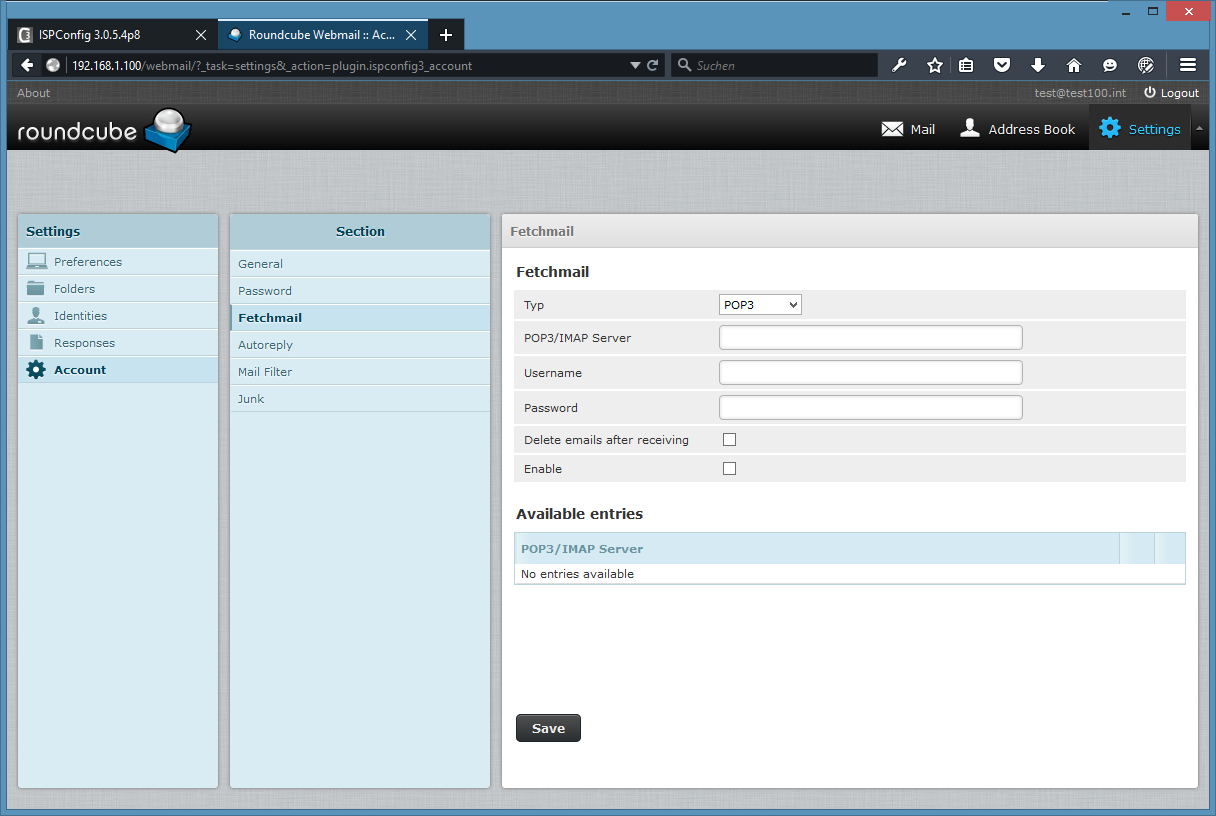
获取邮件设置。
链接
- 德比安
- 圆立方体
- Roundcube ISPConfig 插件