如何在 Debian 11 上安装 LibreNMS 监控工具
在此页
- 先决条件
- 安装和配置 MariaDB 数据库
- 安装 Nginx、PHP 和所需的依赖项
- 安装和配置 LibreNMS
- 为 LibreNMS 配置 Nginx
- 访问 LibreNMS Web 安装向导
- 结论
LibreNMS 是一个免费、开源、基于 Web 的自动发现网络监控工具,用 PHP 编写。它使用 MySQL 或 MariaDB 作为数据库后端,并使用 SNMP 来发现远程客户端。它支持范围广泛的网络设备,包括 Linux、Cisco、Juniper、FreeBSD、HP、Windows 等。它支持多种身份验证方法,包括 Radius、Active Directory、LDAP、MySQL 等。它简单、用户友好且易于任何人理解和使用。
在本教程中,我将解释如何在 Debian 11 上使用 Nginx 安装 LibreNMS。
先决条件
- 运行 Debian 11 的服务器。
- 用您的服务器 IP 指向的有效域名。
- 在您的服务器上配置了根密码。
安装和配置 MariaDB 数据库
首先,您需要在您的服务器上安装 MariaDB 数据库服务器。您可以使用以下命令安装它:
apt-get install mariadb-server -y安装完成后,运行以下脚本来保护 MariaDB 安装并设置 root 密码:
mysql_secure_installation如下图所示回答所有问题:
Enter current password for root (enter for none):
Switch to unix_socket authentication [Y/n] n
Change the root password? [Y/n] Y
New password:
Re-enter new password:
Remove anonymous users? [Y/n] Y
Disallow root login remotely? [Y/n] Y
Remove test database and access to it? [Y/n]
Reload privilege tables now? [Y/n] Y
MariaDB 安全后,编辑 MariaDB 配置文件并调整一些设置:
nano /etc/mysql/mariadb.conf.d/50-server.cnf在 [mysqld] 部分中添加以下行:
innodb_file_per_table=1
lower_case_table_names=0
保存并关闭文件,然后重新启动 MariaDB 以应用更改:
systemctl restart mariadb接下来,使用以下命令登录 MariaDB:
mysql -u root -p登录后,为 LibreNMS 创建数据库和用户:
MariaDB [(none)]> CREATE DATABASE librenms CHARACTER SET utf8mb4 COLLATE utf8mb4_unicode_ci;
MariaDB [(none)]> CREATE USER 'librenms'@'localhost' IDENTIFIED BY 'securepassword';
接下来,使用以下命令授予 LibreNMS 数据库的所有权限:
MariaDB [(none)]> GRANT ALL PRIVILEGES ON librenms.* TO 'librenms'@'localhost';最后,使用以下命令刷新权限并退出 MariaDB shell:
MariaDB [(none)]> FLUSH PRIVILEGES;
MariaDB [(none)]> EXIT;
完成后,您可以继续下一步。
安装 Nginx、PHP 和所需的依赖项
接下来,您需要安装 Nginx Web 服务器、PHP 和 LibreNMS 所需的其他依赖项。您可以通过运行以下命令来安装所有这些:
apt-get install nginx-full nmap php-cli php-curl php-fpm php-gd php-json php-mbstring php-mysql php-snmp php-xml php-zip python3-dotenv python3-pip python3-pymysql python3-redis python3-setuptools python3-systemd rrdtool snmp snmpd whois acl curl composer fping git graphviz imagemagick mtr-tiny安装所有软件包后,编辑 php.ini 文件并设置时区:
nano /etc/php/7.4/fpm/php.ini更改以下行:
date.timezone = UTC
完成后保存并关闭文件。
安装和配置 LibreNMS
首先,使用以下命令为 LibreNMS 创建一个专用用户:
useradd librenms -d /opt/librenms -M -r -s /bin/bash接下来,使用以下命令将 LibreNMS 用户添加到 www-data 组:
usermod -a -G librenms www-data接下来,从 GitHub 存储库下载最新版本的 LibreNMS 到 /opt 目录:
git clone https://github.com/librenms/librenms.git /opt/librenms接下来,设置 LibreNMS 目录的所有权和权限:
chown -R librenms:librenms /opt/librenms
chmod 775 /opt/librenms setfacl -d -m g::rwx /opt/librenms/rrd /opt/librenms/logs /opt/librenms/bootstrap/cache/ /opt/librenms/storage/
setfacl -R -m g::rwx /opt/librenms/rrd /opt/librenms/logs /opt/librenms/bootstrap/cache/ /opt/librenms/storage/
接下来,使用以下命令将用户更改为 LibreNMS:
su - librenms接下来,使用以下命令安装 PHP 作曲家:
cd /opt/librenms
./scripts/composer_wrapper.php install --no-dev
安装 Composer 和其他 PHP 依赖项后,您应该会看到以下输出:
> @php artisan optimize
Configuration cache cleared!
Configuration cached successfully!
Route cache cleared!
Routes cached successfully!
Files cached successfully!
> @php artisan config:clear
Configuration cache cleared!
> scripts/dynamic_check_requirements.py || pip3 install --user -r requirements.txt || :
Requirement already satisfied: PyMySQL!=1.0.0 in /usr/lib/python3/dist-packages (from -r requirements.txt (line 1)) (0.9.3)
Requirement already satisfied: python-dotenv in /usr/lib/python3/dist-packages (from -r requirements.txt (line 2)) (0.15.0)
Requirement already satisfied: redis>=3.0 in /usr/lib/python3/dist-packages (from -r requirements.txt (line 3)) (3.5.3)
Requirement already satisfied: setuptools in /usr/lib/python3/dist-packages (from -r requirements.txt (line 4)) (52.0.0)
Collecting psutil>=5.6.0
  Downloading psutil-5.8.0-cp39-cp39-manylinux2010_x86_64.whl (293 kB)
Collecting command_runner>=1.3.0
  Downloading command_runner-1.3.0-py3-none-any.whl (17 kB)
Installing collected packages: psutil, command-runner
Successfully installed command-runner-1.3.0 psutil-5.8.0
接下来,使用以下命令退出 LibreNMS 用户:
exit接下来,您需要为 PHP-FPM 创建一个单独的配置文件。您可以使用以下命令创建它:
cp /etc/php/7.4/fpm/pool.d/www.conf /etc/php/7.4/fpm/pool.d/librenms.conf接下来,使用您喜欢的编辑器编辑 librenms.conf 配置文件:
nano /etc/php/7.4/fpm/pool.d/librenms.conf将 [www-data] 更改为 [librenms] 并更新监听套接字:
user = librenms
group = librenms
listen = /run/php-fpm-librenms.sock
保存并关闭文件,然后重新启动 PHP-FPM 服务以应用配置更改:
systemctl restart php7.4-fpm完成后,您可以继续下一步。
为 LibreNMS 配置 Nginx
接下来,您需要为 LibreNMS 创建一个 Nginx 虚拟主机配置文件。您可以使用以下命令创建它:
nano /etc/nginx/conf.d/librenms.conf添加以下行:
server {
  listen 80;
  server_name libre.yourdomain.com;
  root /opt/librenms/html;
  index index.php;

  charset utf-8;
  gzip on;
  gzip_types text/css application/javascript text/javascript application/x-javascript image/svg+xml text/plain text/xsd text/xsl text/xml image/x-icon;
  location / {
   try_files $uri $uri/ /index.php?$query_string;
  }
  location ~ [^/]\.php(/|$) {
   fastcgi_pass unix:/run/php-fpm-librenms.sock;
   fastcgi_split_path_info ^(.+\.php)(/.+)$;
   include fastcgi.conf;
  }
  location ~ /\.(?!well-known).* {
   deny all;
  }
}
保存并关闭文件,然后使用以下命令验证 Nginx 是否存在任何语法错误:
nginx -t如果一切正常,您将获得以下输出:
nginx: the configuration file /etc/nginx/nginx.conf syntax is ok
nginx: configuration file /etc/nginx/nginx.conf test is successful
最后,重新启动 Nginx 以应用更改。
systemctl restart nginx php7.4-fpm您还可以使用以下命令验证 Nginx 状态:
systemctl status nginx您应该看到以下输出:
? nginx.service - A high performance web server and a reverse proxy server
     Loaded: loaded (/lib/systemd/system/nginx.service; enabled; vendor preset: enabled)
     Active: active (running) since Fri 2021-12-03 14:39:18 UTC; 18s ago
       Docs: man:nginx(8)
    Process: 39888 ExecStartPre=/usr/sbin/nginx -t -q -g daemon on; master_process on; (code=exited, status=0/SUCCESS)
    Process: 39892 ExecStart=/usr/sbin/nginx -g daemon on; master_process on; (code=exited, status=0/SUCCESS)
   Main PID: 39893 (nginx)
      Tasks: 2 (limit: 2341)
     Memory: 2.7M
        CPU: 42ms
     CGroup: /system.slice/nginx.service
             ??39893 nginx: master process /usr/sbin/nginx -g daemon on; master_process on;
             ??39894 nginx: worker process

Dec 03 14:39:18 debian11 systemd[1]: Starting A high performance web server and a reverse proxy server...
Dec 03 14:39:18 debian11 systemd[1]: nginx.service: Failed to parse PID from file /run/nginx.pid: Invalid argument
Dec 03 14:39:18 debian11 systemd[1]: Started A high performance web server and a reverse proxy server.
接下来,复制 cron 作业配置文件以启用对新添加设备的自动发现和轮询。
cp /opt/librenms/librenms.nonroot.cron /etc/cron.d/librenms接下来,复制 logrotate 配置文件以轮换旧日志。
cp /opt/librenms/misc/librenms.logrotate /etc/logrotate.d/librenms完成后,您可以继续下一步。
访问 LibreNMS Web 安装向导
此时,LibreNMS 已安装并配置了 Nginx。您现在可以使用 URL http://libre.yourdomain.com 访问基于 Web 的 LibreNMS 设置。您应该看到预安装检查页面:
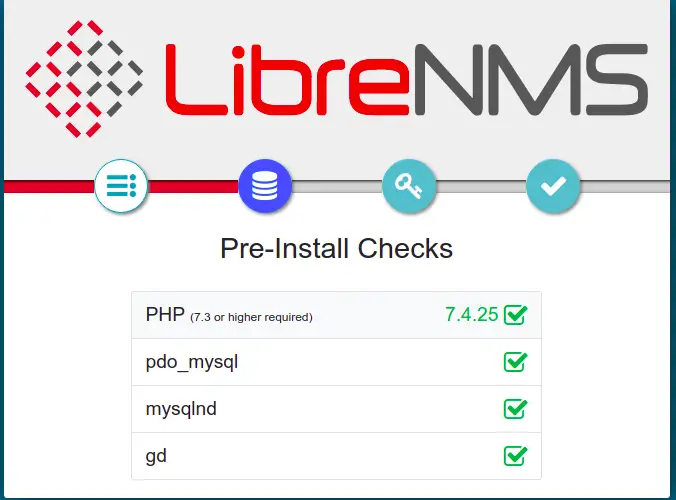
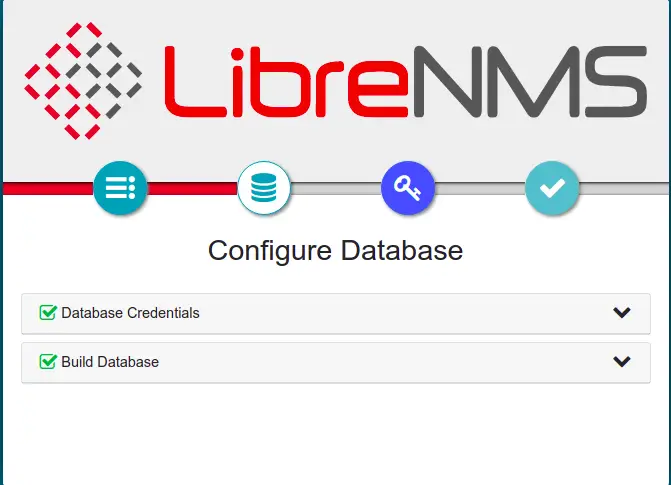
确保所有检查都成功,然后单击数据库图标。您应该看到数据库配置页面:

提供您的数据库信息并单击“检查凭据”。您应该会看到以下页面:
现在,单击钥匙图标以设置管理员用户:
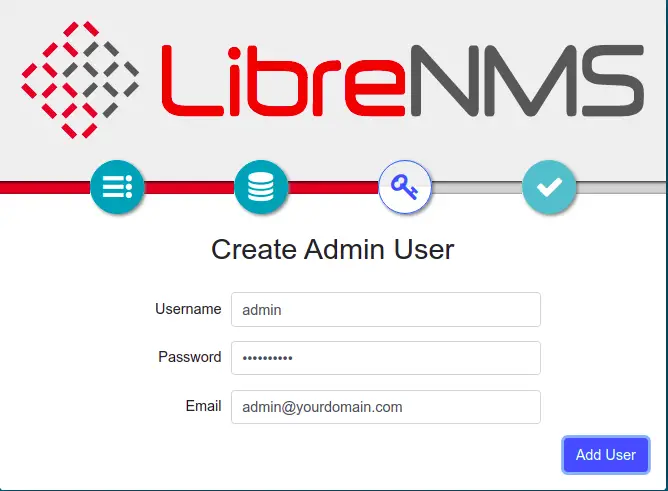
提供您的管理员用户名和密码,然后单击“添加用户”按钮。创建用户后,您应该会看到以下页面:
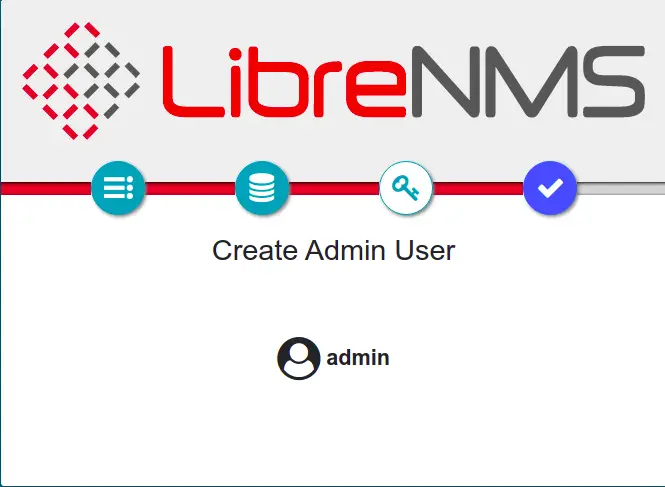
点击是图标按钮。您应该会看到以下页面:
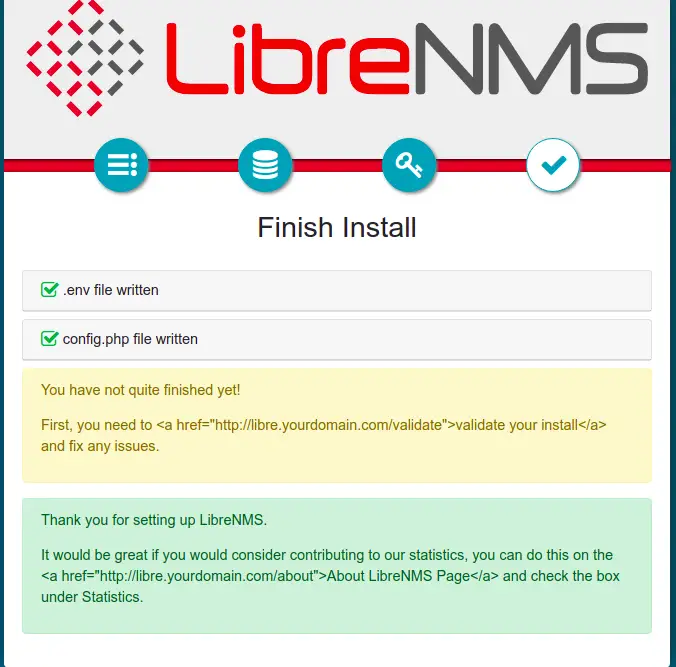
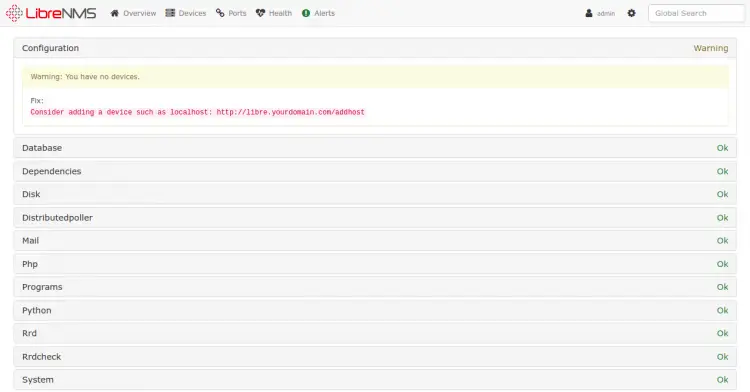
现在,在网络浏览器中打开另一个选项卡并输入 URL https://libre.yourdomain.com/validate 以验证安装。您应该会看到以下页面:

提供您的管理员用户名和密码,然后单击“登录”按钮。您应该会看到以下页面:
结论
恭喜!您已经在 Debian 11 上成功安装了带有 Nginx 的 LibreNMS。您现在可以开始将远程设备添加到 LibreNMS 并开始从中央位置监控它们。如果您有任何问题,请随时问我。