如何在 Ubuntu 18.04 LTS 上安装 Hugo Site Generator
在此页
- 要求
- 开始
- 安装雨果
- 使用 Hugo 创建网站
- 创建关于页面和博客文章
- 设置您的第一个主题
- 建立您的网站
- 访问 Hugo 服务器
- 结论
Hugo 是一个用 Go 语言编写的免费开源框架,可用于轻松创建网站。它是简单、快速和安全的静态站点生成器,你不需要任何数据库来运行它。 Hugo 支持无限的内容类型、分类法、菜单、动态 API 驱动的内容等等,所有这些都无需插件。 Hugo 具有丰富的功能集,包括强大的内容管理、内置模板、短代码、自定义输出、多语言等等。
在本教程中,我们将学习如何在 Ubuntu 18.04 LTS 服务器上安装 Hugo。
要求
- 一台运行 Ubuntu 18.04 的服务器。
- 在您的服务器上配置了静态 IP 地址 136.243.240.39。
- 已为您的服务器设置根密码。
入门
在开始之前,您需要使用最新版本更新您的系统。您可以通过运行以下命令来执行此操作:
apt-get update -y
 apt-get upgrade -y
服务器更新后,重新启动服务器以应用更改。
安装雨果
默认情况下,最新版本的 Hugo 在 Ubuntu 18.04 默认存储库中不可用。因此,您需要从 Git 存储库下载它。您可以使用以下命令下载它:
wget https://github.com/gohugoio/hugo/releases/download/v0.58.2/hugo_0.58.2_Linux-64bit.deb下载完成后,使用以下命令安装 Hugo:
dpkg -i hugo_0.58.2_Linux-64bit.deb如果您遇到任何依赖性错误,请运行以下命令来解决依赖性:
apt-get install -f接下来,您可以使用以下命令检查 Hugo 版本:
hugo version您应该得到以下输出:
Hugo Static Site Generator v0.58.2-253E5FDC linux/amd64 BuildDate: 2019-09-13T08:05:59Z
您还可以通过运行以下命令查看 Hugo 可用的选项列表:
hugo --help您应该得到以下输出:
hugo is the main command, used to build your Hugo site.

Hugo is a Fast and Flexible Static Site Generator
built with love by spf13 and friends in Go.

Complete documentation is available at http://gohugo.io/.

Usage:
  hugo [flags]
  hugo [command]

Available Commands:
  config      Print the site configuration
  convert     Convert your content to different formats
  deploy      Deploy your site to a Cloud provider.
  env         Print Hugo version and environment info
  gen         A collection of several useful generators.
  help        Help about any command
  import      Import your site from others.
  list        Listing out various types of content
  mod         Various Hugo Modules helpers.
  new         Create new content for your site
  server      A high performance webserver
  version     Print the version number of Hugo

Flags:
  -b, --baseURL string         hostname (and path) to the root, e.g. http://spf13.com/
  -D, --buildDrafts            include content marked as draft
  -E, --buildExpired           include expired content
  -F, --buildFuture            include content with publishdate in the future
      --cacheDir string        filesystem path to cache directory. Defaults: $TMPDIR/hugo_cache/
      --cleanDestinationDir    remove files from destination not found in static directories
      --config string          config file (default is path/config.yaml|json|toml)
      --configDir string       config dir (default "config")
  -c, --contentDir string      filesystem path to content directory
      --debug                  debug output
  -d, --destination string     filesystem path to write files to
      --disableKinds strings   disable different kind of pages (home, RSS etc.)
      --enableGitInfo          add Git revision, date and author info to the pages
  -e, --environment string     build environment
      --forceSyncStatic        copy all files when static is changed.
      --gc                     enable to run some cleanup tasks (remove unused cache files) after the build
  -h, --help                   help for hugo
      --i18n-warnings          print missing translations
      --ignoreCache            ignores the cache directory
      --ignoreVendor           ignores any _vendor directory
  -l, --layoutDir string       filesystem path to layout directory
      --log                    enable Logging
      --logFile string         log File path (if set, logging enabled automatically)
      --minify                 minify any supported output format (HTML, XML etc.)
      --noChmod                don't sync permission mode of files
      --noTimes                don't sync modification time of files
      --path-warnings          print warnings on duplicate target paths etc.
      --quiet                  build in quiet mode
      --renderToMemory         render to memory (only useful for benchmark testing)
  -s, --source string          filesystem path to read files relative from
      --templateMetrics        display metrics about template executions
      --templateMetricsHints   calculate some improvement hints when combined with --templateMetrics
  -t, --theme strings          themes to use (located in /themes/THEMENAME/)
      --themesDir string       filesystem path to themes directory
      --trace file             write trace to file (not useful in general)
  -v, --verbose                verbose output
      --verboseLog             verbose logging
  -w, --watch                  watch filesystem for changes and recreate as needed
完成后,您可以继续下一步。
使用 Hugo 创建网站
Hugo 现已安装,是时候使用 Hugo 创建网站和内容了。
您可以通过运行以下命令创建一个名为 test.example.com 的新网站:
hugo new site test.example.com成功创建网站后,您应该获得以下输出:
Congratulations! Your new Hugo site is created in /root/test.example.com.

Just a few more steps and you're ready to go:

1. Download a theme into the same-named folder.
   Choose a theme from https://themes.gohugo.io/, or
   create your own with the "hugo new theme " command.
2. Perhaps you want to add some content. You can add single files
   with "hugo new /.".
3. Start the built-in live server via "hugo server".

Visit https://gohugo.io/ for quickstart guide and full documentation.
您还可以使用以下命令列出在您的网站下创建的所有文件:
ls test.example.com/您应该看到以下输出:
archetypes config.toml content data layouts static themes
创建一个关于页面和博客文章
现在,将目录更改为您的网站并使用以下命令创建一个 about.md 页面:
cd test.example.com
 hugo new about.md
您应该看到以下输出:
/root/test.example.com/content/about.md created
接下来,打开一个 about.md 文件并添加一些内容:
nano content/about.md进行以下更改:
---
title: "About"
date: 2019-09-10T06:57:08Z
draft: false
---

I am hitesh jethva working as a technical writer.
完成后保存并关闭文件。然后,使用以下命令创建您的第一篇文章:
hugo new post/first.md您应该看到以下输出:
/root/test.example.com/content/post/first.md created
接下来,打开文件 first.md 并添加一些内容:
nano content/post/first.md进行以下更改:
---
title: "First"
date: 2019-09-10T06:58:51Z
draft: false
---

## This is my first blog post

Hi How are you!
设置你的第一个主题
您的关于页面和博客文章现已创建,是时候设置您的第一个主题了。
首先,将目录更改为 themes 并使用以下命令下载 hugo-strata-theme:
cd themes
 wget https://github.com/digitalcraftsman/hugo-strata-theme/archive/master.zip
下载后,使用以下命令解压缩下载的主题:
unzip master.zip接下来,重命名提取的主题,如下所示:
mv hugo-strata-theme-master hugo-strata-theme接下来,您需要将示例 config.toml 文件的内容从 themes/hugo-strata-theme 复制到位于 /root/test.example.com/config.toml 的站点 config.toml 文件。
您可以使用以下命令执行此操作:
cat hugo-strata-theme/exampleSite/config.toml > ../config.toml接下来,更新 baseurl 变量,并将新的关于页面包含到 config.toml 文件中的主题导航中,如下所示:
nano ../config.toml更新基本 URL,如下所示:
baseurl = "/"
还要添加以下行以包含您的新“关于”页面:
 [[menu.main]]
  name = "About"
  url  = "about"
  weight = 5
完成后保存并关闭文件。
接下来,您还需要将位于 themes/hugo-strata-theme/layouts/index.html 的主题模板布局更新为 test.example.com/layouts/index.html:
nano /root/test.example.com/layouts/index.html添加以下内容:
{{ define "main" }}
        {{ if not .Site.Params.about.hide }}
                {{ partial "about" . }}
        {{ end }}

        {{ if not .Site.Params.portfolio.hide }}
                {{ partial "portfolio" . }}
        {{ end }}

        {{ if not .Site.Params.recentposts.hide }}
                {{ partial "recent-posts" . }}
        {{ end }}

        {{ if not .Site.Params.contact.hide }}
                {{ partial "contact" . }}
        {{ end }}
{{ end }}
完成后保存并关闭文件。
完成后,您可以继续下一步。
建立您的网站
您的主题现已为您的网站配置完毕。是时候建立您的网站了。为此,请将目录更改为您的网站并使用以下命令构建网站:
cd /root/test.example.com
 hugo
您应该看到以下输出:
                   | EN
+------------------+----+
  Pages            | 17
  Paginator pages  |  0
  Non-page files   |  0
  Static files     | 26
  Processed images |  0
  Aliases          |  5
  Sitemaps         |  1
  Cleaned          |  0

Total in 18 ms
现在,启动您的 Hugo 服务器并通过运行以下命令将其与您的服务器 IP 地址绑定:
hugo server --bind=0.0.0.0 --baseUrl=http://136.243.240.39 -D -F服务器成功启动后,您应该会看到以下输出:
                   | EN
+------------------+----+
  Pages            | 17
  Paginator pages  |  0
  Non-page files   |  0
  Static files     | 26
  Processed images |  0
  Aliases          |  5
  Sitemaps         |  1
  Cleaned          |  0

Total in 28 ms
Watching for changes in /root/test.example.com/{content,data,layouts,static,themes}
Watching for config changes in /root/test.example.com/config.toml
Serving pages from memory
Running in Fast Render Mode. For full rebuilds on change: hugo server --disableFastRender
Web Server is available at http://136.243.240.39:1313/ (bind address 0.0.0.0)
Press Ctrl+C to stop
完成后,您可以继续访问 Hugo Web 界面。
访问雨果服务器
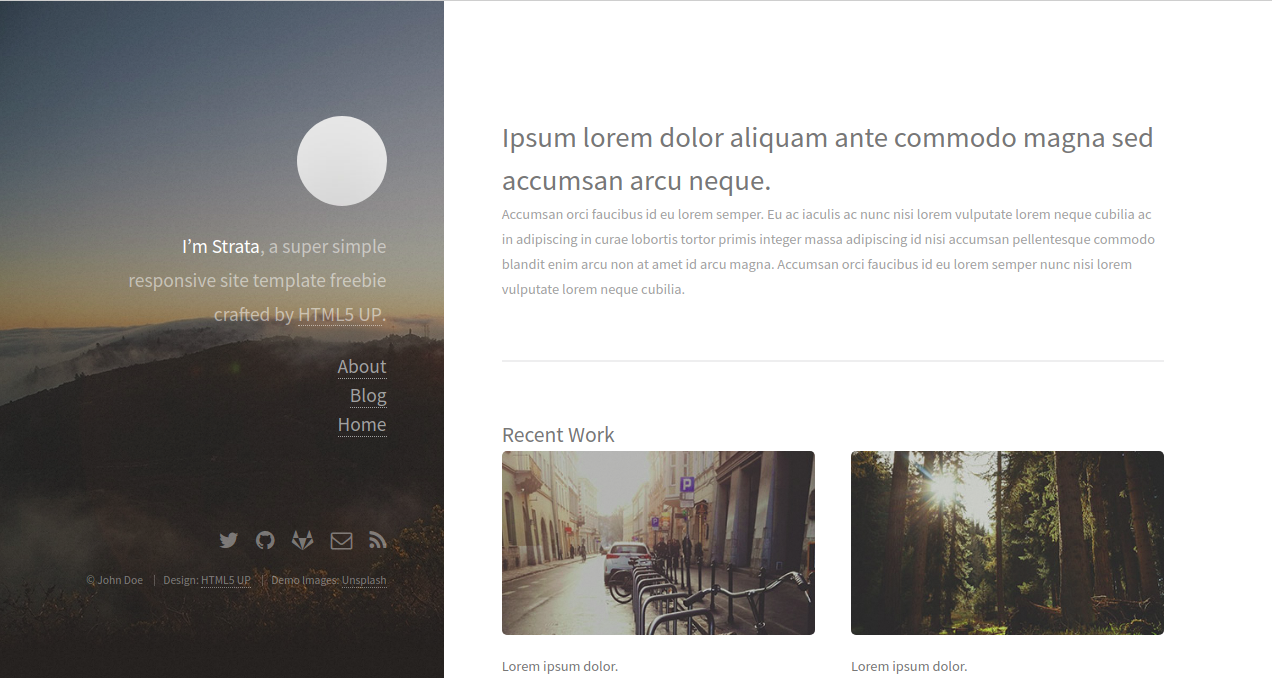
您的 Hugo 服务器现已启动并侦听端口 1313。接下来,打开您的 Web 浏览器并输入 URL http://136.243.240.39:1313。您将被重定向到您的 Hugo 服务器仪表板,如下所示:
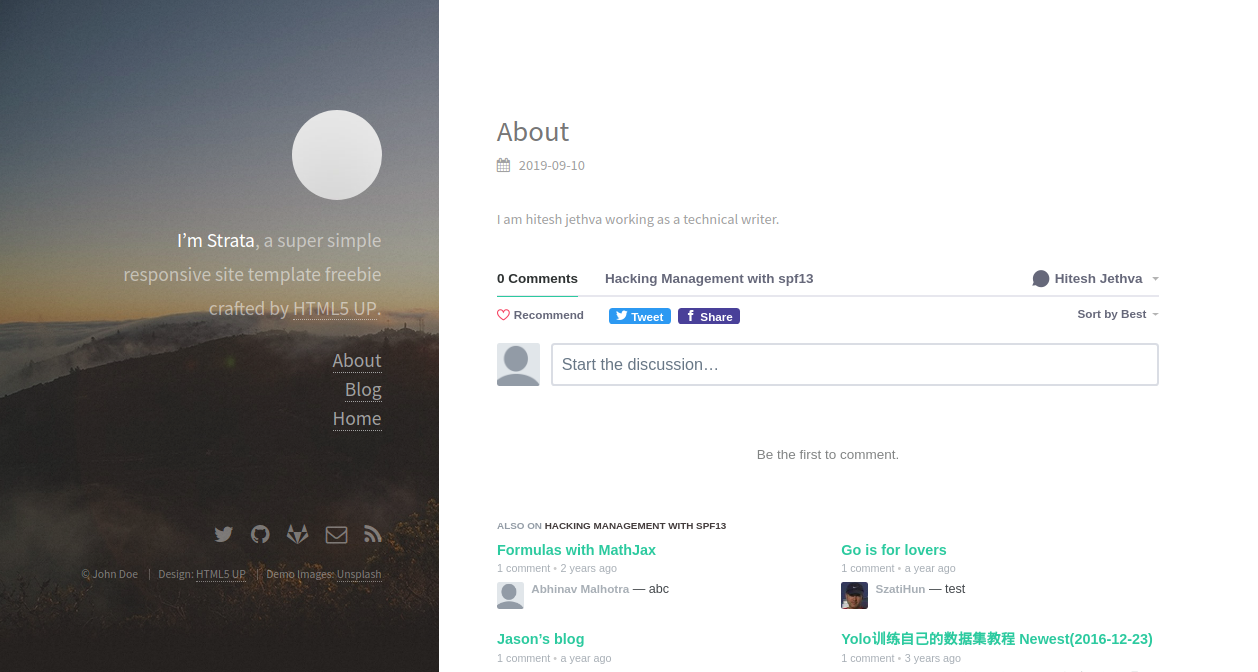
现在,单击左侧窗格中的关于。您应该在下图中看到您的关于页面:
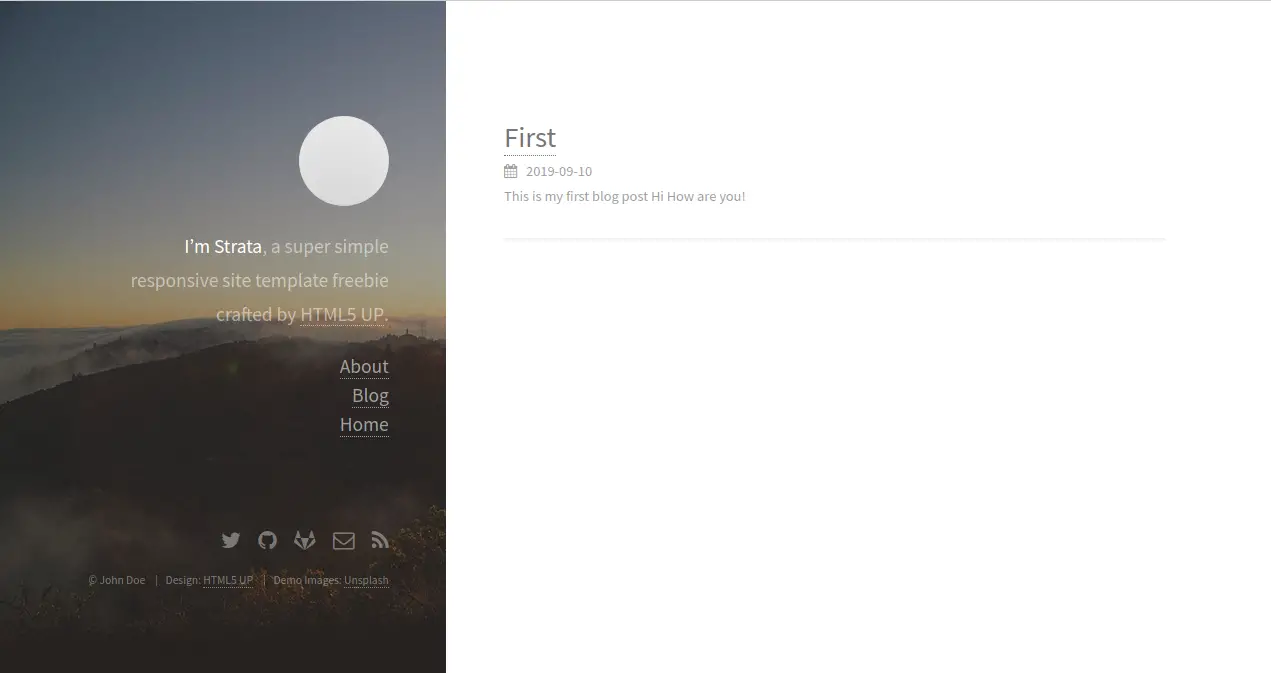
现在,单击左侧窗格中的“博客”按钮。您应该会在下图中看到您的博文:
结论
在上面的教程中,我们学习了如何在 Ubuntu 18.04 服务器上安装 Hugo 服务器。我们还学习了如何使用 Hugo 创建一个带有关于页面和主题的网站。关于 Hugo 的更多信息,您可以访问 Hugo Doc 上的 Hugo 官方文档。如果您有任何问题,请随时问我。