如何在 Ubuntu 18.04 LTS 上设置 IRedMail 服务器
在此页
- 要求
- 开始
- 安装 iRedMail
- 访问 iRedMail 网络界面
iRedMail 是一个免费的开源邮件服务器解决方案,可以自动在您的服务器上安装和配置所有必要的邮件服务器组件。 iRedMail 允许您通过其内置的 Web 界面创建任意数量的邮箱。它提供了一个基于网络的界面来管理邮件、文件夹、筛选器。它使用 OpenLDAP、MySQL、MariaDB、PostgreSQL 来存储邮箱。 IRedMail 服务器由多个组件组成,包括 Postfix、Dovecot、Nginx、OpenLdap、Amavised、SpamAssassin、ClamAV、Roundcube、SOGo、Netdata 和 Fail2ban。
在本教程中,我们将学习如何在 Ubuntu 18.04 服务器上使用 iRedMail 设置功能齐全的邮件服务器。
要求
- 一台运行 Ubuntu 18.04 的服务器。
- 在您的服务器上设置了静态 IP 地址 192.168.0.101。
- 已为您的服务器设置根密码。
入门
首先,您需要使用最新版本更新您的服务器。您可以使用以下命令执行此操作:
apt-get update -y
 apt-get upgrade -y
服务器更新后,重新启动系统以应用所有更改
接下来,您需要在您的服务器上设置 FQDN。您可以使用以下命令执行此操作:
hostnamectl set-hostname test.example.com接下来,打开 /etc/hosts 文件并添加以下行:
nano /etc/hosts添加以下行:
192.168.0.101 test.example.com test
完成后保存并关闭文件。然后,运行以下命令以应用所有更改:
hostname -f完成后,您可以继续下一步。
安装 iRedMail
首先,您需要从他们的网站下载最新版本的 iRedMail 安装程序。您可以使用以下命令下载它:
wget https://bitbucket.org/zhb/iredmail/downloads/iRedMail-0.9.9.tar.bz2下载完成后,使用以下命令解压缩下载的文件:
tar xjf iRedMail-0.9.9.tar.bz2接下来,将目录更改为 iRedMail-0.9.9 并使用以下命令运行安装程序:
cd iRedMail-0.9.9
 bash iRedMail.sh
在安装过程中,您将被要求回答几个问题以设置 iRedMail 邮件服务器。
首先,您应该看到如下所示的欢迎屏幕:
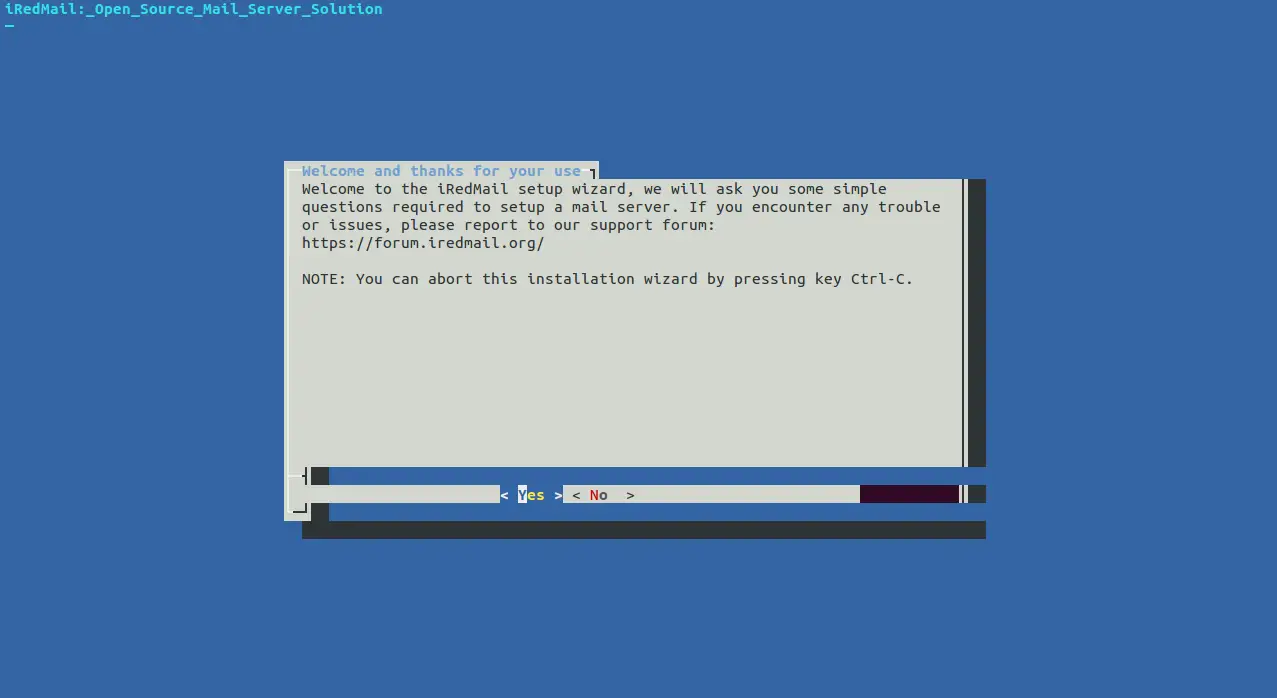
现在,按 Enter 按钮。您应该会看到以下页面:
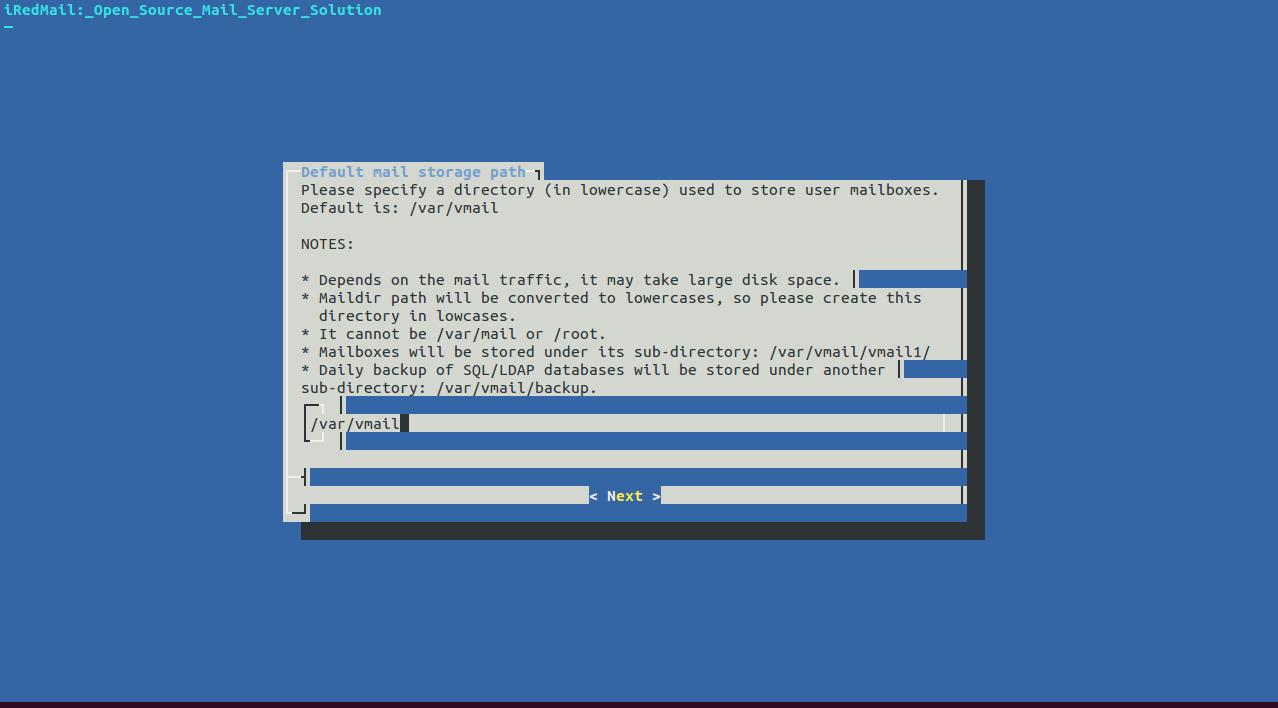
在这里,提供您要存储邮箱的完整路径。然后,单击“下一步”按钮。您应该会看到以下页面:
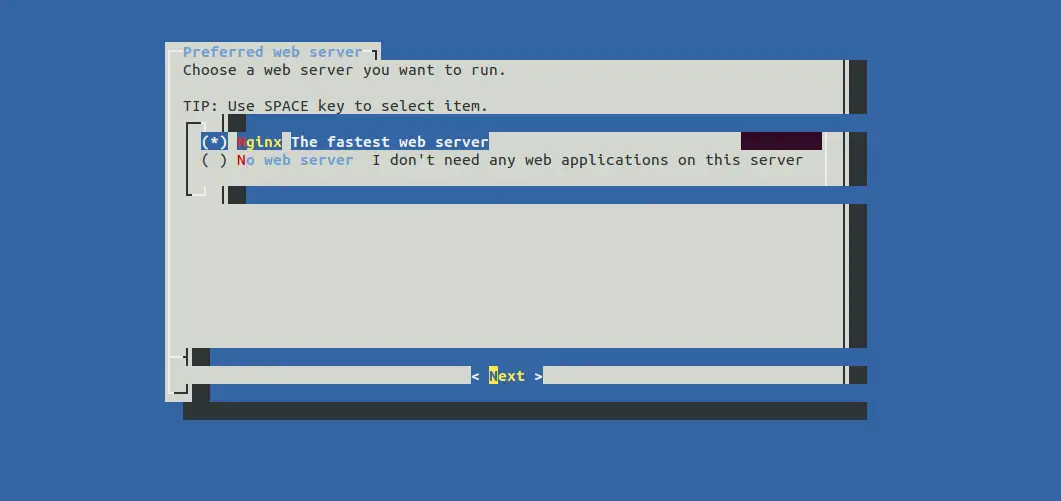
在这里,选择 Nginx 作为 Web 服务器,然后单击下一步按钮。您应该会看到以下页面:
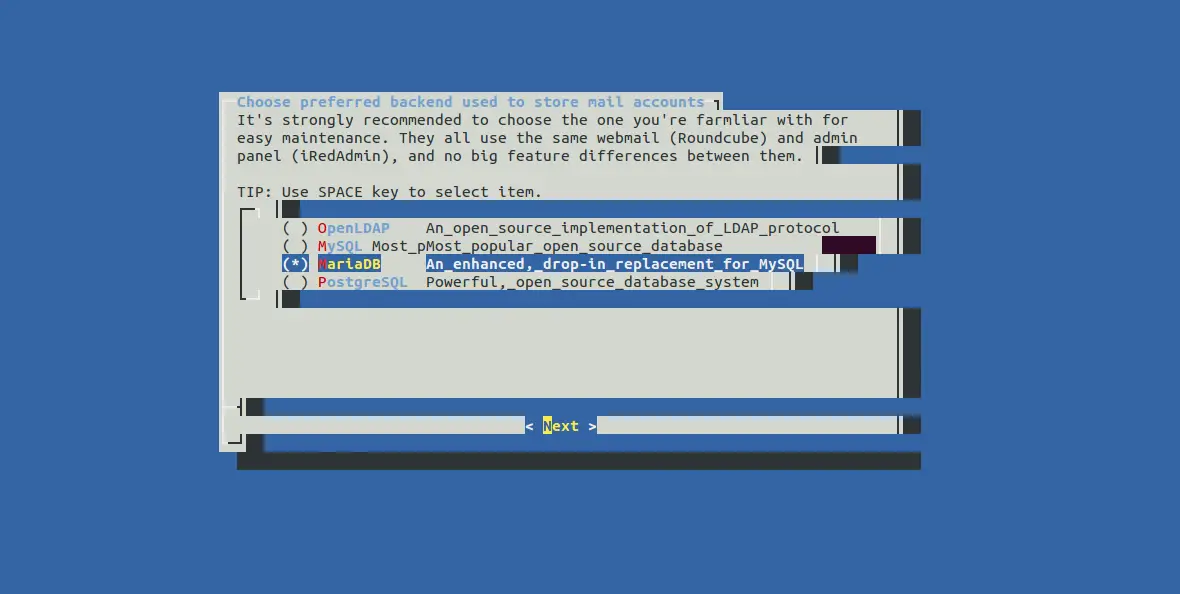
在这里,选择 MariaDB 作为数据库,然后单击 Next 按钮。您应该会看到以下页面:
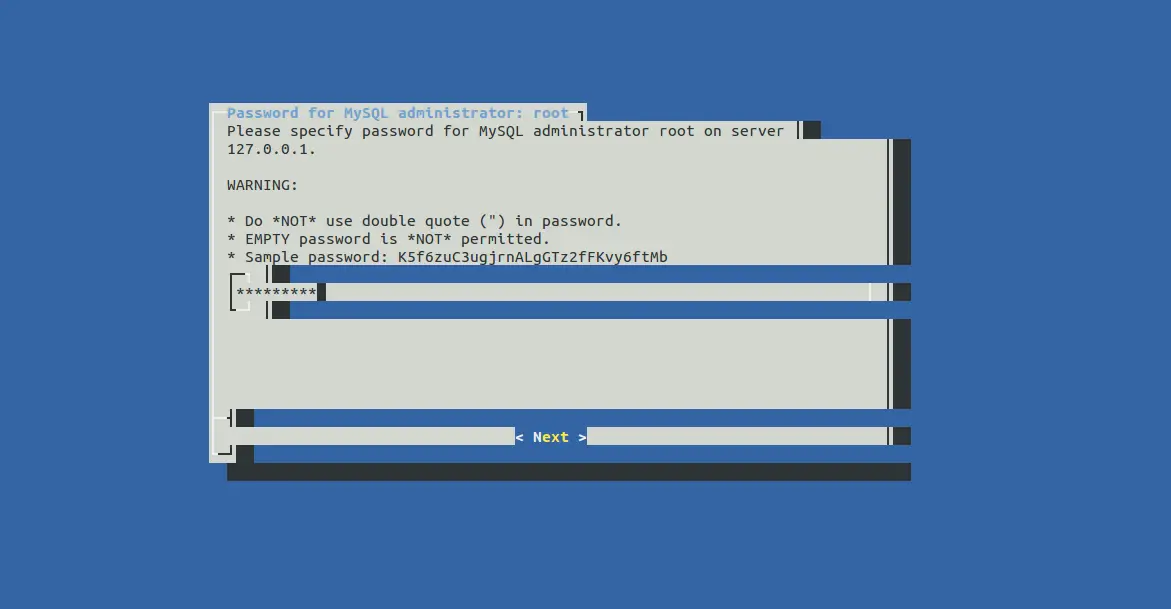
在这里,提供 MariaDB root 密码并单击 Next 按钮。您应该会看到以下页面:
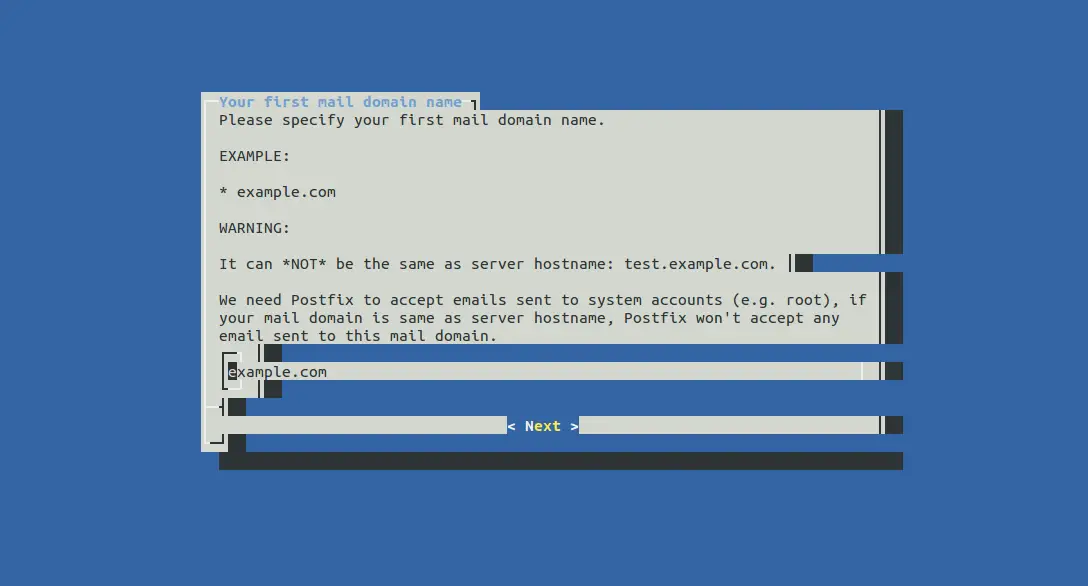
接下来,提供您的域名并单击“下一步”按钮。您应该会看到以下页面:
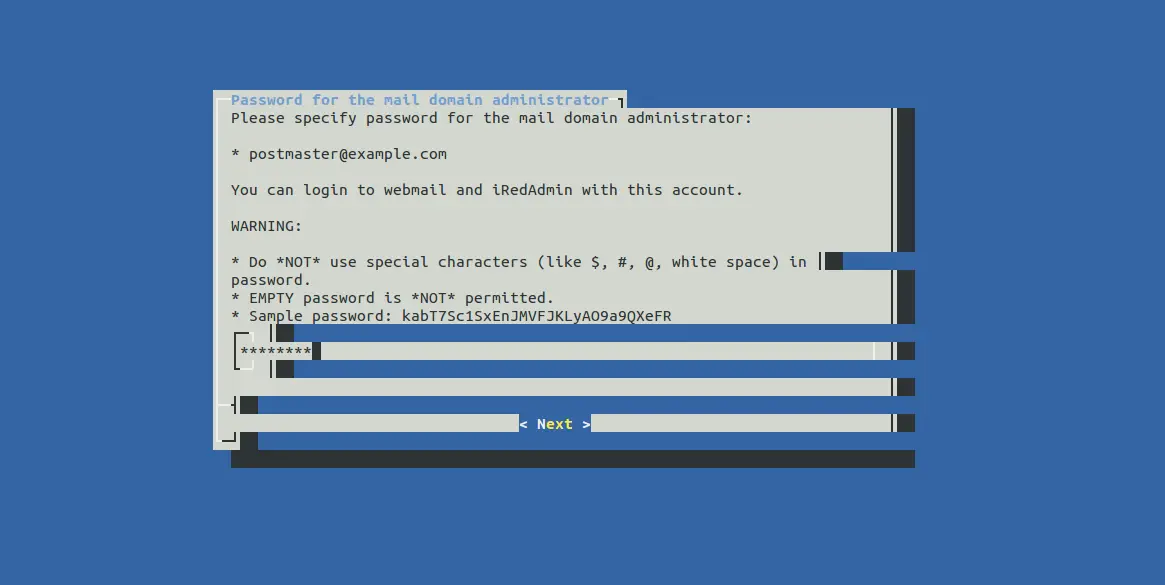
接下来,设置邮件域管理员的密码,然后单击“下一步”按钮。您应该会看到以下页面:
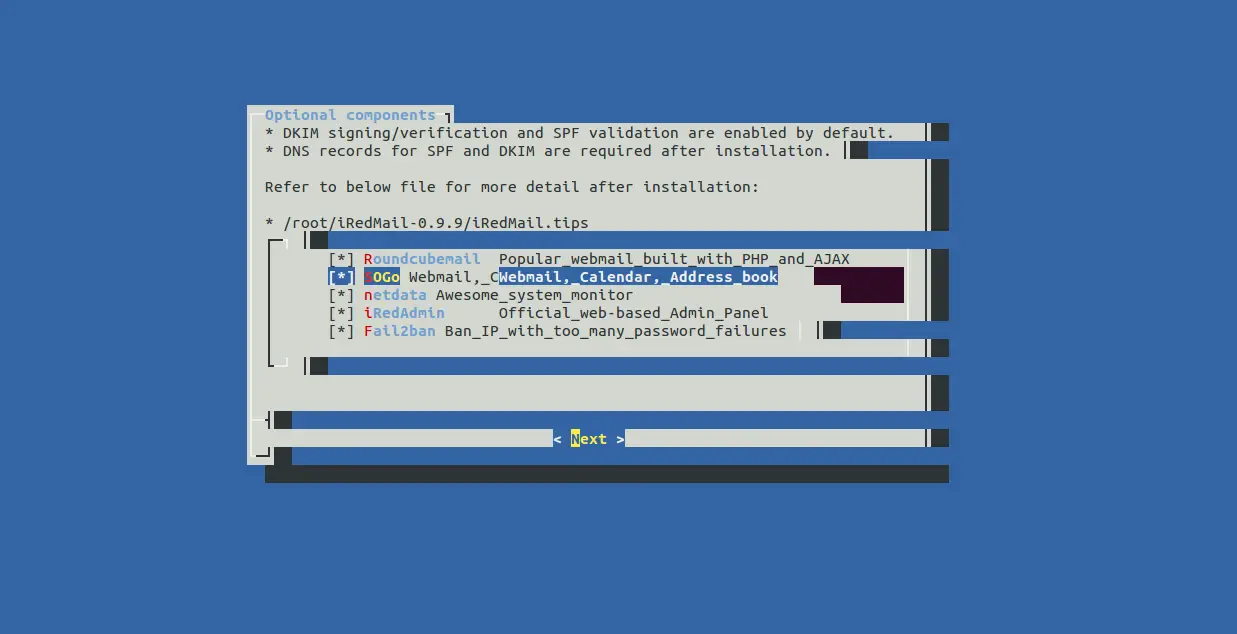
接下来,选择所有工具并单击“下一步”按钮。您应该会看到以下页面:
*************************************************************************
***************************** WARNING ***********************************
*************************************************************************
*                                                                       *
* Below file contains sensitive infomation (username/password), please  *
* do remember to *MOVE* it to a safe place after installation.          *
*                                                                       *
*   * /root/iRedMail-0.9.9/config
*                                                                       *
*************************************************************************
********************** Review your settings *****************************
*************************************************************************

* Storage base directory:               /var/vmail
* Mailboxes:
* Daily backup of SQL/LDAP databases:
* Store mail accounts in:               MariaDB
* Web server:                           Nginx
* First mail domain name:               example.com
* Mail domain admin:
* Additional components:                Roundcubemail SOGo netdata iRedAdmin Fail2ban

< Question > Continue? [y|N]y
现在,查看您选择的所有选项。然后,键入 y 并按 Enter 继续安装。安装成功完成后。您应该看到以下输出:
*************************************************************************
* iRedMail-0.9.9 installation and configuration complete.
*************************************************************************

< Question > Would you like to use firewall rules provided by iRedMail?
< Question > File: /etc/default/iptables, with SSHD ports: 22. [Y|n]n
[ INFO ] Skip firewall rules.
[ INFO ] Updating ClamAV database (freshclam), please wait ...
ERROR: /var/log/clamav/freshclam.log is locked by another process
********************************************************************
* URLs of installed web applications:
*
* - Roundcube webmail: https://test.example.com/mail/
* - SOGo groupware: https://test.example.com/SOGo/
* - netdata (monitor): https://test.example.com/netdata/
*
* - Web admin panel (iRedAdmin): https://test.example.com/iredadmin/
*
* You can login to above links with below credential:
*
* - Username:
* - Password: admin123
*
*
********************************************************************
* Congratulations, mail server setup completed successfully. Please
* read below file for more information:
*
*   - /root/iRedMail-0.9.9/iRedMail.tips
*
* And it's sent to your mail account
*
********************* WARNING **************************************
*
* Please reboot your system to enable all mail services.
*
********************************************************************
现在,使用以下命令重新启动服务器以启用所有邮件服务:
reboot接下来,您还需要在安装后删除 iRedMail 配置文件。因为,它包含用户名和密码。您可以使用以下命令删除它:
rm -rf /root/iRedMail-0.9.9/config您还可以使用以下命令检查日志:
tail -f /var/log/mail.log您应该看到以下输出:
May 25 03:24:26 ubuntu1804 postfix/master[2379]: daemon started -- version 3.3.0, configuration /etc/postfix
May 25 03:24:32 ubuntu1804 amavis[983]: starting. /usr/sbin/amavisd-new at test.example.com amavisd-new-2.11.0 (20160426), Unicode aware, LC_ALL="C", LANG="en_US.UTF-8"
May 25 03:24:37 ubuntu1804 amavis[2434]: Net::Server: Group Not Defined.  Defaulting to EGID '122 122'
May 25 03:24:37 ubuntu1804 amavis[2434]: Net::Server: User Not Defined.  Defaulting to EUID '118'
May 25 03:24:37 ubuntu1804 amavis[2434]: No ext program for   .F, tried: unfreeze, freeze -d, melt, fcat
May 25 03:24:37 ubuntu1804 amavis[2434]: No ext program for   .zoo, tried: zoo, unzoo
May 25 03:24:37 ubuntu1804 amavis[2434]: No decoder for       .F
May 25 03:24:37 ubuntu1804 amavis[2434]: No decoder for       .zoo
May 25 03:24:37 ubuntu1804 amavis[2434]: Using primary internal av scanner code for clamav-socket
May 25 03:24:37 ubuntu1804 amavis[2434]: Found secondary av scanner clamav-clamscan at /usr/bin/clamscan
接下来,您需要手动更新 ClamAV 数据库。
首先,使用以下命令停止 freshcalm 服务:
systemctl stop clamav-freshclam接下来,使用以下命令更新 ClamAV 数据库:
freshclam您应该看到以下输出:
Sat May 25 03:31:35 2019 -> ClamAV update process started at Sat May 25 03:31:35 2019
Sat May 25 03:31:35 2019 -> ^Your ClamAV installation is OUTDATED!
Sat May 25 03:31:35 2019 -> ^Local version: 0.100.3 Recommended version: 0.101.2
Sat May 25 03:31:35 2019 -> DON'T PANIC! Read https://www.clamav.net/documents/upgrading-clamav
Sat May 25 03:31:35 2019 -> main.cvd is up to date (version: 58, sigs: 4566249, f-level: 60, builder: sigmgr)
Sat May 25 03:37:55 2019 -> Downloading bytecode.cvd [100%]
Sat May 25 03:38:02 2019 -> bytecode.cvd updated (version: 328, sigs: 94, f-level: 63, builder: neo)
Sat May 25 03:38:03 2019 -> *Can't query bytecode.328.93.1.0.6810DB54.ping.clamav.net
Sat May 25 03:38:17 2019 -> Database updated (6146486 signatures) from db.local.clamav.net (IP: 104.16.219.84)
Sat May 25 03:38:17 2019 -> ^Clamd was NOT notified: Can't connect to clamd through /var/run/clamav/clamd.ctl: No such file or directory
您还可以阅读 /root/iRedMail-0.9.9/iRedMail.tips 文件以查找有关您的邮件服务器的更多信息。
完成后,您可以继续下一步。
访问 iRedMail Web 界面
iRedMail 现已安装和配置。是时候访问他们的网络界面了。
打开 Web 浏览器并输入 URL https://test.example.com/iredadmin。由于默认使用自签名证书,您可能会收到证书警告。您将被重定向到以下页面:
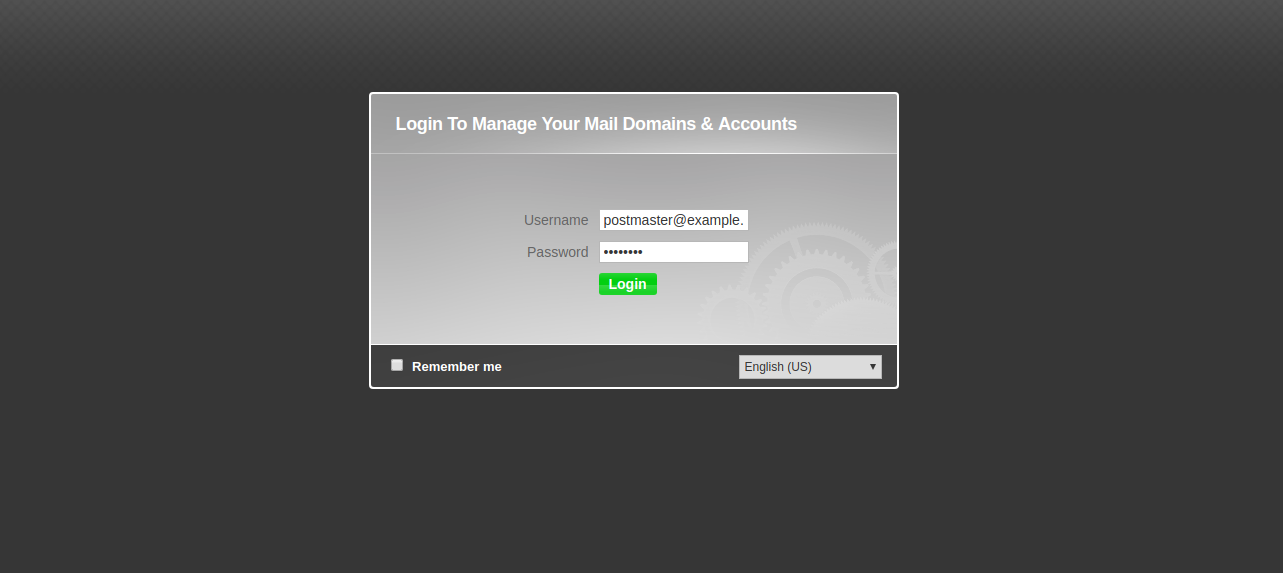
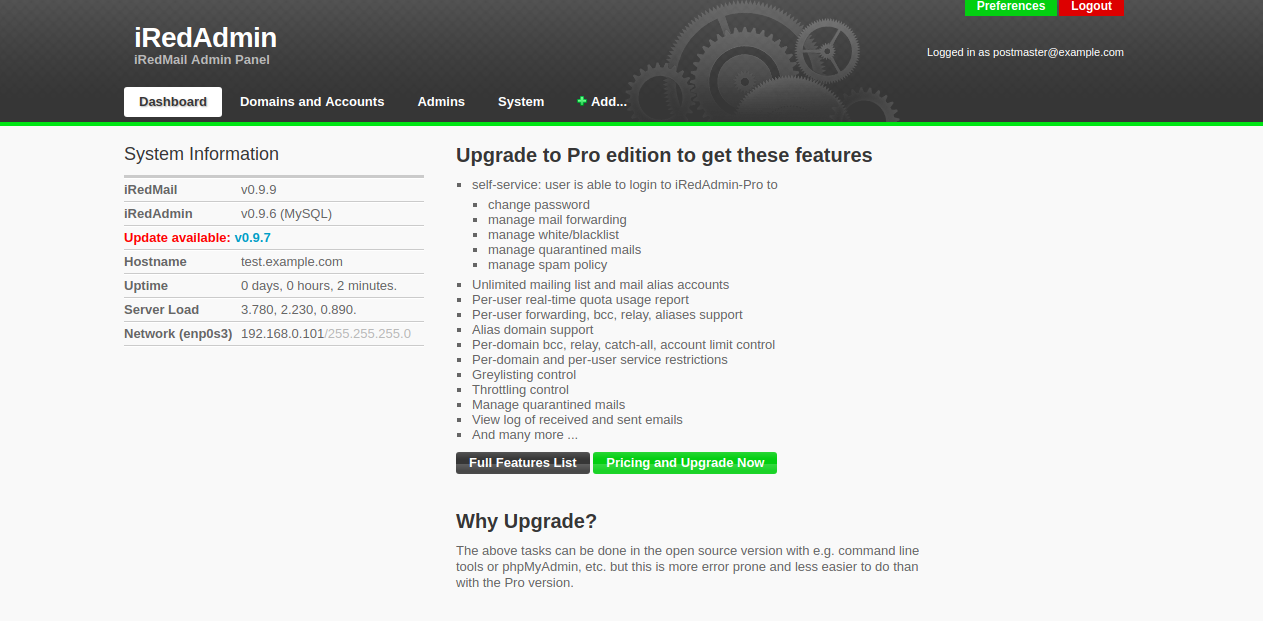
现在,提供您的用户名和密码。然后,单击“登录”按钮。您应该会看到以下页面:
您还可以访问 Roundcube webmail 以阅读安装后生成的电子邮件。键入 URL https://test.example.com/mail 以访问 Roundcube 网络邮件。
恭喜!您已在 Ubuntu 18.04 服务器上成功安装和配置 iRedMail。您现在可以通过 Web 浏览器轻松创建用户邮件帐户。如果您有任何问题,请随时问我。