如何在 CentOS 7 上使用 NGINX 安装 Bludit CMS
在此页
- 要求
- 先决条件
- 初始步骤
- 第 1 步 - 安装 PHP
- 第 2 步 - 安装 acme.sh 客户端并获取 Lets Encrypt 证书(可选)
- 第 3 步 - 安装和配置 NGINX
- 第 4 步 - 安装 Bludit
- 第 5 步 - 完成 Bludit 安装向导
- 链接
Bludit 是一种简单、快速、安全的平面文件 CMS,可让您在几秒钟内创建自己的网站或博客。它完全免费和开源。你可以在 Github 上浏览它的源代码。 Bludit 使用 JSON 格式的文件来存储内容,你不需要安装或配置数据库。您只需要一个支持 PHP 的 Web 服务器。 Bludit 整合了所有 SEO 工具来提高您在所有搜索引擎和社交网络中的排名。它具有丰富的主题和插件系统,您可以使用它们来更改站点的外观。在本教程中,我们将使用 NGINX 作为网络服务器,在 CentOS 7 系统上安装和设置 Bludit CMS。
要求
确保您的系统满足以下要求:
- PHP 5.3 版或更高版本,具有以下扩展名:mbstring、gd、dom 和 JSON。
- 一个支持 PHP 的网络服务器,例如 Nginx、Apache、Lighttpd、H2O。本教程将使用 NGINX。
先决条件
- 运行 CentOS 7 的系统。
- 具有 sudo 权限的非根用户。
初始步骤
检查您的 CentOS 版本:
cat /etc/centos-release
# CentOS Linux release 7.6.1810 (Core)
设置时区:
timedatectl list-timezones
sudo timedatectl set-timezone 'Region/City'
更新您的操作系统包(软件)。这是重要的第一步,因为它确保您拥有操作系统默认软件包的最新更新和安全修复程序:
sudo yum update -y安装 CentOS 操作系统基本管理所需的一些基本软件包:
sudo yum install -y curl wget vim git unzip socat bash-completion epel-release第 1 步 - 安装 PHP
设置 Webtatic YUM 仓库:
sudo rpm -Uvh https://mirror.webtatic.com/yum/el7/webtatic-release.rpm安装 PHP 以及必要的 PHP 扩展:
sudo yum install -y php72w php72w-cli php72w-fpm php72w-common php72w-mbstring php72w-zip php72w-pgsql php72w-sqlite3 php72w-curl php72w-gd php72w-mysql php72w-intl php72w-json php72w-opcache php72w-xml要显示在模块中编译的 PHP,您可以运行:
php -m

ctype
curl
exif
fileinfo
. . .
. . .
检查 PHP 版本:
php --version
# PHP 7.2.14 (cli) (built: Jan 12 2019 12:47:33) ( NTS )
# Copyright (c) 1997-2018 The PHP Group
# Zend Engine v3.0.0, Copyright (c) 1998-2017 Zend Technologies
#     with Zend OPcache v7.2.14, Copyright (c) 1999-2018, by Zend Technologies
启动并启用 PHP-FPM 服务:
sudo systemctl start php-fpm.service
sudo systemctl enable php-fpm.service
第 2 步 - 安装 acme.sh 客户端并获取 Lets Encrypt 证书(可选)
没有必要使用 HTTPS 保护您的网站,但这是保护您的网站流量的好习惯。为了从 Lets Encrypt 获得 TLS 证书,我们将使用 Acme.sh 客户端。 Acme.sh 是一个纯 Unix shell 软件,用于以零依赖从 Lets Encrypt 获取 TLS 证书。
下载并安装 Acme.sh:
sudo mkdir /etc/letsencrypt
git clone https://github.com/Neilpang/acme.sh.git
cd acme.sh
sudo ./acme.sh --install --home /etc/letsencrypt --accountemail
cd ~
检查 Acme.sh 版本:
/etc/letsencrypt/acme.sh --version
# v2.8.0
为您的域名/主机名获取 RSA 和 ECC/ECDSA 证书:
# RSA 2048
sudo /etc/letsencrypt/acme.sh --issue --standalone --home /etc/letsencrypt -d example.com --keylength 2048
# ECDSA
sudo /etc/letsencrypt/acme.sh --issue --standalone --home /etc/letsencrypt -d example.com --keylength ec-256运行上述命令后,您的证书和密钥将位于:
- 对于 RSA:/etc/letsencrypt/example.com 目录。
- 对于 ECC/ECDSA:/etc/letsencrypt/example.com_ecc 目录。
第 3 步 - 安装和配置 NGINX
从 CentOS 存储库下载并安装 Nginx:
sudo yum install -y nginx检查 Nginx 版本:
nginx -v
# nginx version: nginx/1.12.2
启动并启用 Nginx 服务:
sudo systemctl start nginx.service
sudo systemctl enable nginx.service
通过运行以下命令为 Bludit 配置 NGINX:
sudo vim /etc/nginx/conf.d/bludit.conf并使用以下配置填充文件:
server {
  listen 80;
  listen 443 ssl;

  ssl_certificate /etc/letsencrypt/example.com/fullchain.pem;
  ssl_certificate_key /etc/letsencrypt/example.com/private.key;
  ssl_certificate /etc/letsencrypt/example.com_ecc/fullchain.pem;
  ssl_certificate_key /etc/letsencrypt/example.com_ecc/private.key;

  server_name example.com;
  root /var/www/bludit;

  index index.php;

  location ~ \.php$ {
    fastcgi_pass 127.0.0.1:9000;
    fastcgi_index index.php;
    include fastcgi.conf;
  }

  location / {
    try_files $uri $uri/ /index.php?$args;
  }

  location ^~ /bl-content/tmp/ { deny all; }
  location ^~ /bl-content/pages/ { deny all; }
  location ^~ /bl-content/databases/ { deny all; }
}
检查 NGINX 配置是否存在语法错误:
sudo nginx -t重新加载 NGINX 服务:
sudo systemctl reload nginx.service第 4 步 - 安装 Bludit
创建 Bludit 应位于的文档根目录:
sudo mkdir -p /var/www/bludit
将 /var/www/bludit 目录的所有权更改为 [your_user]:
sudo chown -R [your_user]:[your_user] /var/www/bludit导航到文档根目录:
cd /var/www/bludit从官方页面下载最新版本并解压缩 zip 文件:
wget https://www.bludit.com/releases/bludit-3-8-1.zip
unzip bludit-3-8-1.zip
rm bludit-3-8-1.zip
mv bludit-3-8-1/* . && mv bludit-3-8-1/.* .
rmdir bludit-3-8-1注意:如果有更新的版本,请更新下载 URL。
提供适当的所有权:
sudo chown -R nginx:nginx /var/www/bludit运行 sudo vim /etc/php-fpm.d/www.conf 并将用户和组设置为 nginx。最初,它们将被设置为 apache:
sudo vim /etc/php-fpm.d/www.conf
# user = nginx
# group = nginx
重启 PHP-FPM 服务:
sudo systemctl restart php-fpm.service第 5 步 - 完成 Bludit 安装向导
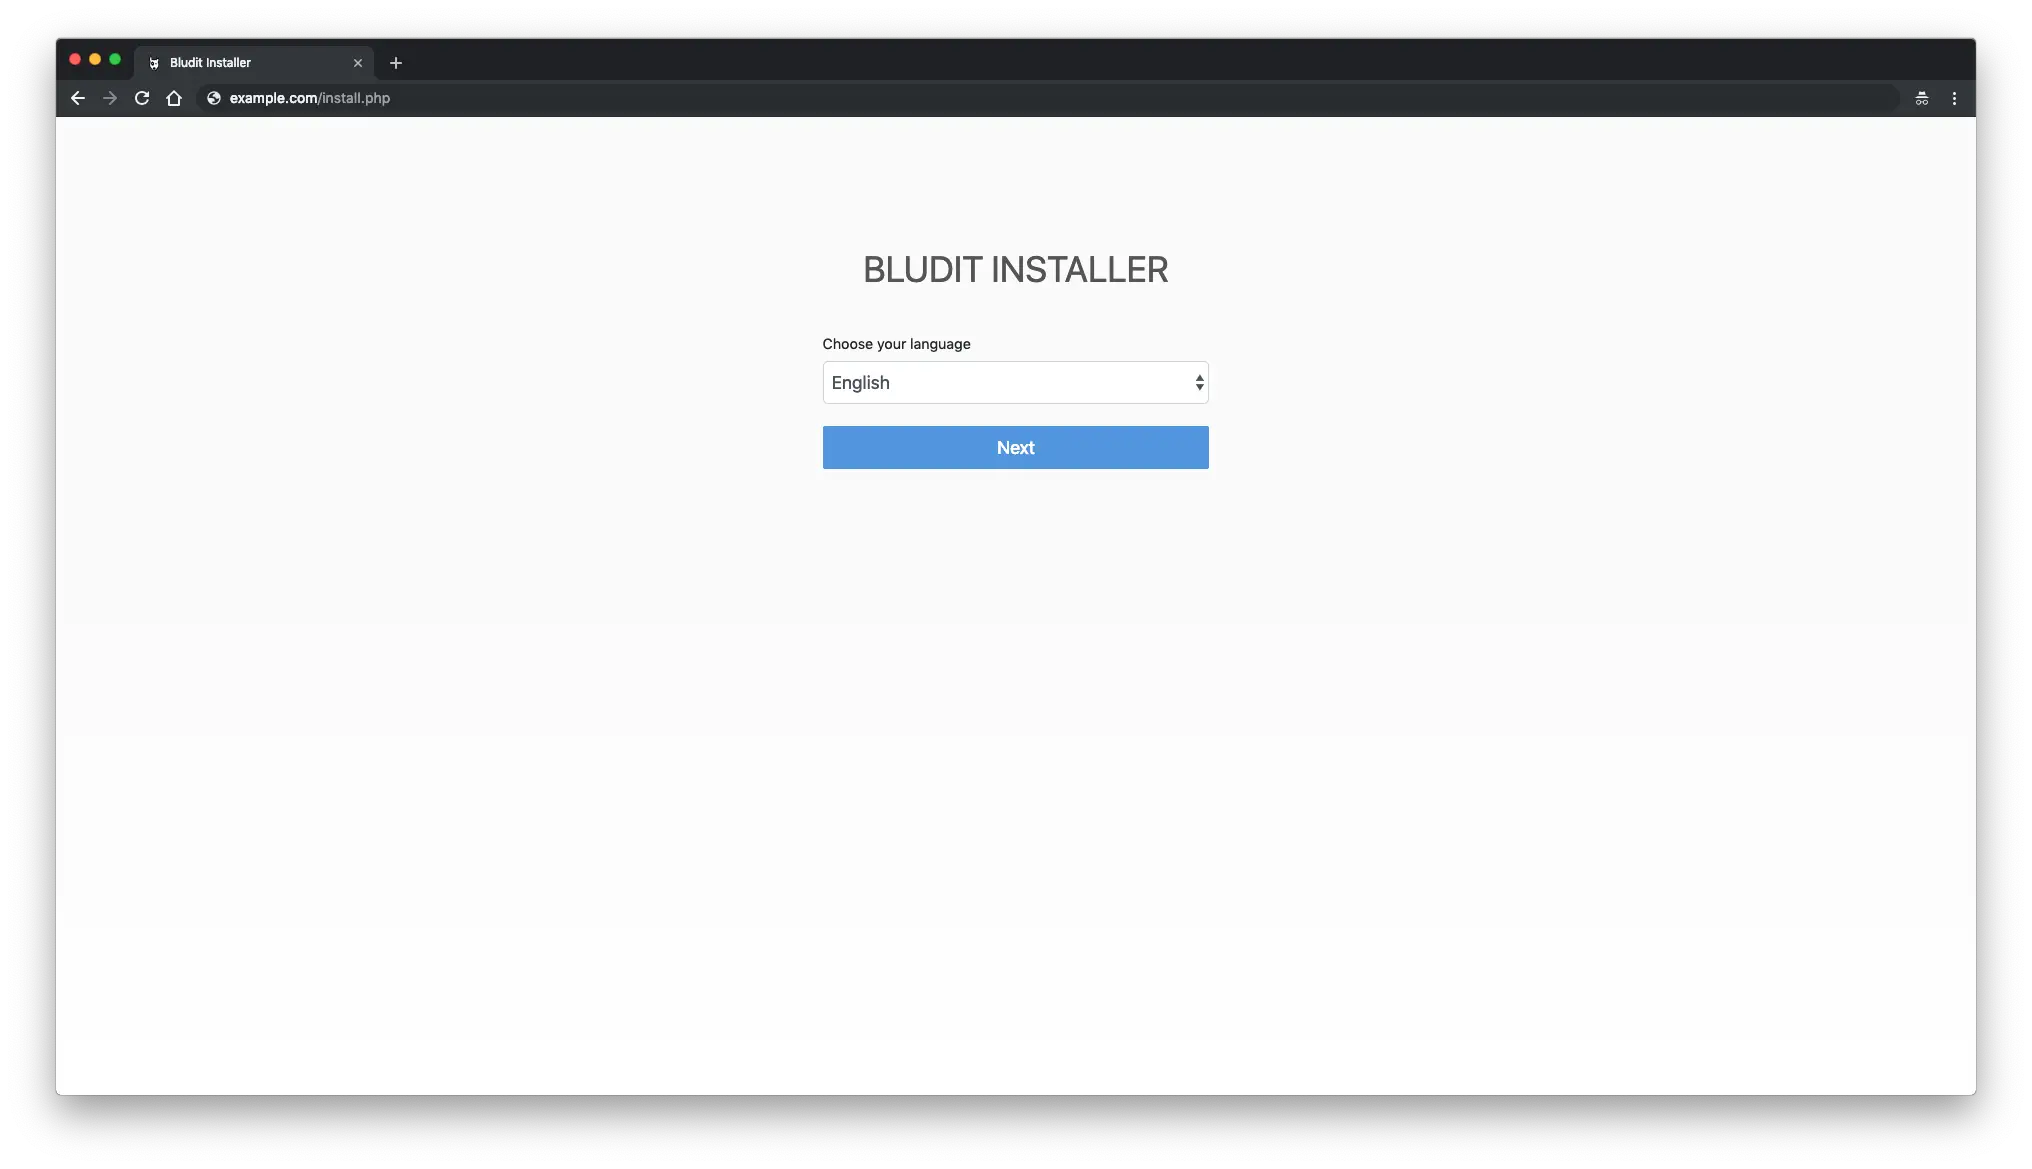
在网络浏览器中打开您的网站。在网络浏览器中打开您的网站后,您应该被重定向到以下页面,以选择您的语言:
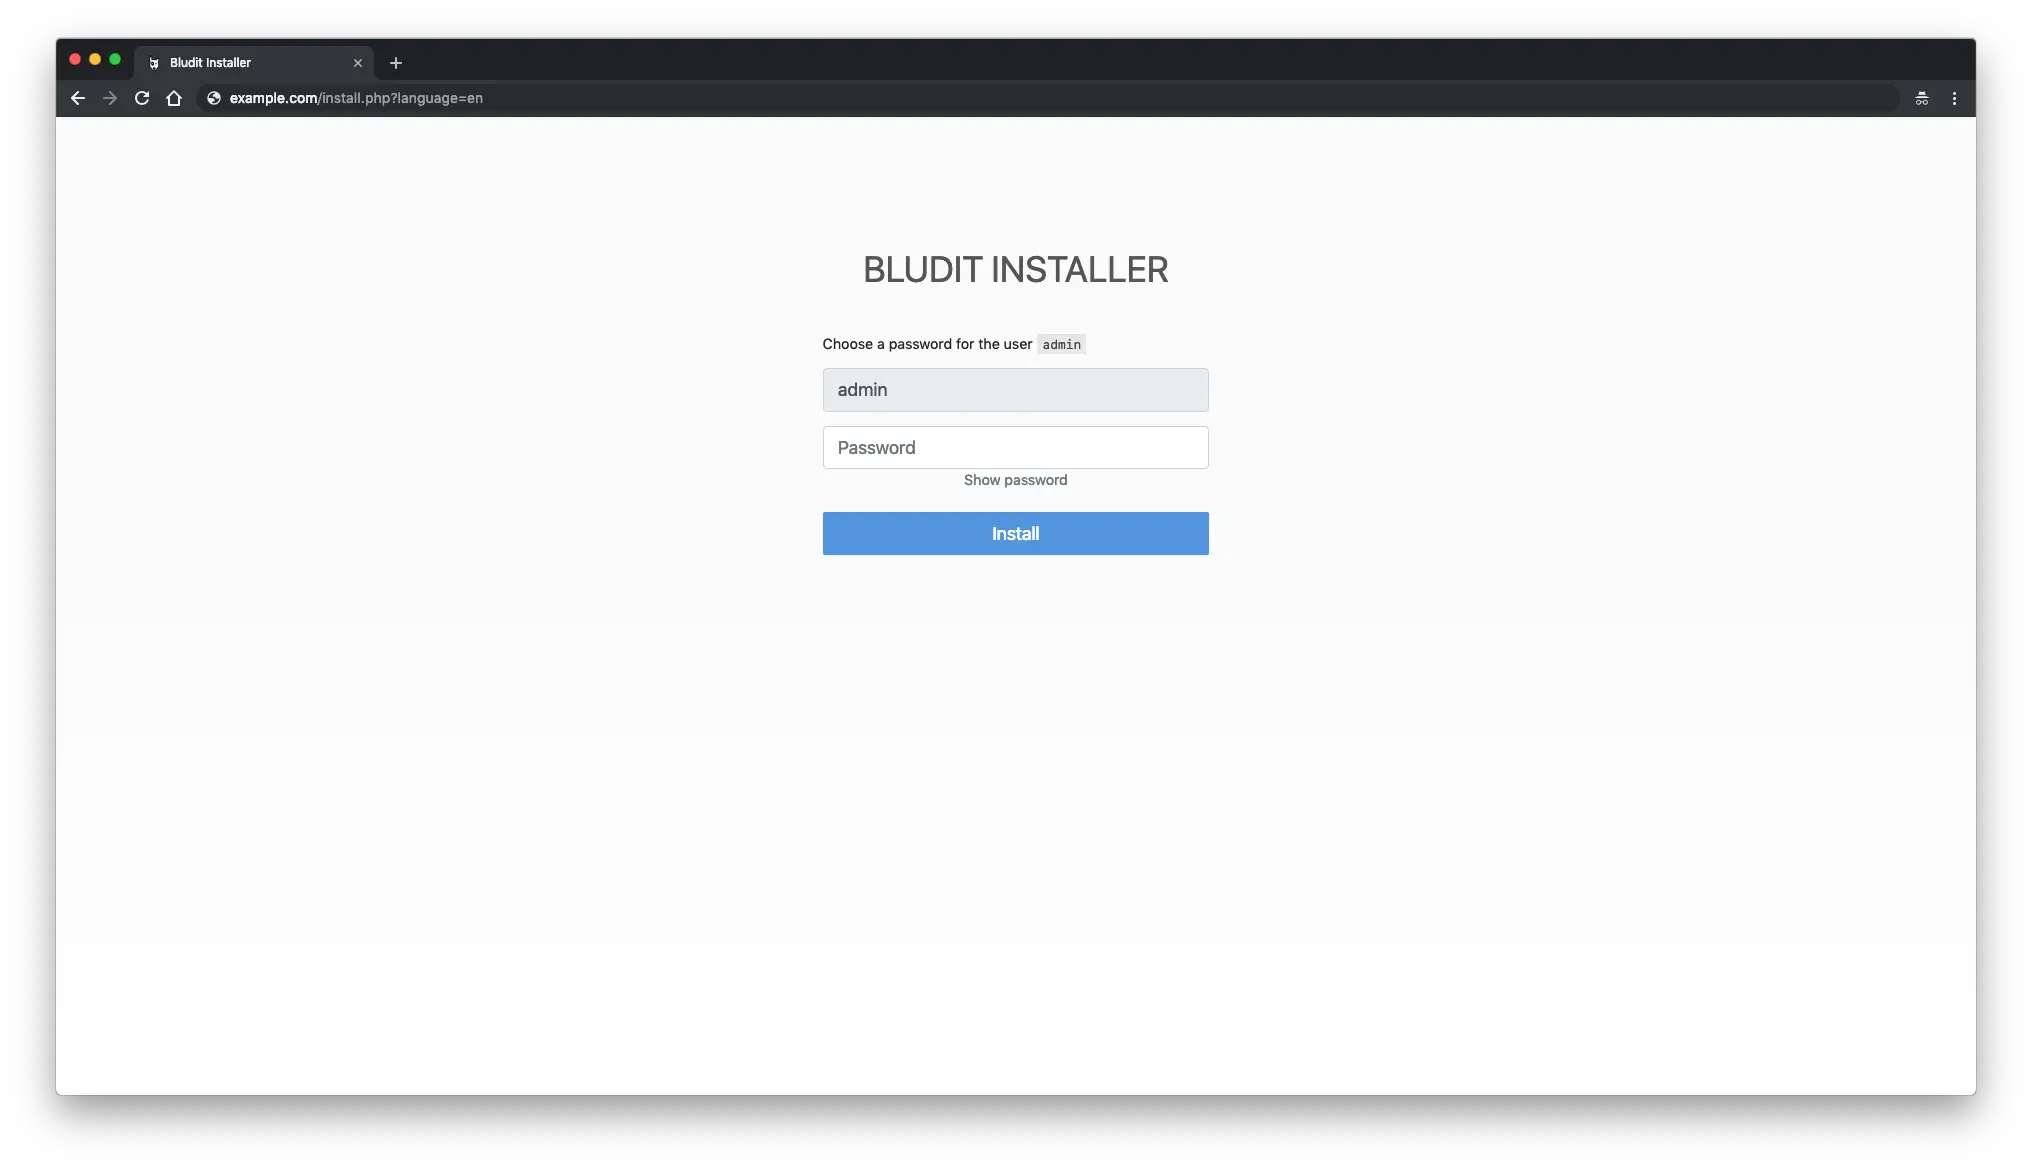
接下来,为用户 admin 创建一个密码,然后单击“安装”:
创建管理员密码后,您将被重定向到 Bludit 前端:

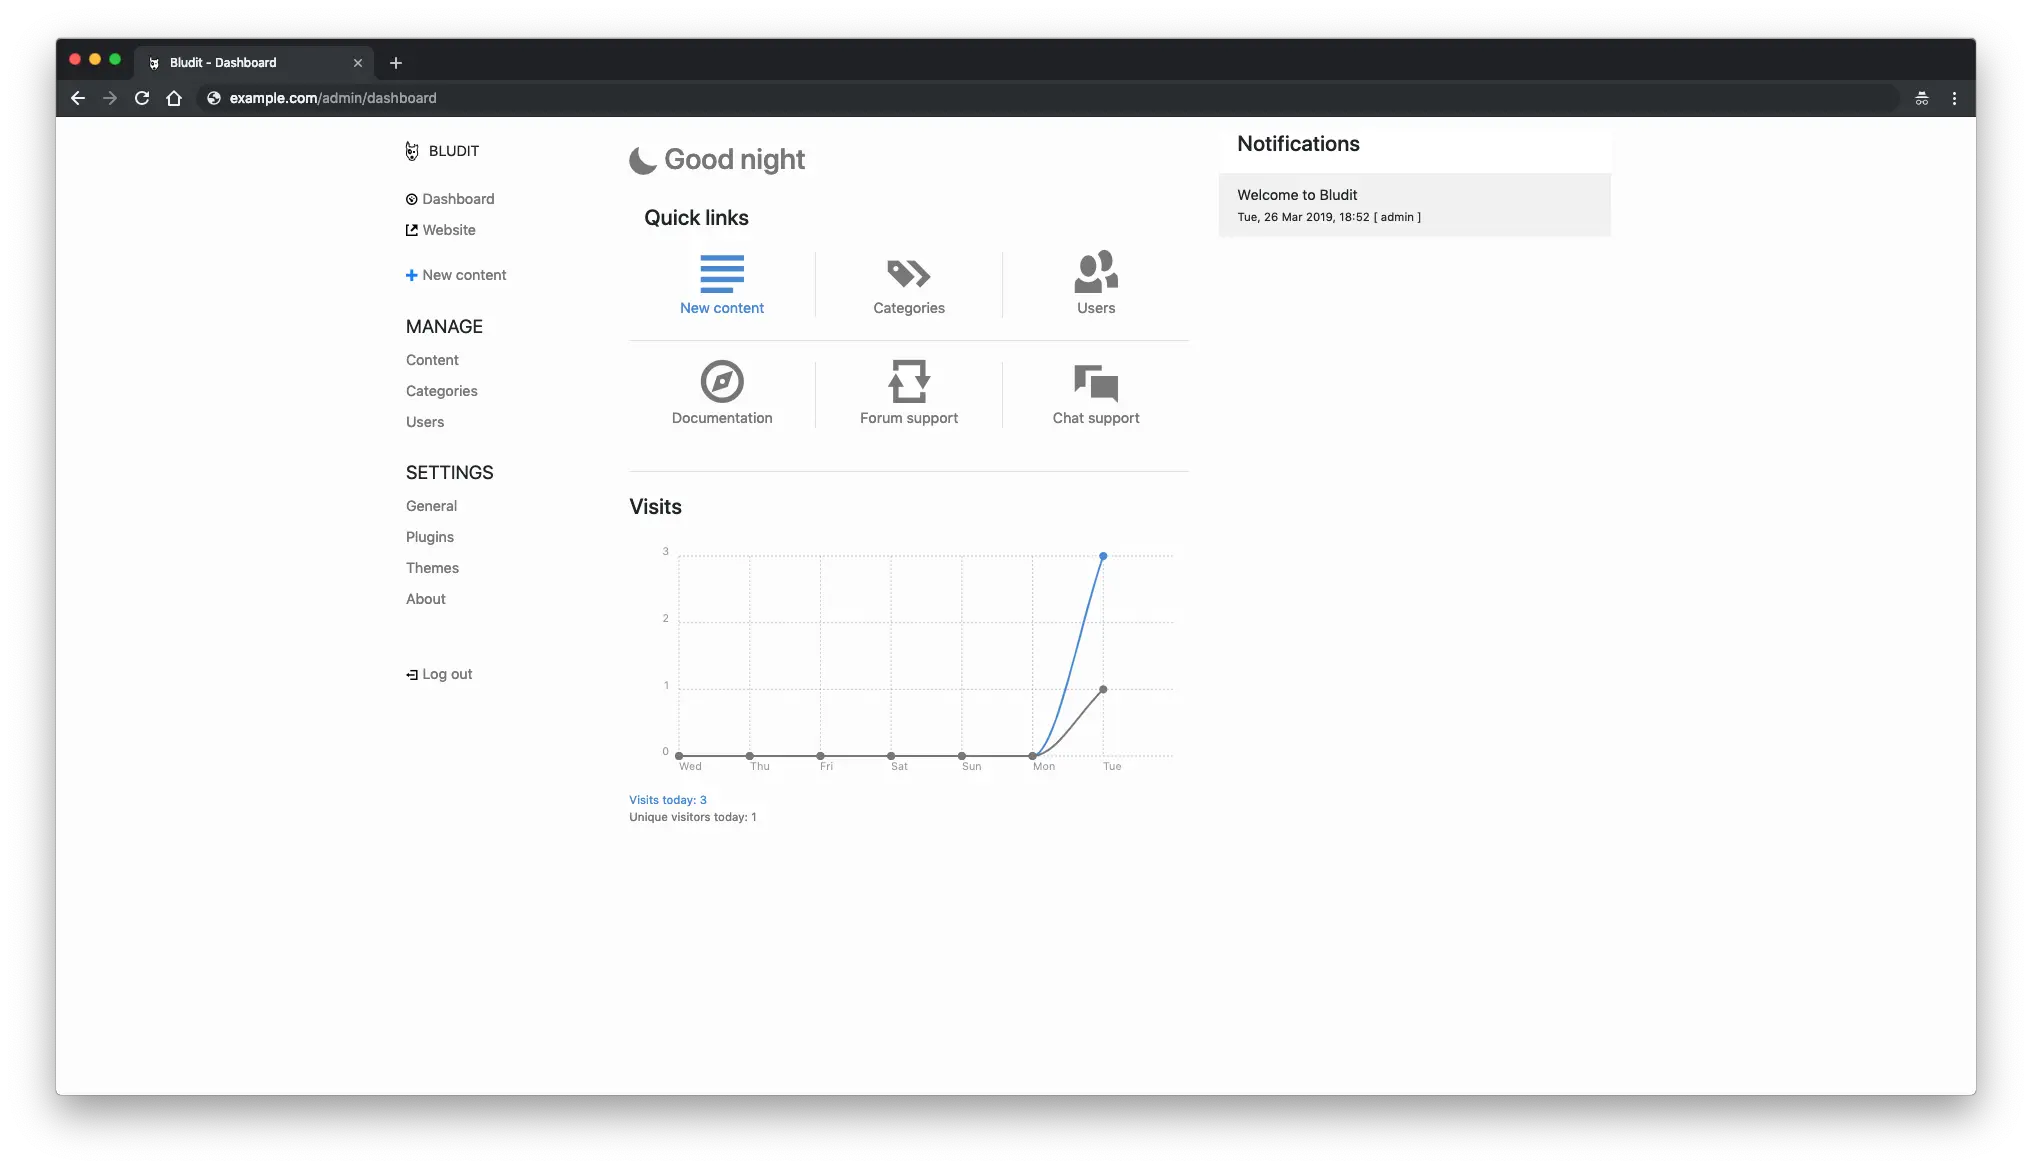
要访问 Bludit 管理区域,请将 /admin 添加到您的站点 IP 或 URL。这就是 Bludit 管理员的样子:
安装完成。使用 Bludit CMS 快乐地写博客。
链接
- <李>
- https://plugins.bludit.com/
- https://themes.bludit.com/
- https://github.com/bludit/bludit