如何使用 NGINX 安装 Shopware 并让我们在 Debian 9 上加密
在此页
- 要求
- 先决条件
- 初始步骤
- 第 1 步 - 安装 PHP 和 PHP 扩展
- )
- 第 3 步 - 安装 MariaDB 并为 Shopware 创建数据库
- 第 4 步 - 安装 Acme.sh 客户端并获取 Lets Encrypt 证书(可选)
- 第 5 步 - 安装和配置 NGINX
- 第 6 步 - 安装 Shopware
- 第 7 步 - 完成 Shopware 设置
- 链接
Shopware是一款应用广泛的专业开源电子商务软件。基于 Symfony 3、Doctrine2 和 Zend Framework 等前沿技术,Shopware 成为您下一个电子商务项目的完美平台。本教程将向您展示如何使用 NGINX 作为 Web 服务器在 Debian 9 系统上安装 Shopware Community Edition (CE),以及如何使用免费的 Lets encrypt SSL 证书保护网站。
要求
确保您的系统满足以下最低要求:
- 基于 Linux 的操作系统,安装了 NGINX 或 Apache 2.x(带 mod_rewrite)网络服务器。
- PHP 5.6.4 或更高版本,带有 ctype、gd、curl、dom、hash、iconv、zip、json、mbstring、openssl、session、simplexml、xml、zlib、fileinfo 和 pdo/mysql 扩展。强烈推荐 PHP 7.1 或更高版本。
- MySQL 5.5.0 或更高版本。
- 可以设置 cron 作业。
- 至少 4 GB 可用硬盘空间。
- IonCube Loader 版本 5.0.0 或更高版本(可选)。
注意:Shopware 目前最高兼容 PHP 7.2.x。
先决条件
- 运行 Debian 9 的操作系统。
- 具有 sudo 权限的非根用户。
初始步骤
检查您的 Debian 版本:
lsb_release -ds
# Debian GNU/Linux 9.8 (stretch)
设置时区:
sudo dpkg-reconfigure tzdata更新您的操作系统包(软件)。这是重要的第一步,因为它确保您拥有操作系统默认软件包的最新更新和安全修复程序:
sudo apt update && sudo apt upgrade -y安装 Debian 操作系统基本管理所需的一些基本软件包:
sudo apt install -y curl wget vim git unzip socat apt-transport-https第 1 步 - 安装 PHP 和 PHP 扩展
安装 PHP,以及 Shopware 必要的 PHP 扩展:
sudo apt install -y php7.0 php7.0-cli php7.0-fpm php7.0-common php7.0-mysql php7.0-curl php7.0-json php7.0-zip php7.0-gd php7.0-xml php7.0-mbstring php7.0-opcache要显示在模块中编译的 PHP,您可以运行:
php -m

ctype
curl
exif
fileinfo
. . .
. . .
检查 PHP 版本:
php --version

# PHP 7.0.30-0+deb9u1 (cli) (built: Jun 14 2018 13:50:25) ( NTS )
# Copyright (c) 1997-2018 The PHP Group
# Zend Engine v3.2.0, Copyright (c) 1998-2018 Zend Technologies
#     with Zend OPcache v7.2.15-0debian0.18.04.1, Copyright (c) 1999-2018, by Zend Technologies
PHP-FPM服务在Debian 9系统重启时自动启动启用,无需手动启动启用。我们可以继续下一步,即 IonCube Loader 安装。
第 2 步 - 安装 IonCube Loader(可选)
下载 IonCube 加载器:
cd /tmp && wget https://downloads.ioncube.com/loader_downloads/ioncube_loaders_lin_x86-64.tar.gz提取加载程序:
tar xfz ioncube_loaders_lin_*.gz通过运行以下命令在系统上找到 PHP 扩展目录:
php -i | grep extension_dir
# extension_dir => /usr/lib/php/20170718 => /usr/lib/php/20170718
将 ionCube Loader 复制到 PHP 扩展目录中:
sudo cp /tmp/ioncube/ioncube_loader_lin_7.0.so /usr/lib/php/20170718/通过 PHP 配置包含加载程序:
sudo vim /etc/php/7.0/fpm/php.ini然后在文件中添加一行以包含 ionCube 加载器。它可以在 [PHP] 行下面的文件中的任何位置:
zend_extension = /usr/lib/php/20170718/ioncube_loader_lin_7.0.so保存文件并重启 PHP-FPM:
sudo systemctl restart php7.0-fpm.service第 3 步 - 安装 MariaDB 并为 Shopware 创建数据库
安装 MariaDB 数据库服务器:
sudo apt install -y mariadb-server检查 MariaDB 版本:
mysql --version
# mysql  Ver 14.14 Distrib 5.7.26, for Linux (x86_64) using  EditLine wrapper
运行 mysql_secure 安装脚本以提高 MariaDB 安全性并为 MariaDB root 用户设置密码:
sudo mysql_secure_installation回答每个问题:
Would you like to setup VALIDATE PASSWORD plugin? N
New password: your_secure_password
Re-enter new password: your_secure_password
Remove anonymous users? [Y/n] Y
Disallow root login remotely? [Y/n] Y
Remove test database and access to it? [Y/n] Y
Reload privilege tables now? [Y/n] Y
以 root 用户身份连接到 MariaDB shell:
sudo mysql -u root -p
# Enter password
为 Shopware 创建一个空的 MariaDB 数据库和用户并记住凭据:
mysql> CREATE DATABASE dbname;
mysql> GRANT ALL ON dbname.* TO 'username' IDENTIFIED BY 'password';
mysql> FLUSH PRIVILEGES;
退出 MariaDB:
mysql> exit将 dbname、username 和 password 替换为您自己的名称。
第 4 步 - 安装 Acme.sh 客户端并获取 Lets Encrypt 证书(可选)
没有必要使用 HTTPS 保护您的网站,但这是保护您的网站流量的好习惯。为了从 Lets Encrypt 获得 TLS 证书,我们将使用 Acme.sh 客户端。 Acme.sh 是一个纯 Unix shell 软件,用于零依赖地从 Lets Encrypt 获取 TLS 证书。
下载并安装 acme.sh:
sudo su - root
git clone https://github.com/Neilpang/acme.sh.git
cd acme.sh
./acme.sh --install --accountemail
source ~/.bashrc
cd ~
检查 acme.sh 版本:
acme.sh --version
# v2.8.1
为您的域/主机名获取 RSA 和 ECC/ECDSA 证书:<br>
# RSA 2048
acme.sh --issue --standalone -d example.com --keylength 2048
# ECDSA
acme.sh --issue --standalone -d example.com --keylength ec-256
如果你想要假证书进行测试,你可以在上面的命令中添加 --staging 标志。
运行上述命令后,您的证书 和密钥 将位于:
- 对于 RSA:
/home/username/example.com 目录。 - 对于 ECC/ECDSA:
/home/username/example.com_ecc 目录。
要列出您颁发的证书,您可以运行:
acme.sh --list创建一个目录来存储您的证书。我们将使用目录 /etc/letsencrypt.
mkdir -p /etc/letsecnrypt/example.com
sudo mkdir -p /etc/letsencrypt/example.com_ecc
安装/复制证书到 /etc/letsencrypt 目录。
# RSA
acme.sh --install-cert -d example.com --cert-file /etc/letsencrypt/example.com/cert.pem --key-file /etc/letsencrypt/example.com/private.key --fullchain-file /etc/letsencrypt/example.com/fullchain.pem --reloadcmd "sudo systemctl reload nginx.service"
# ECC/ECDSA
acme.sh --install-cert -d example.com --ecc --cert-file /etc/letsencrypt/example.com_ecc/cert.pem --key-file /etc/letsencrypt/example.com_ecc/private.key --fullchain-file /etc/letsencrypt/example.com_ecc/fullchain.pem --reloadcmd "sudo systemctl reload nginx.service"
所有证书将每 60 天自动更新一次。
获得证书后,从 root 用户退出并返回到普通 sudo 用户:
exit第 5 步 - 安装和配置 NGINX
安装 NGINX 网络服务器:
sudo apt install -y nginx检查 NGINX 版本:
sudo nginx -v
# nginx version: nginx/1.10.3
为 Shopware 配置 NGINX。运行 sudo vim /etc/nginx/sites-available/shopware.conf 并添加以下配置:
server {
    listen 80;
    listen 443 ssl;

    ssl_certificate /etc/letsencrypt/example.com/fullchain.pem;
    ssl_certificate_key /etc/letsencrypt/example.com/private.key;
    ssl_certificate /etc/letsencrypt/example.com_ecc/fullchain.pem;
    ssl_certificate_key /etc/letsencrypt/example.com_ecc/private.key;

    server_name example.com;
    root /var/www/shopware;

    index shopware.php index.php;

    location / {
        try_files $uri $uri/ /shopware.php$is_args$args;
    }

    location /recovery/install {
      index index.php;
      try_files $uri /recovery/install/index.php$is_args$args;
    }

    location ~ \.php$ {
        include snippets/fastcgi-php.conf;
        fastcgi_pass unix:/var/run/php/php7.0-fpm.sock;
    }
}
通过将文件链接到 sites-enabled 目录 来激活新的 shopware.conf 配置:
sudo ln -s /etc/nginx/sites-available/shopware.conf /etc/nginx/sites-enabled检查 NGINX 配置是否存在语法错误:
sudo nginx -t重新加载 NGINX 服务:
sudo systemctl reload nginx.service第 6 步 - 安装 Shopware
为 Shopware 创建文档根目录:
sudo mkdir -p /var/www/shopware将 /var/www/shopware 目录的所有权更改为 {jour_user}:
sudo chown -R {your_user}:{your_user} /var/www/shopware导航到文档根目录:
cd /var/www/shopware通过 wget 下载并解压最新的 Shopware 版本:
wget https://releases.shopware.com/install_5.5.8_d5bf50630eeaacc6679683e0ab0dcba89498be6d.zip?_ga=2.141661361.269357371.1556739808-1418008019.1556603459 -O shopware.zip
unzip shopware.zip
rm shopware.zip注意:如果有更新的版本,请更新下载 URL。
将 /var/www/shopware 目录的所有权更改为 www-data.
sudo chown -R www-data:www-data /var/www/shopware增加memory_limit=256M 和upload_max_filesize=6M,如果/etc/php/7.0/fpm/php.ini 文件中没有设置allow_url_fopen=On。 /代码>
sudo vim /etc/php/7.0/fpm/php.ini在 /etc/php/7.0/fpm/php.ini 文件中进行更改后,重新加载 php7.0-fpm.service:
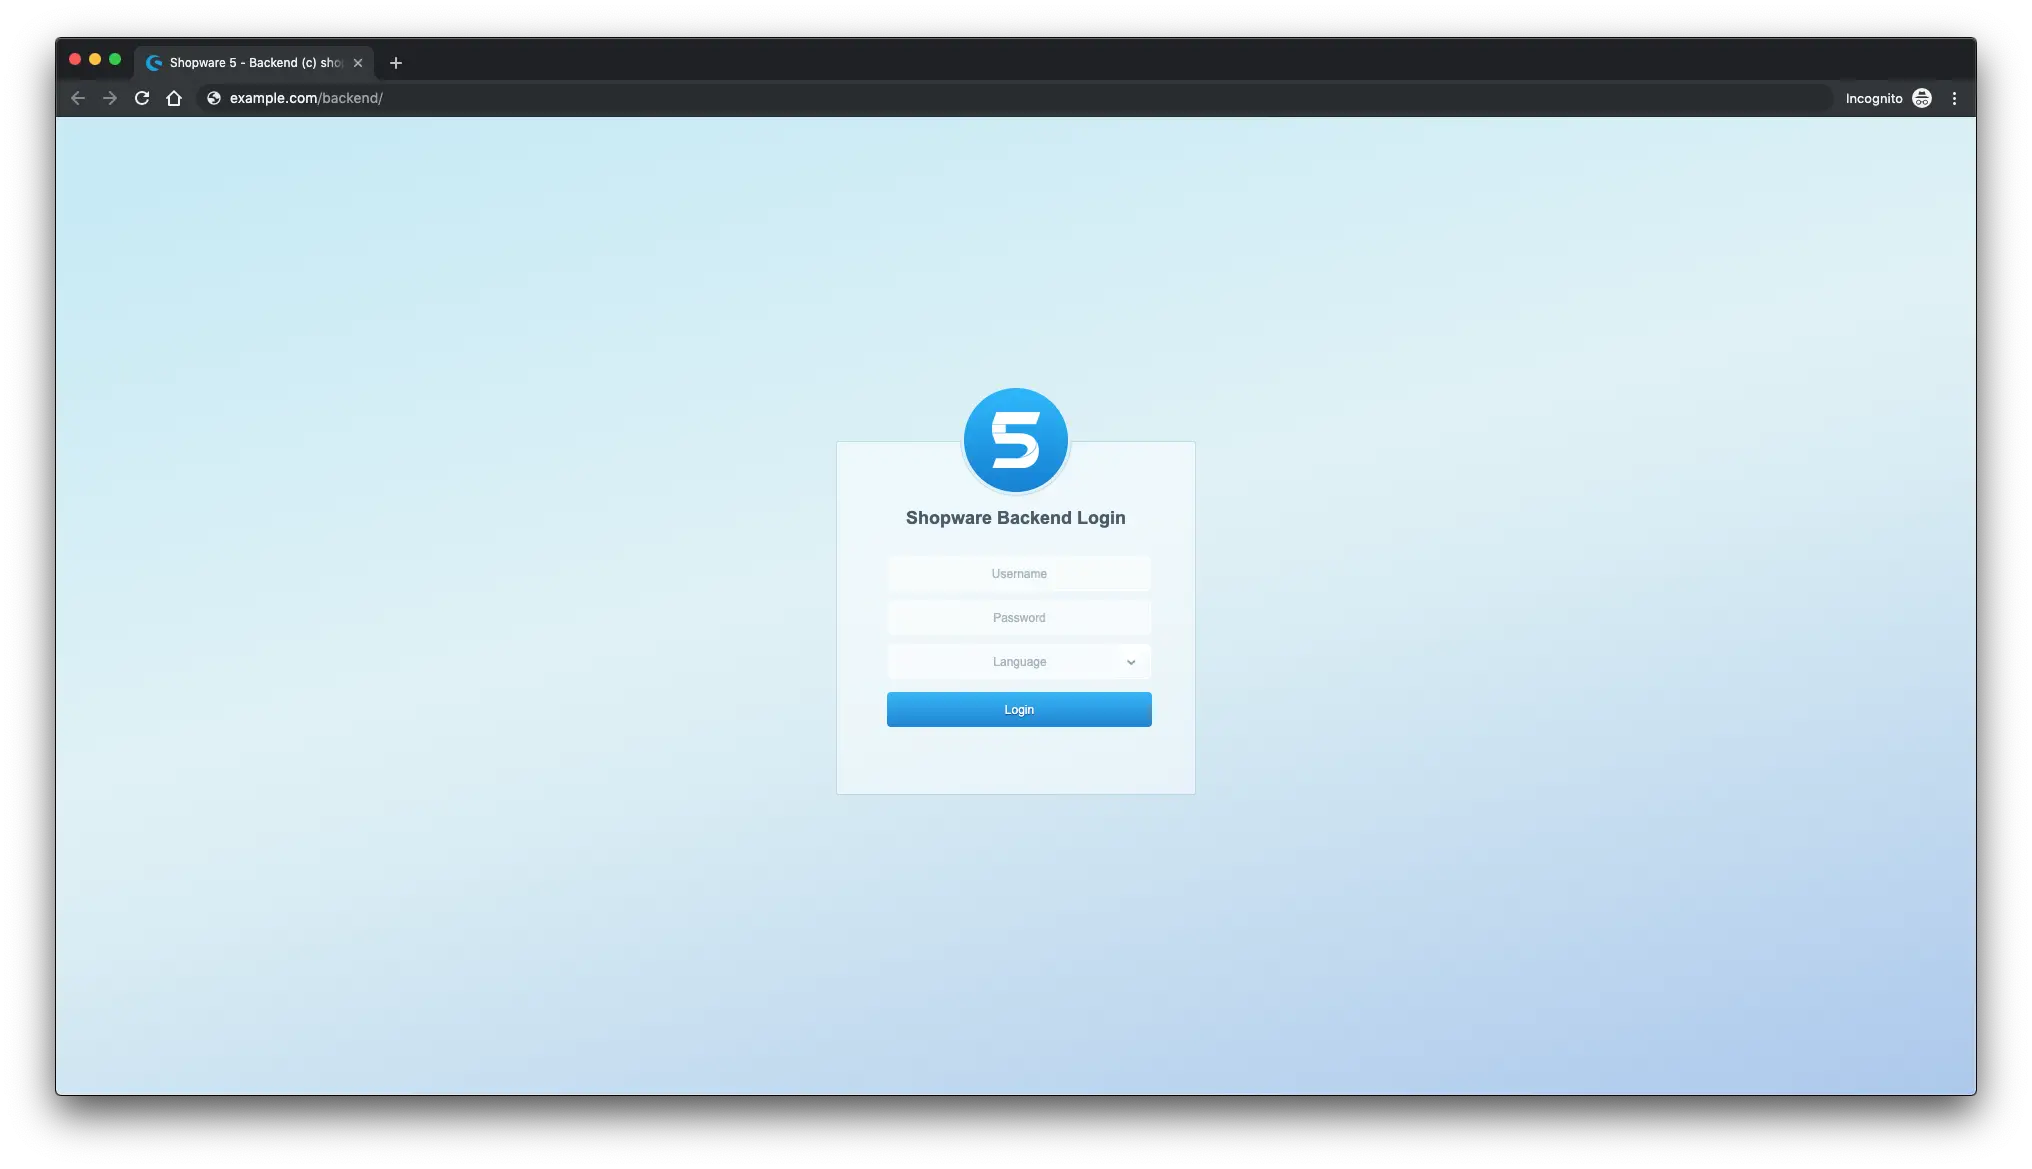
sudo systemctl reload php7.0-fpm.service在 Web 浏览器中打开您的域/IP,然后按照安装向导进行操作。 Shopware 的后端位于 /backend example: http://example.com/backend.
第 7 步 - 完成 Shopware 设置
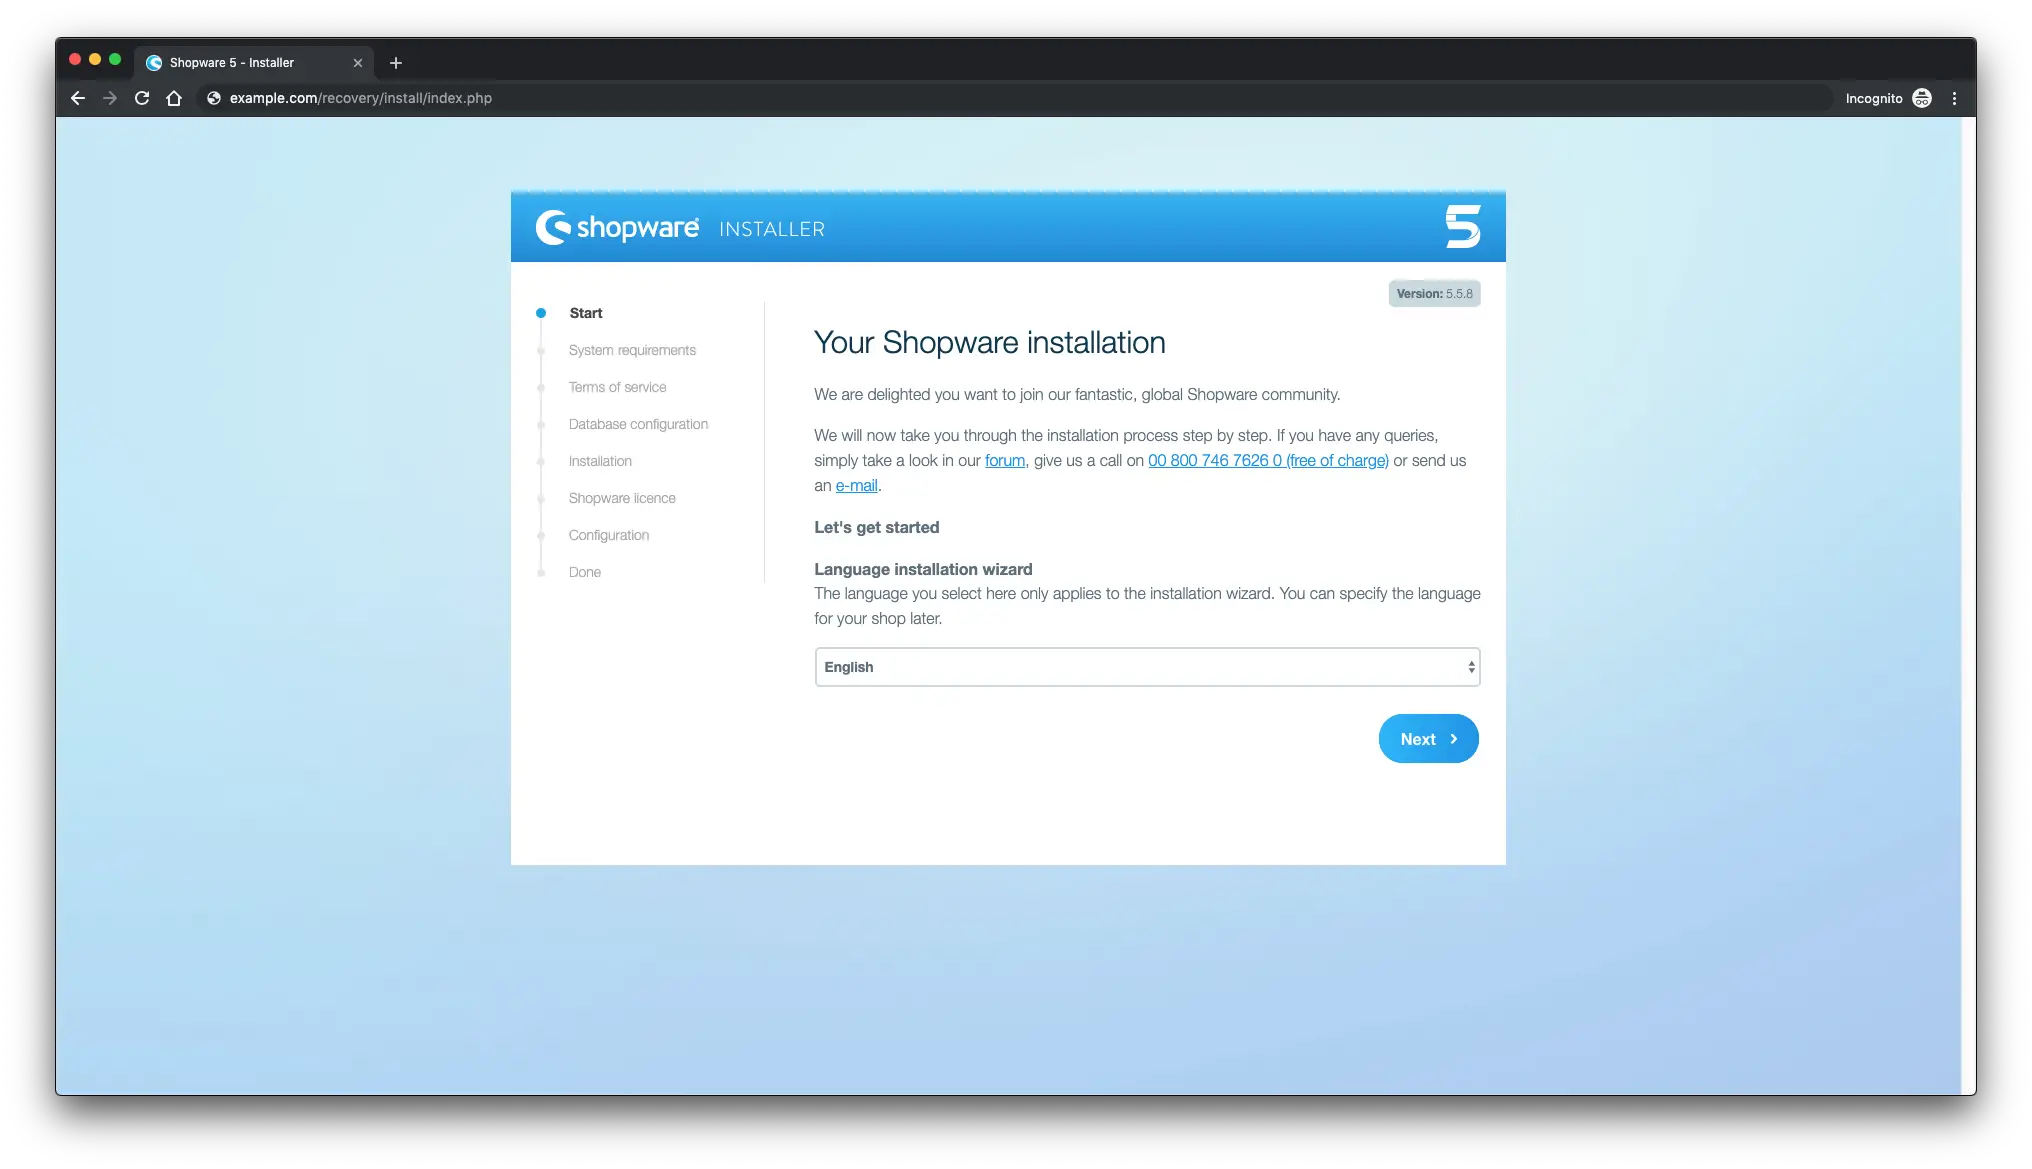
首先选择语言,然后单击下一步:
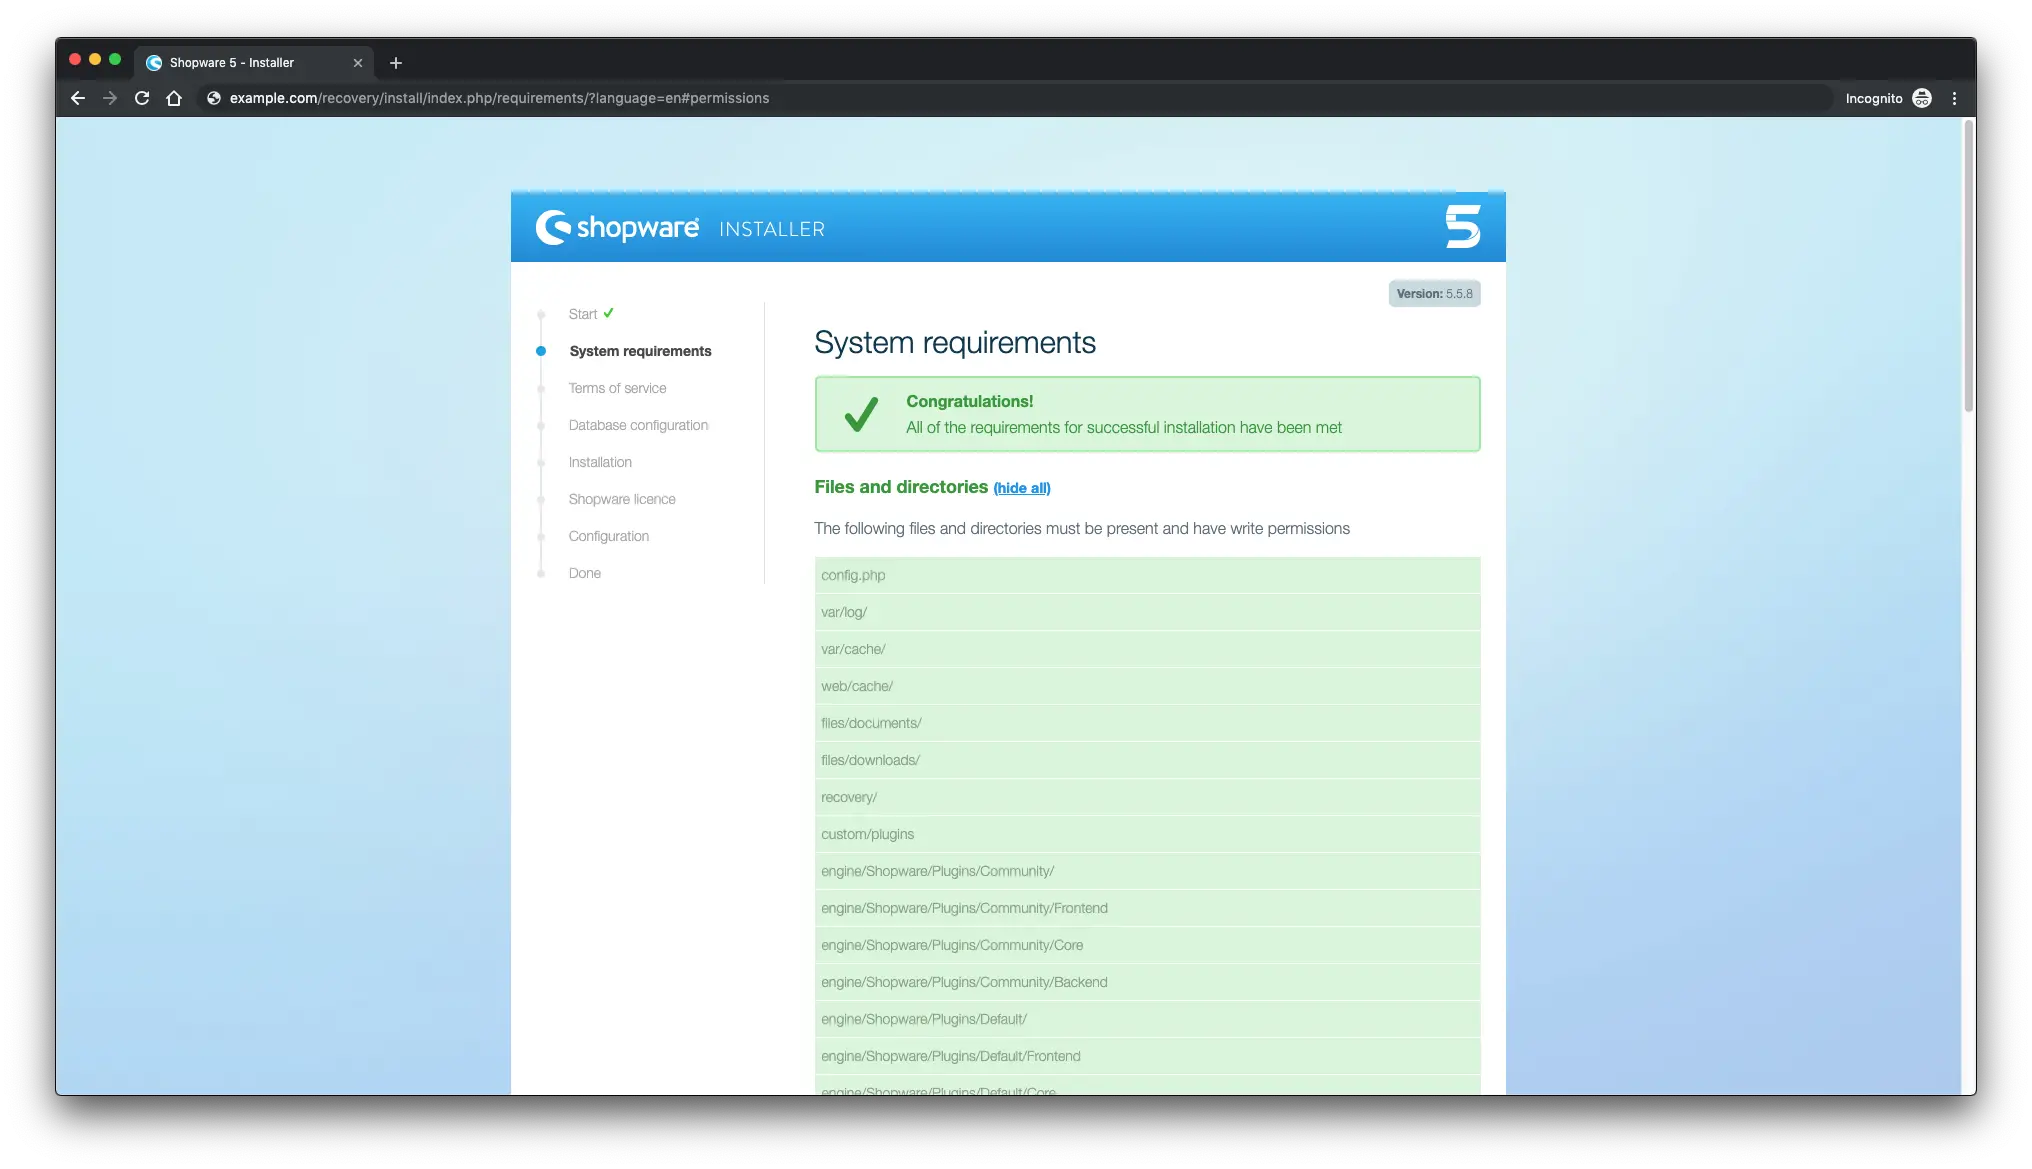
接下来,确保您满足所有 Shopware 要求:
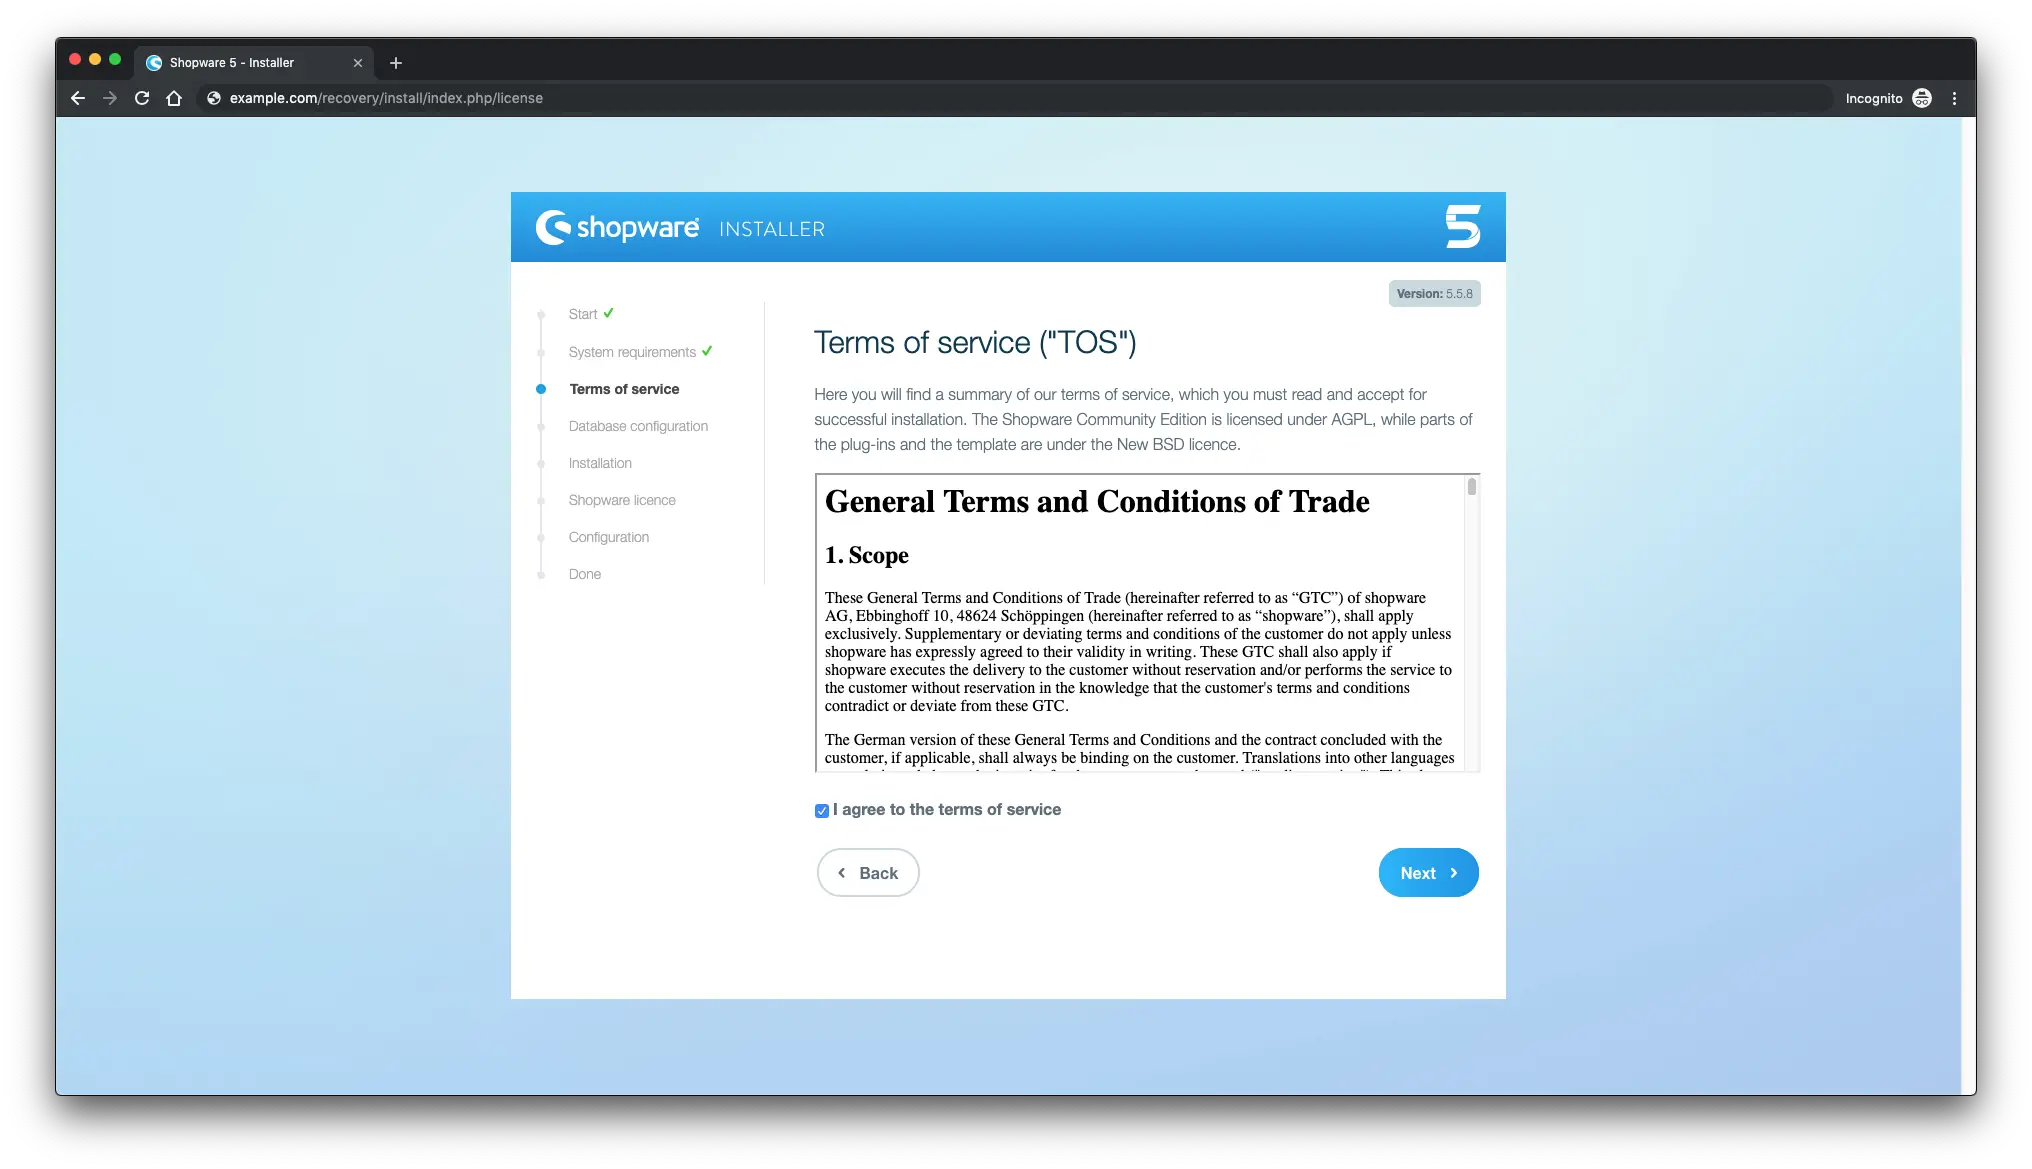
同意 Shopware TOS 并单击下一步:
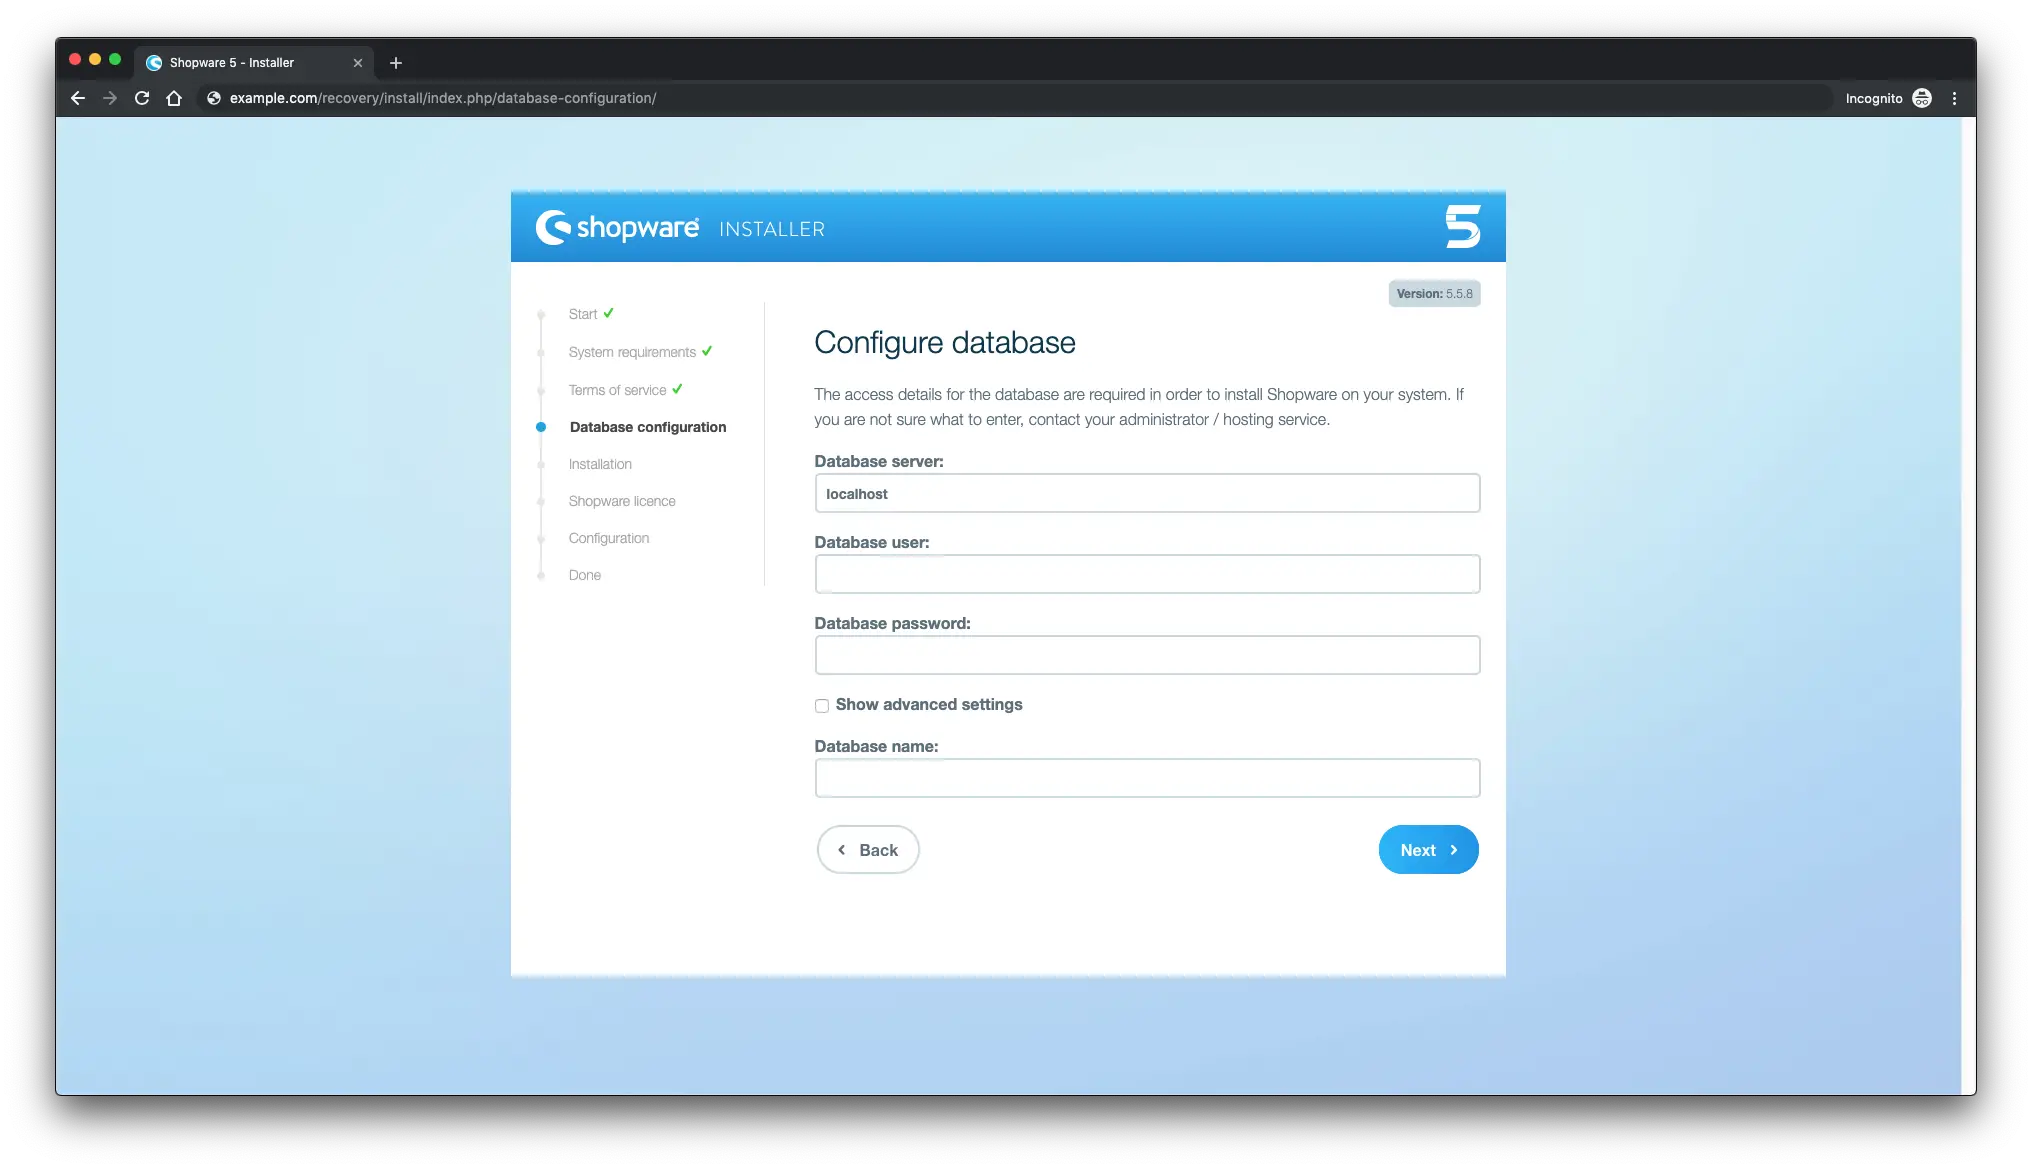
输入数据库凭据,然后单击下一步:
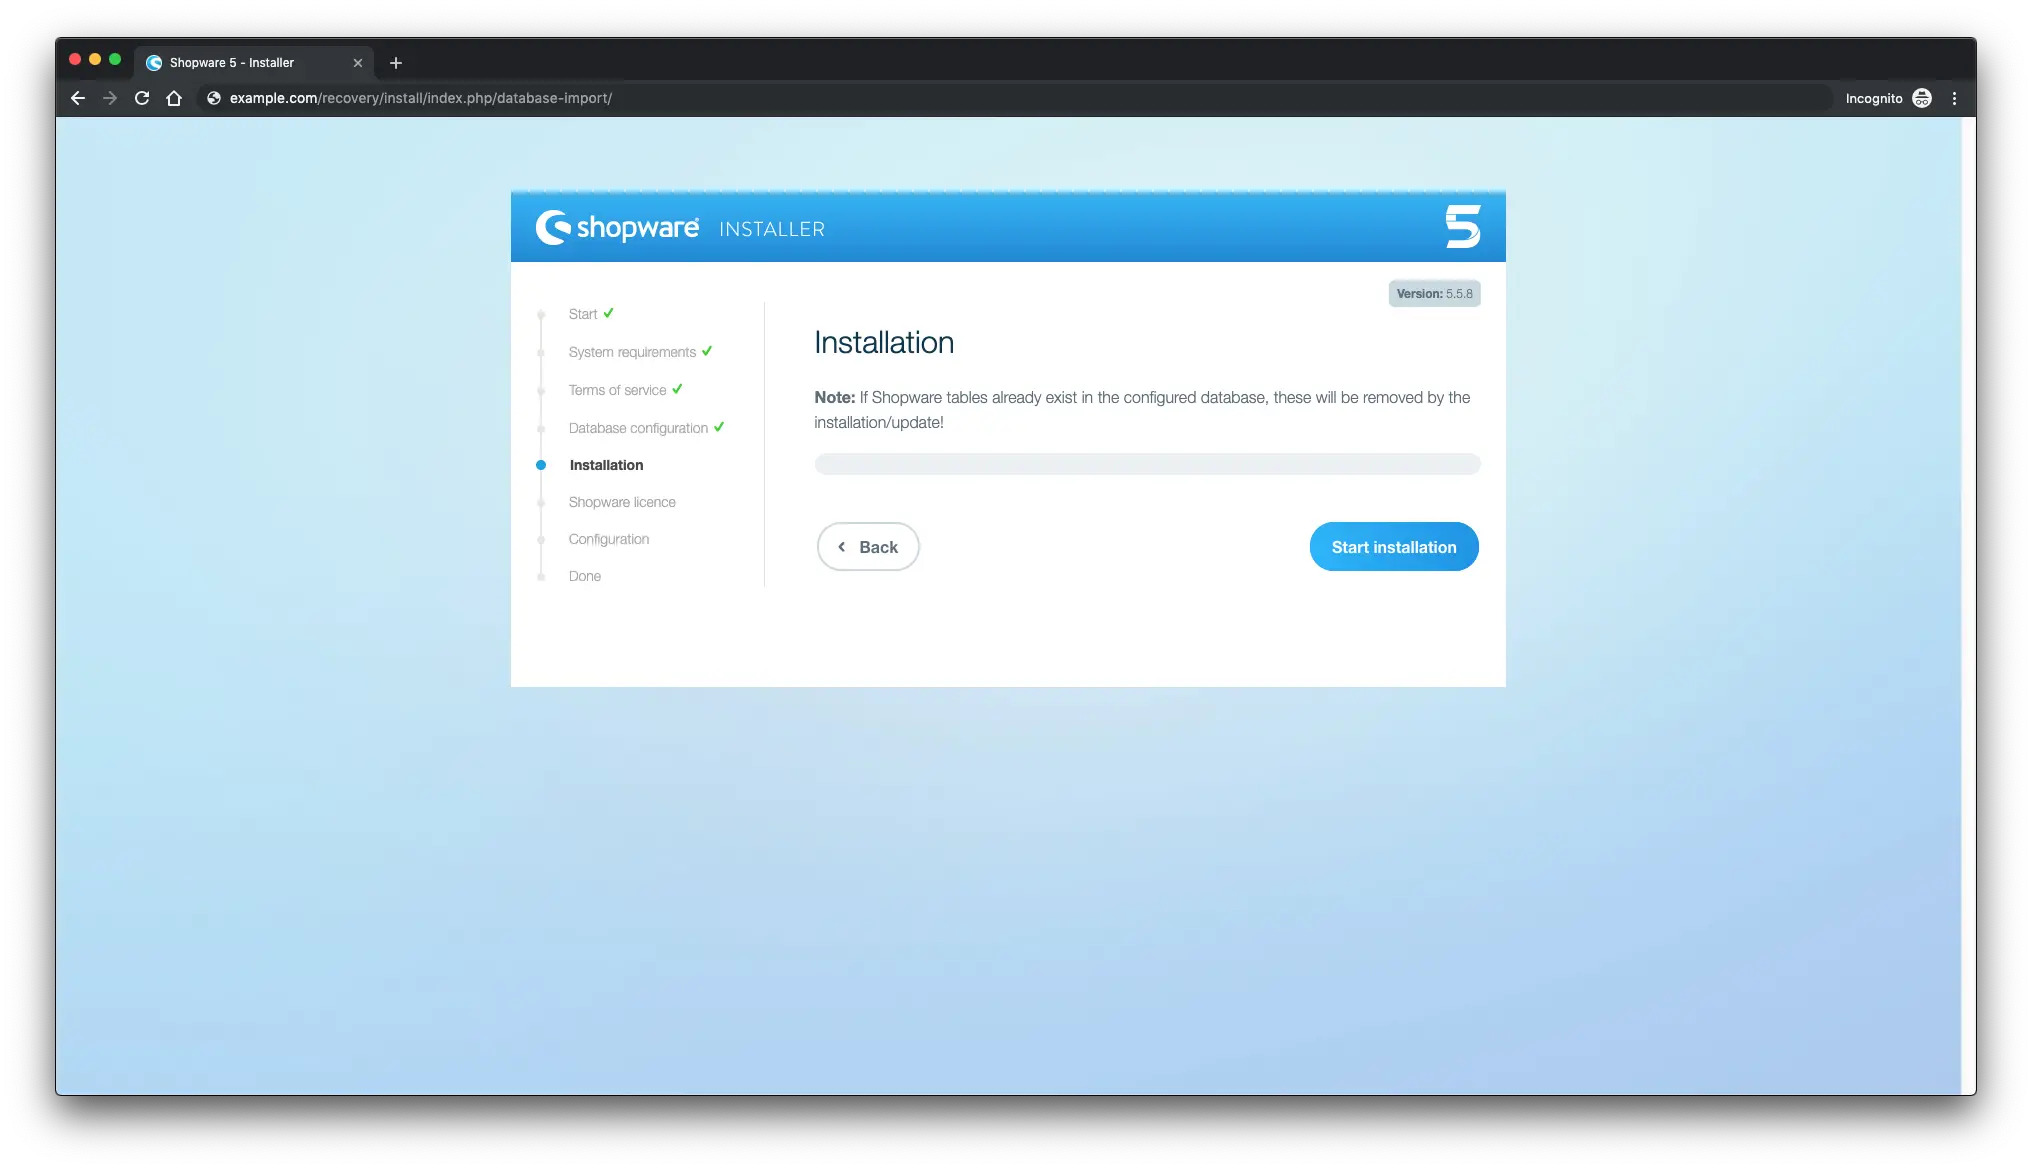
开始安装以创建数据库表:
之后,您将看到有关成功导入数据库的消息:

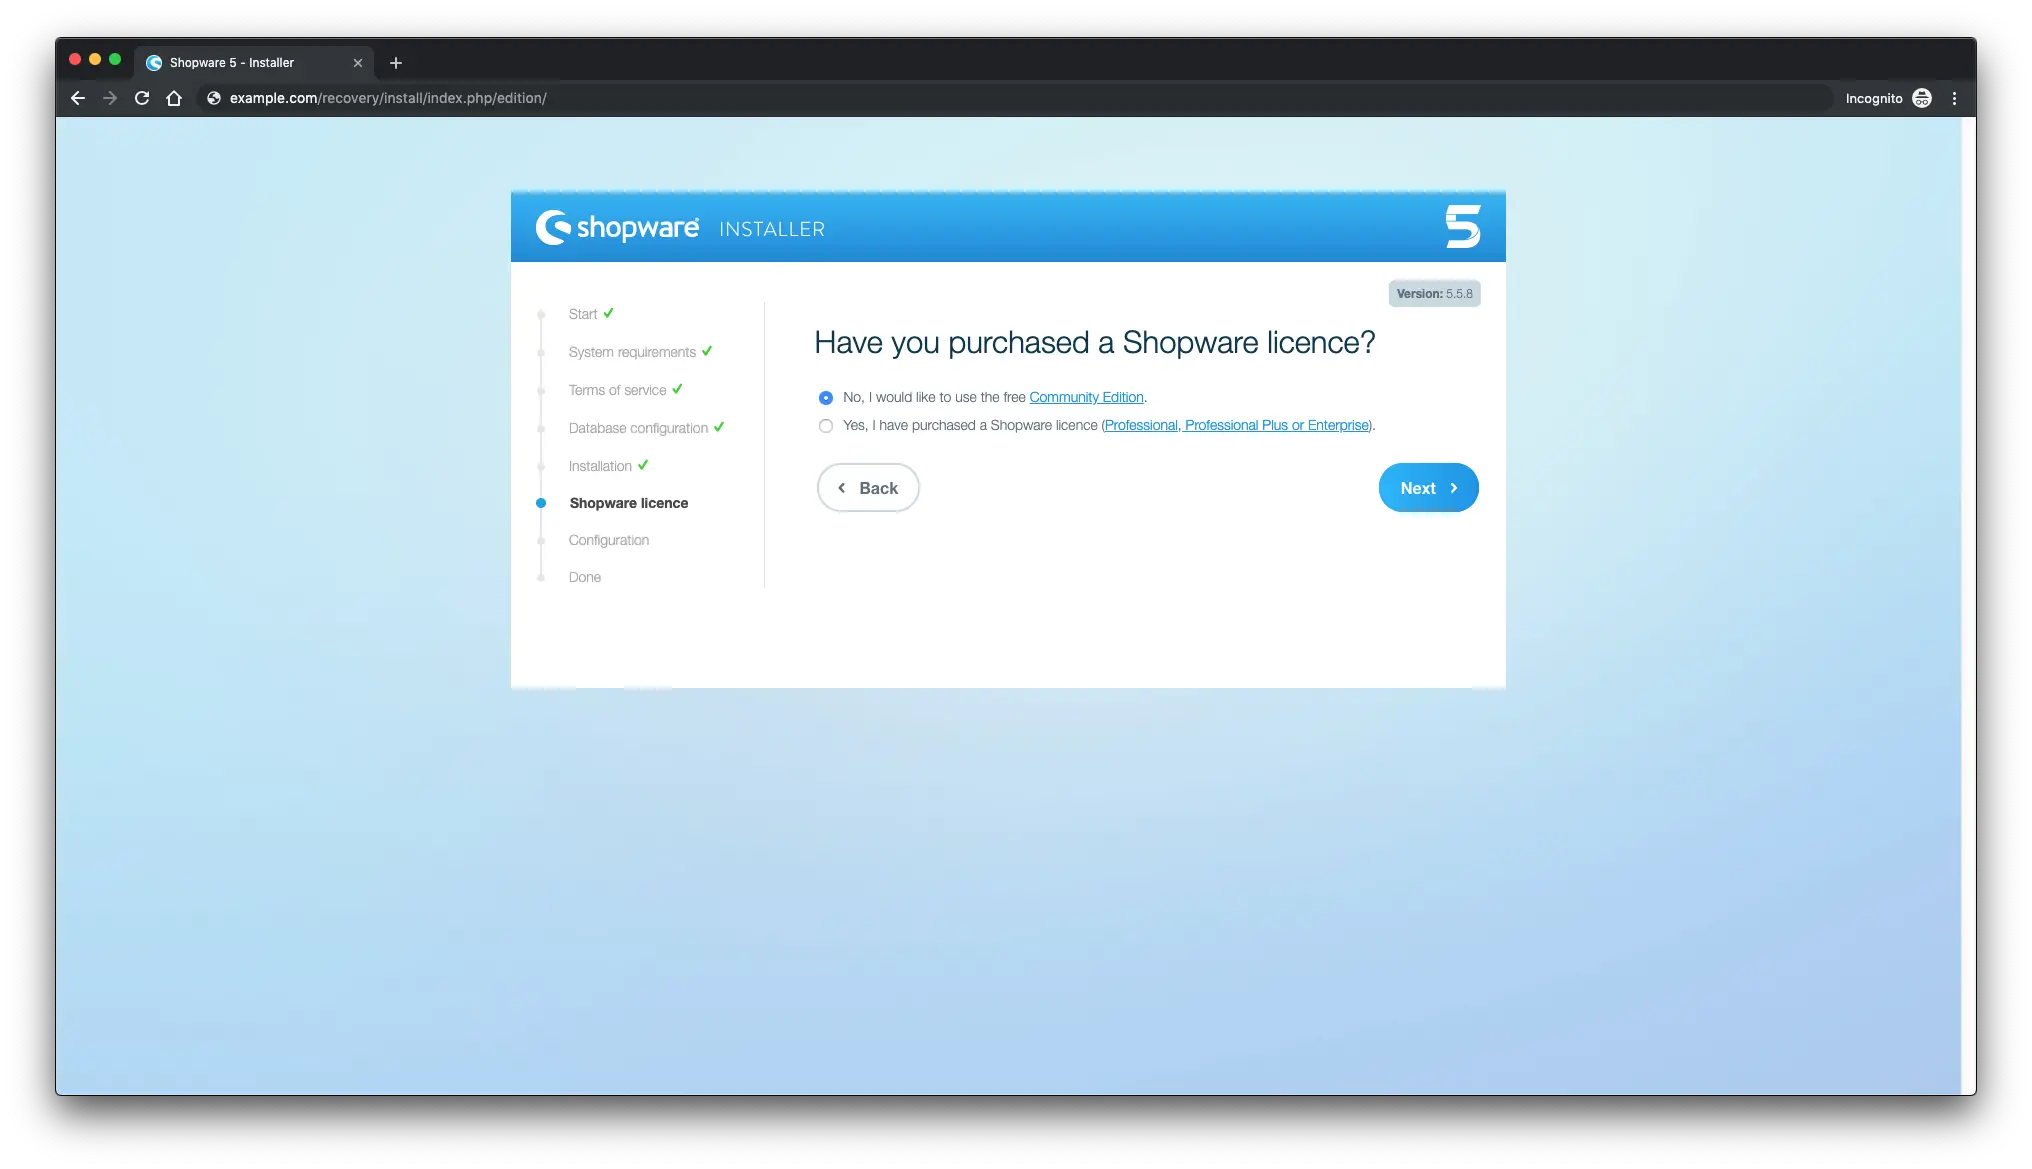
选择许可证并单击下一步:
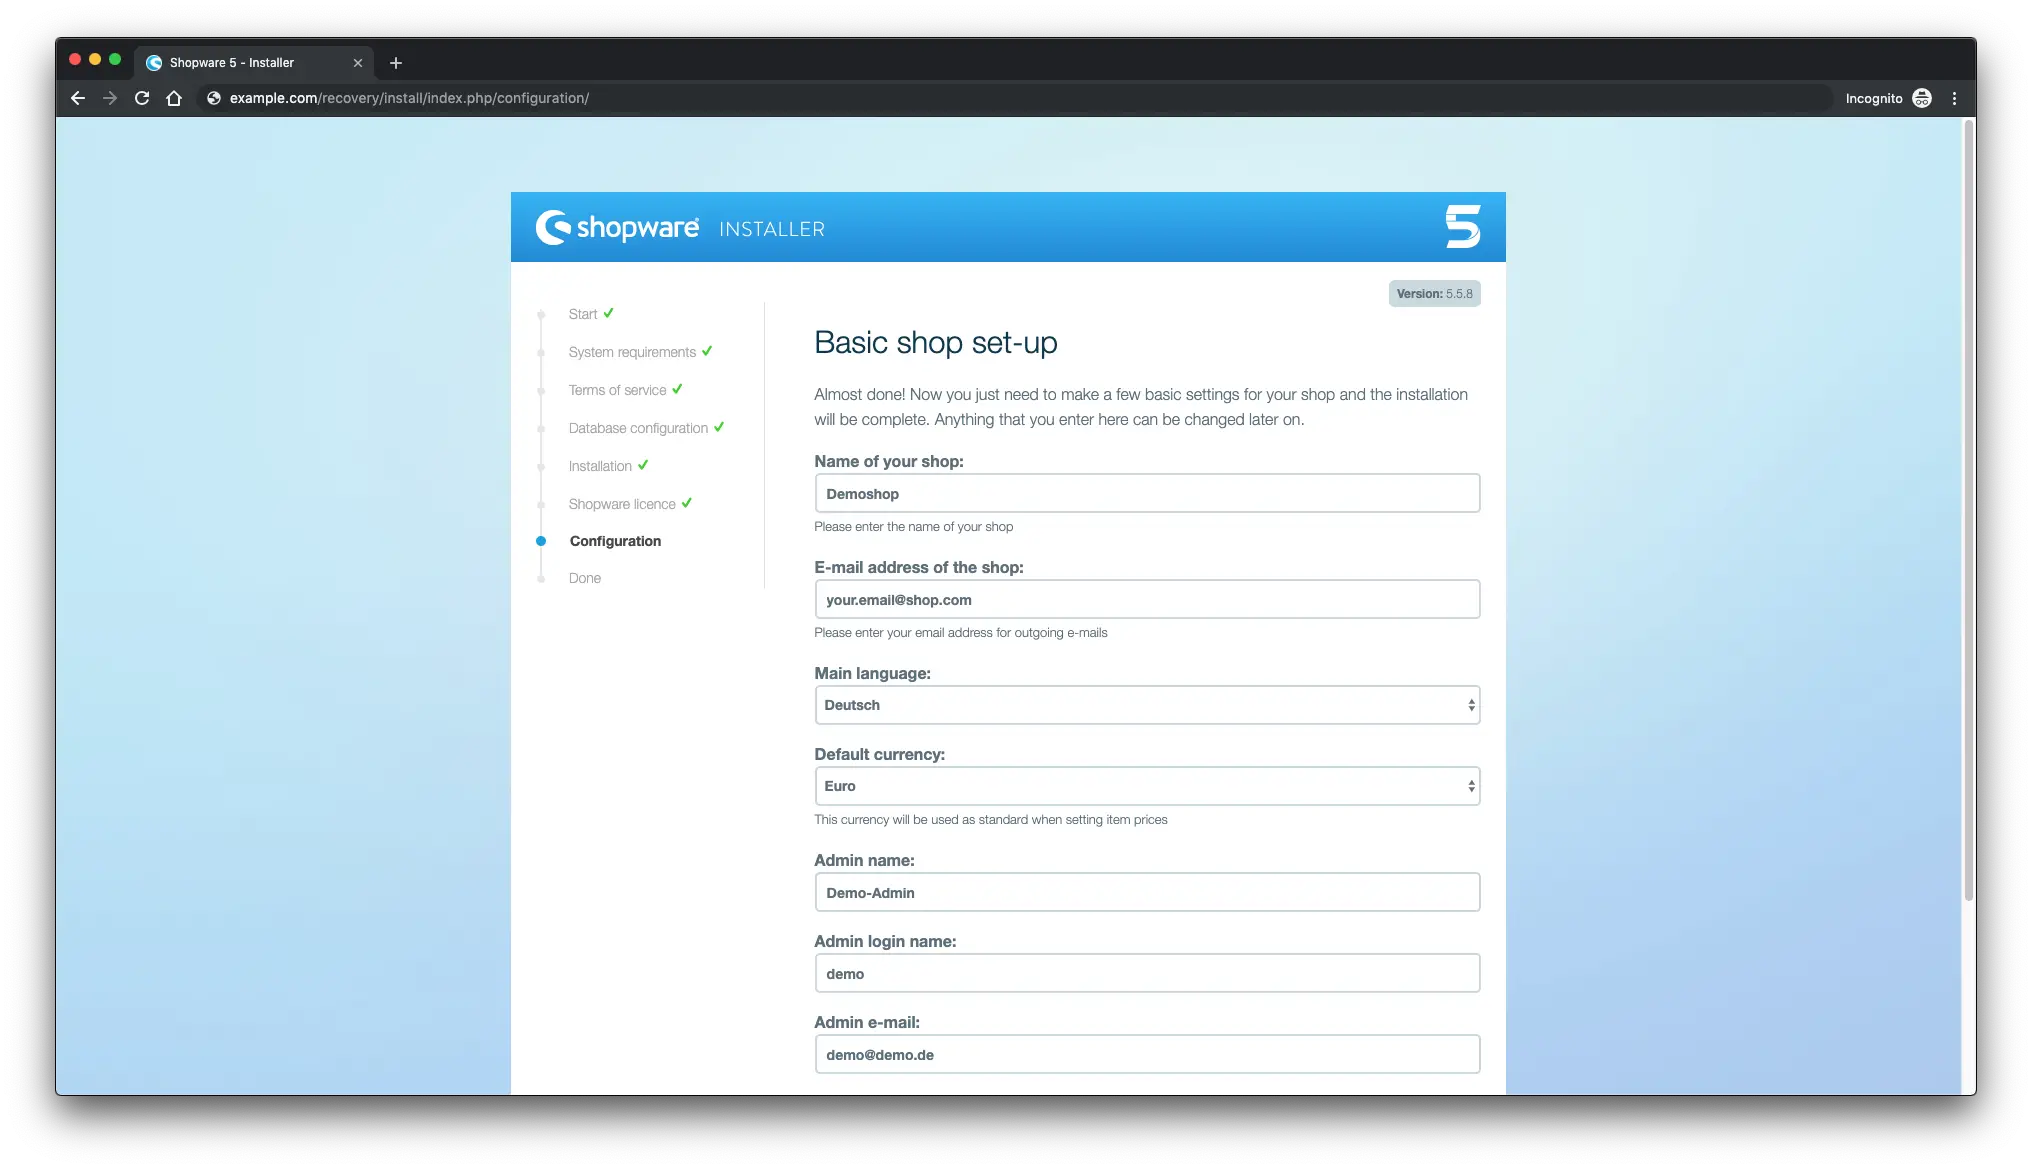
填写一些基本设置以完成设置,然后单击下一步:
安装完成。
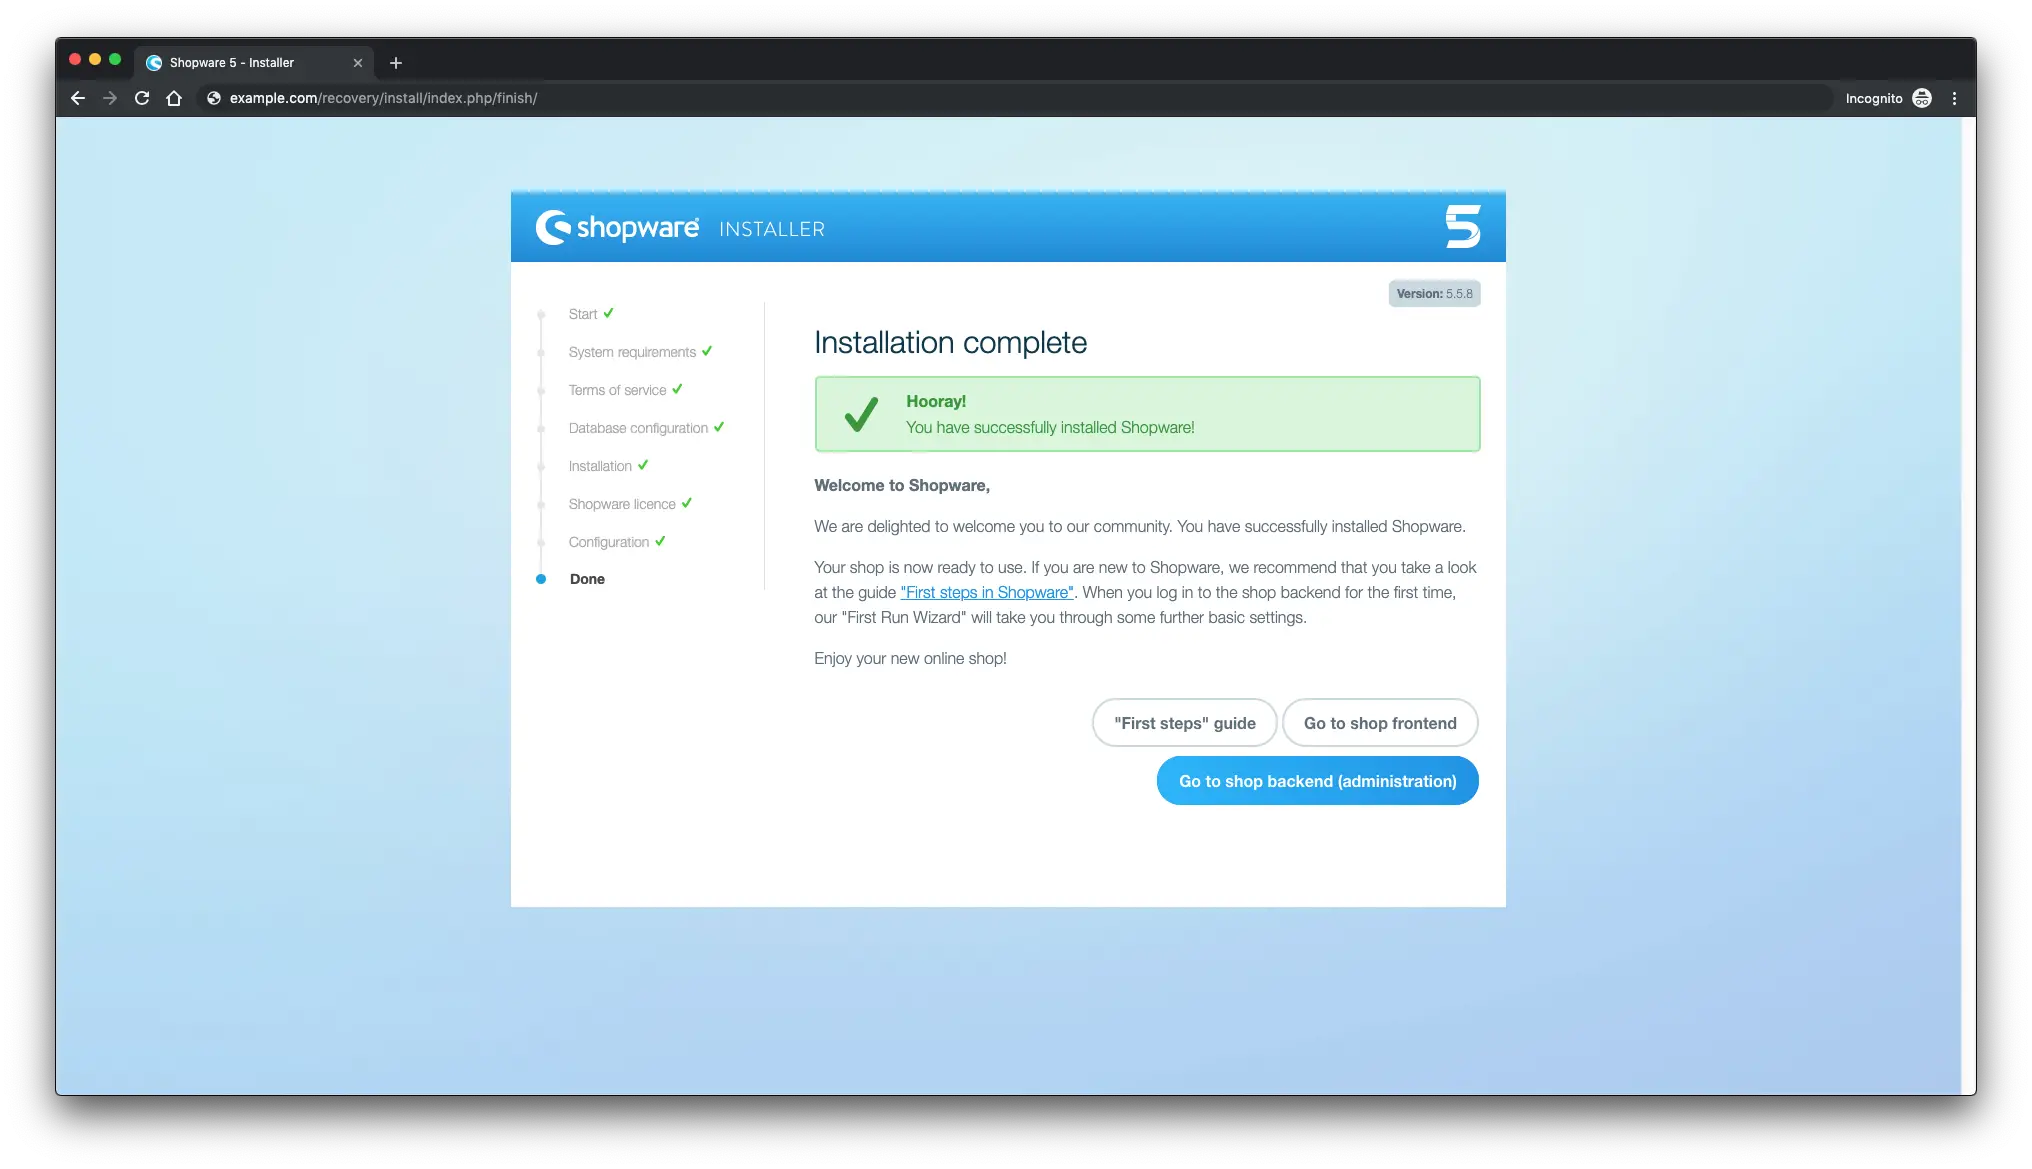
要访问管理区域,请将 /backend 附加到您的 URL。
您已成功安装 Shopware。享受您的新网上商店!
链接
- https://zh.shopware.com/
- https://github.com/shopware/shopware